From p5.js to Web Dev


From p5.js to Web Dev
You’ve now learned about the fundamentals of coding in p5.js: you know how to call and create functions, you know how to use and create variables, you know how to use if statements and for loops, you know how to use arrays and array functions, and you know how to use and create classes. That’s a lot!
Even more importantly, you’ve learned the process of breaking a problem down into smaller steps and reading through the reference to approach each of those steps one at a time. That’s the core of software development, and that knowledge will get you very far, no matter what your goal is.
This tutorial takes a peek at how p5.js works behind the scenes, and how it fits in with other languages like HTML, CSS, and JavaScript.
Behind the Scenes
I love the p5.js online editor because it lets you dive into the code right away, without worrying about setting anything up. But if you want to learn more about how everything fits together, it’s one click away!
Click the > button just under the play button to expand the list of files in your sketch.
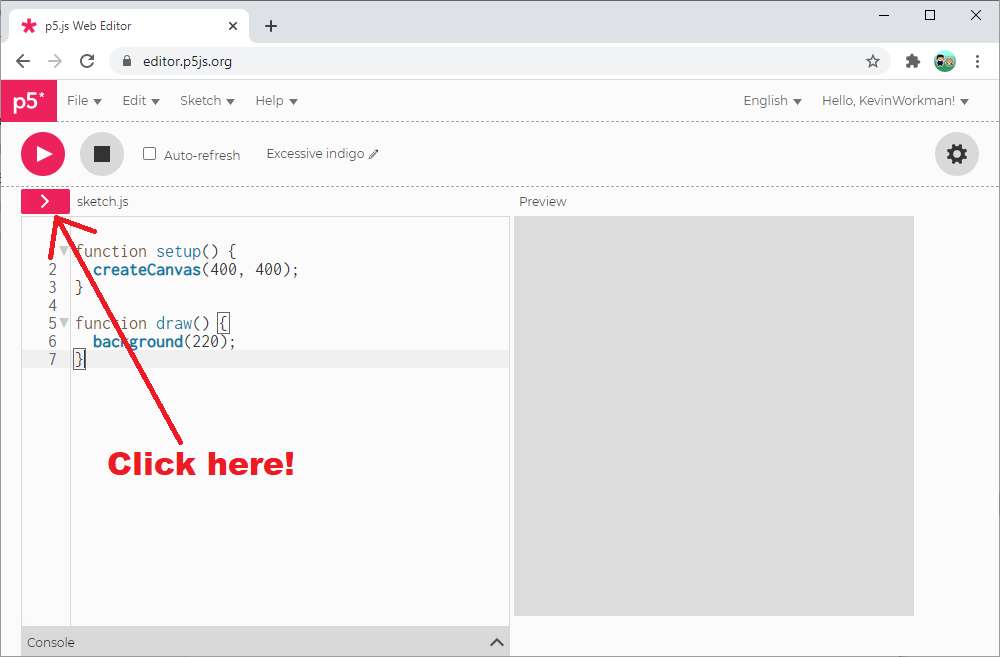
You should see index.html, sketch.js, and style.css.
These three files work together to create your sketch. Let’s take a closer look at each one.
HTML
HTML is a language that uses tags to format content displayed in a webpage. For example, here’s some HTML:
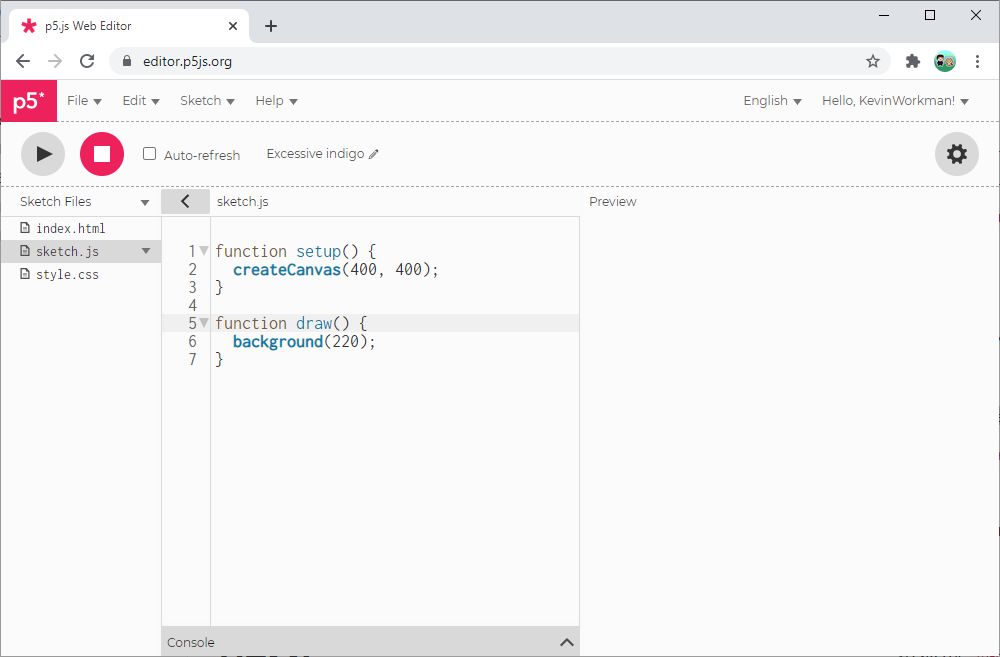
<!DOCTYPE html>
<html>
<head>
<title>My First Webpage</title>
</head>
<body>
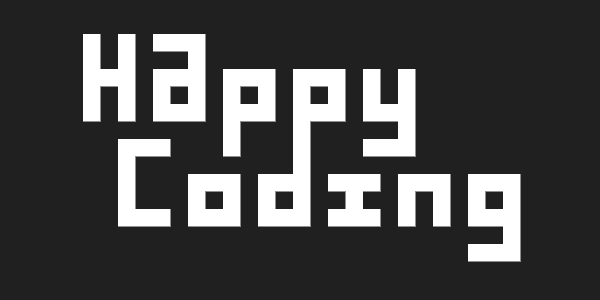
<h1>Happy Coding</h1>
<p>Hello world!</p>
</body>
</html>
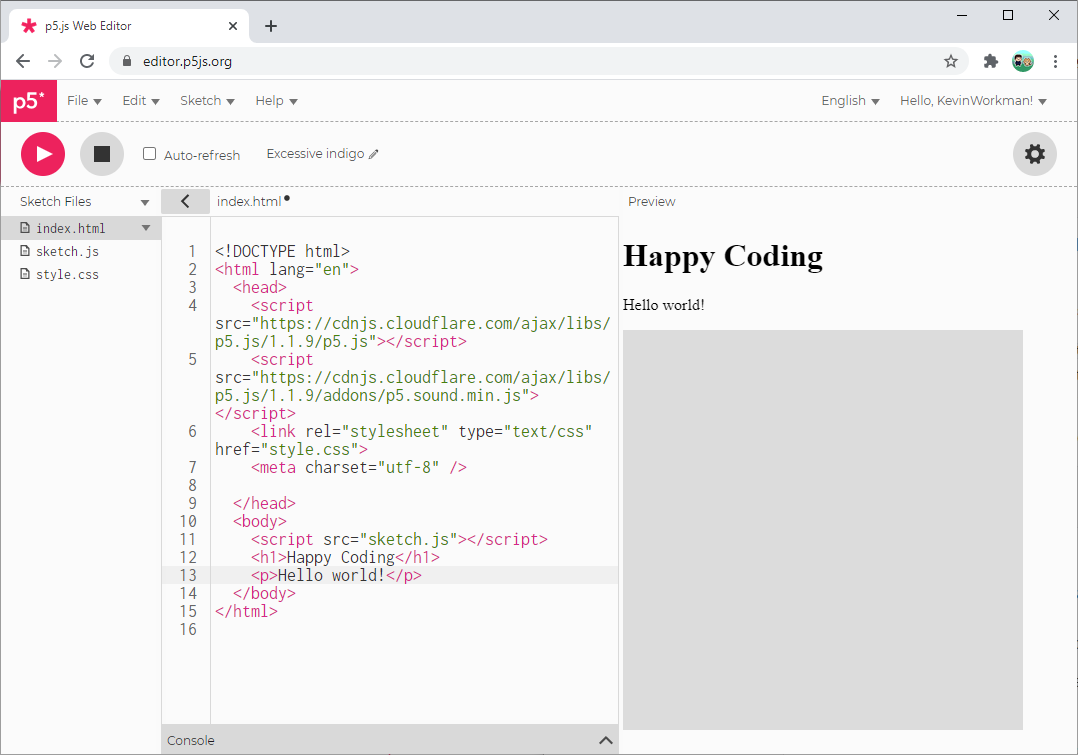
If you save that HTML to a .html file and then open it in your browser, you’ll see this content:
The index.html file inside the Sketch Files list contains HTML that sets up a webpage for your sketch. By default this page is empty so that it only shows the p5.js canvas, but you can add content to the page using HTML tags!
Open the index.html page and add these lines just above the closing </body> tag:
<h1>Happy Coding</h1>
<p>Hello world!</p>
Then click the play button, and when your sketch runs you should see something like this:
There are many HTML tags to choose from. If you want to learn more about HTML, check out the HTML tutorials!
Canvas Position
If you try adding HTML to the index.html page, you might notice that the sketch canvas always displays at the bottom of all your HTML content.
That’s because by default, the createCanvas() function creates a new <canvas> element and then adds it to the bottom of the page. But you can use a mix of HTML and p5.js code to customize this and put the canvas anywhere in the page!
First, create a <div> element with an id attribute. The ID can be anything you want. Then put that <div> in the HTML wherever you want your canvas to show up. Your <body> section might look like this:
<body>
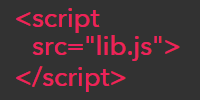
<script src="sketch.js"></script>
<h1>Hello World</h1>
<div id="sketch-container"></div>
<p>Thank you for visiting my sketch!</p>
</body>
Then, in the sketch.js file, modify your setup() function to store the object returned from the createCanvas() function, and then call the parent() function on that variable, passing in the ID of the <div> in your HTML. That sounds confusing, but it looks like this:
function setup() {
  let canvas = createCanvas(300, 300);
  canvas.parent('sketch-container');
}
This tells p5.js to place the drawing canvas inside the element with an ID of 'sketch-container'. With the HTML above, it’ll show up between the <h1> heading element and the <p> paragraph element.
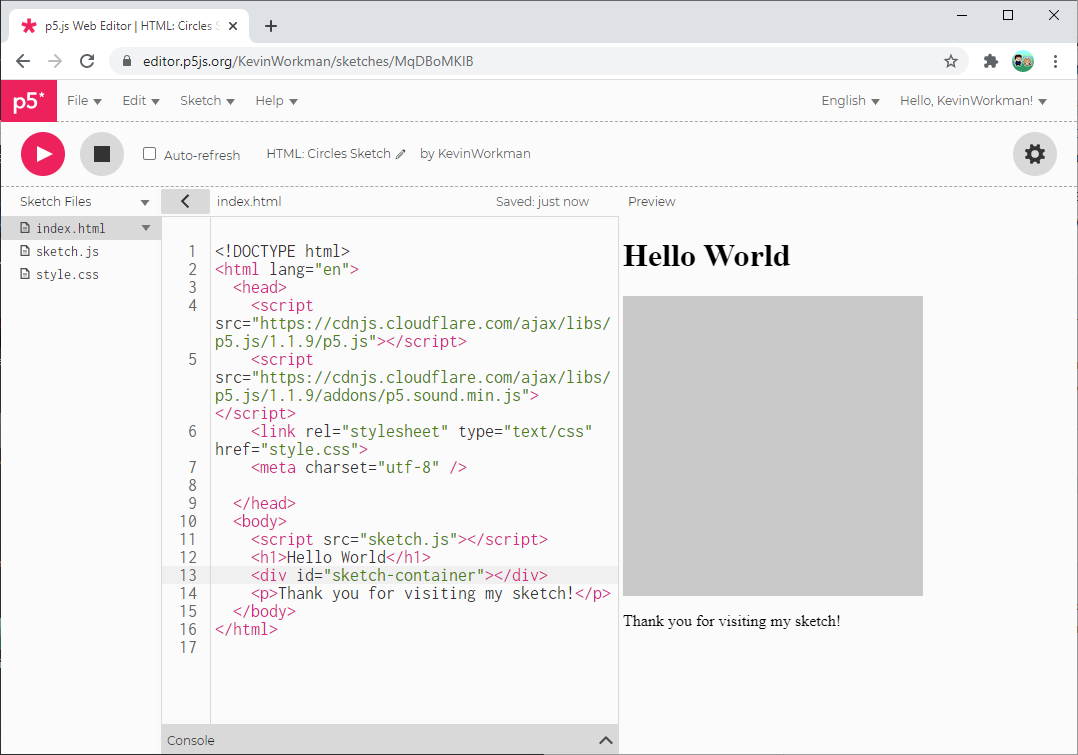
Here is a more complete example that uses the parent() function to place the drawing canvas on the page. Here is what it looks like as a standalone webpage.
CSS
HTML lets you format the content in a webpage, and CSS lets you style that content.
For example, you can use HTML to add headings, paragraphs, lists, and links to the page, and you can use CSS to specify that headings should be bold, paragraphs should have a border, and the background should be a certain color.
CSS uses selectors to style HTML elements. Open the style.css files and add this:
body {
  background: pink;
}
This selects the <body> element and tells the browser to give it a pink background.
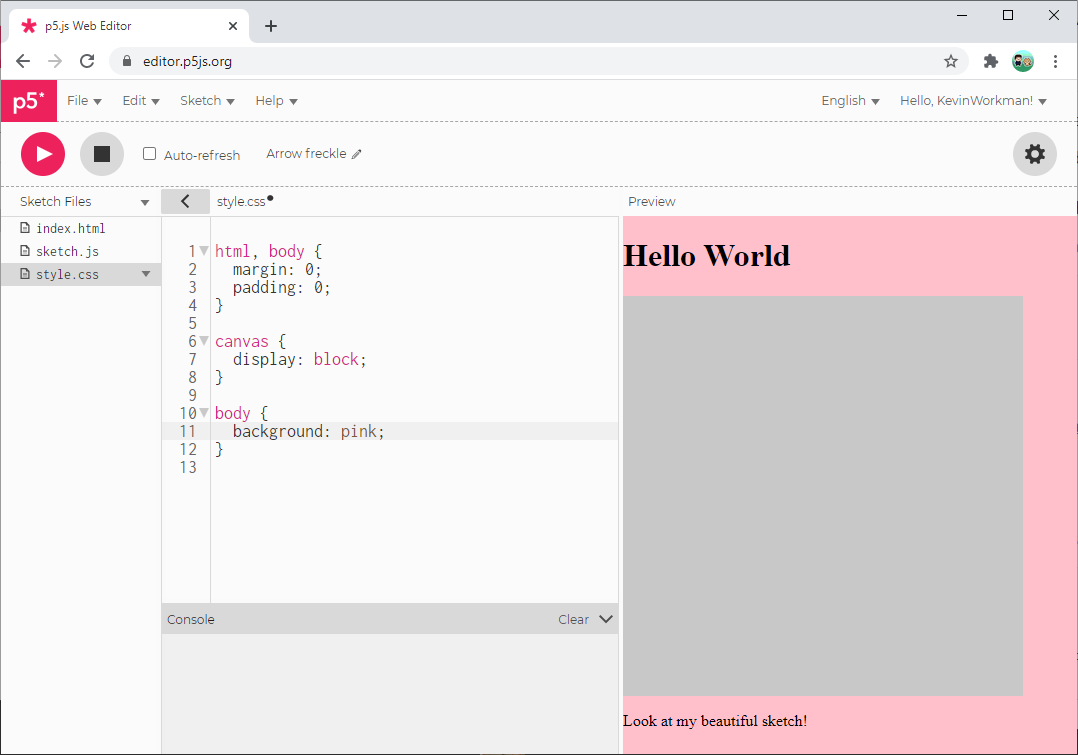
Here is a more complete example that uses CSS to customize the style of the page. Here is what it looks like as a standalone webpage.
You can learn more in the CSS tutorial!
JavaScript
HTML formats the content in a page, CSS styles it, and JavaScript makes that content interactive. For example, you can use the <button> tag in HTML to add a button to the page, and you can use CSS to style it. But if you want to do something when the user clicks the button, you’ll need to use JavaScript.
You can learn more about JavaScript in the JavaScript tutorials, but the good news is that you already know how to write JavaScript! If you’ve been coding in p5.js, you’ve actually been coding in JavaScript the whole time!
Calling JavaScript from p5.js
p5.js is a JavaScript library, which means that any p5.js code you write is JavaScript code. That means anything you can do in JavaScript, you can do in p5.js, because p5.js is JavaScript.
For example, start by adding two <p> elements in the <body> section of the index.html file:
<body>
  <script src="sketch.js"></script>
  <p id="x-label">X: </p>
  <p id="y-label">Y: </p>
</body>
Then in your draw() function, you can write JavaScript that changes the text of these HTML elements based on the mouseX and mouseY variables:
function draw() {
  circle(mouseX, mouseY, 50);

  let xLabel = document.getElementById('x-label');
  xLabel.innerText = 'X: ' + mouseX;

  let yLabel = document.getElementById('y-label');
  yLabel.innerText = 'Y: ' + mouseY;
}
The document variable, its getElementById() function, and the innerText() function are all provided by JavaScript, not p5.js. But they work inside p5.js because p5.js is JavaScript!

Here is the code for this example if you want to play with it.
Calling p5.js from JavaScript
Since p5.js is JavaScript, you can also go the other way around and write JavaScript code that calls p5.js code. Remember: p5.js is JavaScript, so there isn’t really a difference between the two!
For example, let’s create a function that fills the background with a random color:
function drawBackground() {
  background(random(255), random(255), random(255));
}
Put this code in your sketch.js file along with the rest of your p5.js functions.
Next, add a <button> element to your HTML with an onclick attribute that calls the drawBackground() function:
<button onclick="drawBackground();">Click me!</button>
Now, whenever you click the button, the drawBackground() function is called. In these examples, that clears out all of the circles and draws a random background color.
Here is the code for this example if you want to play with it.
Connecting the Dots
Now that you’ve clicked around the files that make up your sketch, let’s go back and look at how everything works together.
The index.html file contains HTML that the browser reads to display a webpage. This webpage is what you see in the right-hand side of the p5.js editor when you click the play button, and it’s what you see if you go to File > Share > Present.
The index.html file contains a few interesting lines:
<script src="https://cdnjs.cloudflare.com/ajax/libs/p5.js/1.1.9/p5.js"></script>loads the p5.js library.<link rel="stylesheet" type="text/css" href="style.css">loads the CSS defined in thestyle.cssfile.<script src="sketch.js"></script>loads the JavaScript that you wrote in thesketch.jsfile.
When the browser loads the index.html file (either in the right side of the editor or as a standalone webpage), the p5.js library looks to see if you’ve defined a setup() function, and if so, it calls that. The setup() function calls createCanvas(), which adds a <canvas> element to the page. Then the p5.js library starts calling your draw() function automatically, as well as any other p5.js functions you’ve defined.
This is exactly how most web development works: you create an HTML file that includes some tags specifying the content of the page, you load some CSS that styles that content, and you load some JavaScript that makes that content interactive.
This tutorial is not meant to make you an expert in web development. Its goal is to show you how p5.js connects to other concepts in web development, so you can then branch out and learn more about those concepts if you’re interested. Here are some starting points:
Homework
- Use a p5.js sketch as the background of a webpage. (Here is an example!)
- Create a page that contains buttons that control a p5.js sketch.
- Use CSS to style the webpage around your p5.js sketches.