For Loops
For Loops
Now you know how to write code using functions, variables, and if statements. So far your code has worked by executing each line one after the other: if you want to draw three circles, you’d have to write three separate calls to the circle function.
This tutorial introduces for loops, which allow you to repeat work without repeating code.
Let’s start with an example sketch:
This sketch draws three vertical lines: the first from position 75,0 to 55,height; the second from position 150,0 to 150,height; and the third from position 225,0 to 225,height.
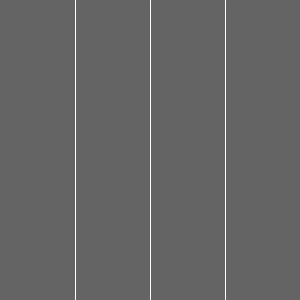
As you read this code, try to recognize the pattern in the three lines: the x position of the first line starts at 75, then increases by 75 for the second line, and stops at 225 for the third line.
When you have a pattern like this (start at a number, increase by a number, stop at a number), you can use for loops to follow that pattern to repeat code.
For Loops
To write a for loop, first type the for keyword, and then in parentheses () provide three things:
- Declare a variable to keep track of your pattern, and initialize it to the number your pattern starts at:
let lineX = 75; - Write a test that evaluates to a boolean value of
falsewhenever the pattern should stop:lineX <= 225; - Reassign the variable so that it follows the pattern:
lineX = lineX + 75;(which can be shortened tolineX += 75)
Then inside curly brackets {}, write the code that uses your variable to follow the pattern. Putting it all together, it looks like this:
This is new syntax, so let’s go over it piece by piece:
let lineX = 75;creates a loop variable with a value of75. This only happens once, at the very beginning of the loop.lineX <= 225;decides when to keep looping. This test is evaluated every step (which is called an iteration) of the pattern, at the beginning of the iteration. Whenever the test evaluates tofalse, the pattern is over and the loop stops iterating.lineX += 75updates the loop variable. This happens at the end of every iteration, after the body of the loop has run.line(lineX, 0, lineX, height);uses thelineXvariable to draw a line each iteration of the loop.
At the end of each iteration (when the code reaches the closing curly bracket }), a couple things happen:
- The code executes your reassignment statement to update the loop variable.
- Then the code jumps back to the beginning of the
forloop. - The check is evaluated, and if it’s
true, the body of the loop is executed again. If it’sfalse, the loop exits and skips over the body.
This might seem like a lot to take in, but you can think about it as a few steps:
- A loop variable is created and initialized to the first number in the pattern.
- The check is evaluated, and if it’s
false, the loop exits and its body is skipped. If it’strue, then the body is executed. - After the body executes, the loop variable is updated.
- Then the code jumps back to the beginning of the loop and performs the check again.
The Benefit of For Loops
Three lines might not seem very interesting, but for loops make it easier to make more complicated patterns. For example, what if you wanted to draw nine lines instead of three lines?
You could write code that draws each line manually:
This works, but it’s pretty annoying to work with code like this.
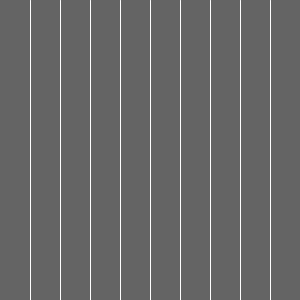
Read the code and try to notice the pattern: the first line has an x value of 30, which increases by 30 each step, and ends at 270. Since you have a pattern, that means you can use a for loop to do this in a more manageable way:
This code uses a for loop to create a pattern where lineX starts at 30, increases by 30 each iteration, and stops when lineX is greater than 270. During each step of the pattern, the code draws a vertical line using the lineX variable.
Here’s the payoff: what if you wanted to draw 99 lines? You can use a for loop to draw the pattern for you instead of writing 99 lines of code:
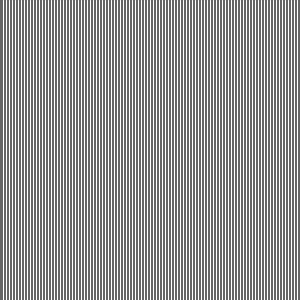
To understand the power of for loops, imagine writing this sketch without them!
Nested For Loops
You can put any code inside a for loop- including another for loop!
For example, let’s start with a program that draws a row of circles:
This sketch uses a for loop to draw three circles: one at 75,150, another at 150,150, and a third one at 225,150.
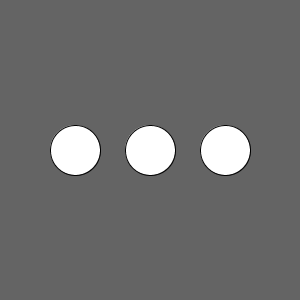
You can think of this for loop as a single unit that draws a row of circles. What if you wanted to draw three rows of circles?
You could use three separate for loops, one for each row:
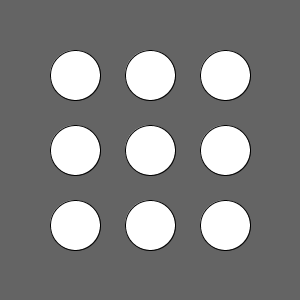
This code works, but it’s going to be annoying if you want to add another circle to each row, or change the diameter of the circles: you’d have to change the code in three different places.
Looking at the vertical position of each row, you might notice a pattern: it starts at 75, increases by 75 each step, and ends at 225. This sounds like a job for another for loop!
The outer loop creates a circleY variable and iterates three times. During each iteration of the outer loop, the inner loop creates a circleX variable and iterates three times. The end result is nine circles in a grid, or three rows of three circles each.
Try thinking about the inner for loop as a single unit, and the outer for loop as a loop that executes that unit multiple times. To make that explicit, you could put the inner for loop inside a function, which gets called from the outer loop:
This code does the same thing as before, but it encapsulates the inner for loop inside the drawCircleRow function. The for loop inside the draw function calls the drawCircleRow function three times. The drawCircleRow function uses its own for loop to draw a row of circles.
Moving your inner for loop into a function can help you think of it as a single unit, and can make your code easier to read.
Indexes
The above examples used loop variables that were then used directly in the body of the for loop, like lineX and circleX.
Another common approach you’ll see is to use index loop variables (often named i or j) that represent how many times the loop should iterate.
Here’s the line example from above, using an index loop variable:

This code still does the same thing, but it’s more obvious how many lines will be drawn by reading the for loop. The pattern is created by basing the lineX variable off the i variable, and increasing the i variable by 1 each iteration of the loop.
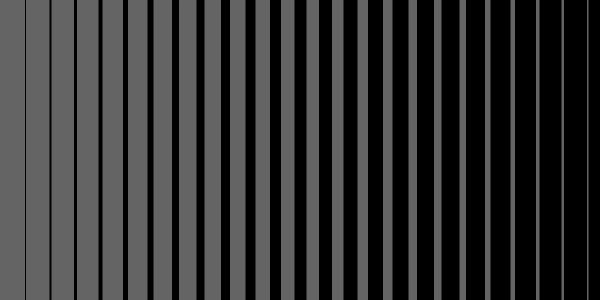
This approach also makes it easier to apply multiple effects to your pattern. For example, this code increases the thickness of the lines as they get closer to the right side of the window:
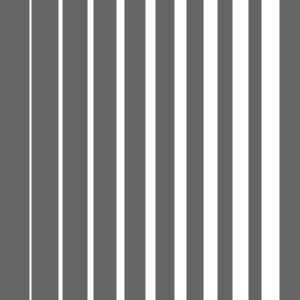
Whether you use an index variable or not is up to you and what seems easier to read. You’ll see both approaches in other people’s code.
Summary
A for loop lets you repeat a pattern without writing the same line of code over and over again. You should use a for loop when you have code that uses a pattern that starts at a number, increases by a number, and stops at a number.
A for loop inside of another for loop is called a nested for loop. These are useful when your pattern involves more than one number or if you’re working with grids.
You can use an index variable to base your for loop on which step of the pattern you’re on, which makes it easier to apply multiple effects at once.
Cheat Sheet

Homework
- Write a program that gives you the total of 1+2+3+4+…+100. Hint: try it without
forloops first and try to find a pattern. - Draw a 10x10 grid that fills up the window, no matter what size the window is.
- Write a program that draws a horizontal gradient. Hint: start with grayscale.
- Write a program that makes every pixel in the window a different random color.
- Write a program that draws a flower with 8 petals. Hint: try it without
forloops first and try to find a pattern.


