Calling Functions


Calling Functions
- What’s a function?
- How do I call a function?
- What’s a parameter?
- Let’s write some code!
- The p5.js Reference
- Draw Order
- Coordinates
- Colors
- You are now a programmer.
- Sharing Sketches
- Homework
By now you’ve used the p5.js editor to write your first few lines of code. Congratulations! Now let’s take a closer look at exactly what’s happening.
In p5.js (and most other languages), one of the tools you’ll use most often is the ability to call a function.
What’s a function?
Writing a program is a little bit like writing a recipe. Similar to how a recipe is a set of steps that another person follows, a program is a set of steps that the computer follows.
A single step of a recipe might be something like “preheat the oven to 350 degrees” or “add 2 cups of flour”, and you might write each step on its own line. The other person then follows those steps in order, one after the other, to bake a cake.
preheat oven to 350 degrees
get a large bowl
add 2 cups of flour
add 1 cup of sugar
...
This is similar to how a computer program works. A program is a set of instructions that tells the computer to follow a series of steps. Each step is written on its own line, and the computer follows the instructions one at a time.
A function is one of those steps. Calling a function is giving the computer a single instruction that tells it to do one thing.
How do I call a function?
To call a function (which is another way to say “tell the computer to follow the step on this line of the directions”), you need to do four things:
- Write the name of the function.
- Add parentheses
()after the function’s name. - Inside the parenthesis, add any parameters that the function requires, separated by commas.
- End the line with a semicolon
;.
What’s a parameter?
In our recipe instructions, imagine if one of the steps just said “preheat the oven” - that wouldn’t be enough information! What temperature should you use? That step requires more information: specifically, a temperature.
It’s the same idea when you’re writing code. Computers are very dumb, so they only know how to do exactly what you tell them. When you ask a computer to jump, it’s going to ask you: how high? You pass that extra information into a function through its parameters.
The recipe from above might look like this in code:
preheatOven(350);
getLargeBowl();
addFlour(2);
addSugar(1);
Notice that the getLargeBowl function doesn’t take any parameters, because you don’t need any extra information to follow that step!
Let’s write some code!
Let’s go back to the code you wrote in the last tutorial:
This code is split up into two sets of instructions. Like their names suggest, setup contains code that sets up your sketch, and draw contains code that draws stuff to your sketch. That part doesn’t need to make sense right now; you’ll learn more about that in the “creating functions” tutorial.
For now, read the code line-by-line, like you would read a recipe. Think about what each line tells the computer to do, and what effect that has on your sketch.
createCanvas(400, 400);tells the computer to create a drawing canvas that’s 400 pixels wide and 400 pixels high.background(220);tells the computer to draw a gray background on the canvas.circle(200, 200, 300);tells the computer to draw a circle with anxposition of200, ayposition of200, and a diameter of300pixels.
Try changing the parameters to see what happens. Can you make the circle bigger and smaller? Can you move the circle to the upper-left corner? The lower-right corner? Can you change the background color?
The p5.js Reference
Now you’ve seen a few functions and their parameters, but p5.js has many other functions you can call. How do you know what they are and what parameters they take? Let me introduce you to your new best friend: the p5.js reference!
The reference lists every function you can call in p5.js, and clicking on a particular function in the reference gives you information about what parameters it needs. Whenever you wonder how you might do something in p5.js, the p5.js reference should be your first stop.
The reference might seem overwhelming, but let’s walk through an example. Let’s say you’re sick of drawing circles: you’ve put them in the upper-left corner, you’ve made them big, you’ve made them small. Yawn. Let’s take it up a notch and start drawing rectangles!!!
With that goal, you can look at the p5.js reference and ask yourself, “do any of these functions look like they might draw a rectangle?” (Go ahead, try to find it!)
Sure enough, the reference tells you there is a p5.js rect function , and that it takes 4 parameters: an x and y position of the upper-left corner of the rectangle, and a width and a height specifying the size.
Add a line of code to your sketch that calls the rect function, passing in values for those 4 parameters:
Type this code into your p5.js editor and click the run button, and you should see this:

Draw Order
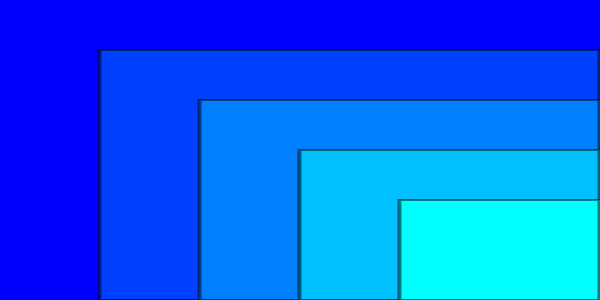
Notice that the rectangle is drawn overtop of the circle. The order you call functions is very important!
You can think of a p5.js as if the computer was an artist painting on a canvas. In the program above, first you tell the artist to paint a gray background, and then a circle, and then a rectangle. Just like if you were drawing on a physical canvas, new shapes are drawn on top of old shapes.
Practice: Draw Order
Try changing the order of the function calls to see what happens. What happens if you move the call to the
backgroundfunction so it comes after the calls tocircleandrect?
Coordinates
Also notice how the x and y parameters change the location of your shapes. Increasing the x parameter moves a shape to the right, and increasing the y parameter moves the shape down. In other words, the origin of the p5.js coordinate system is in the upper-left corner of the canvas.
This might feel unintuitive, especially if you remember the coordinate system from algebra class, where the origin is in the lower-left corner of a graph.
But in p5.js, x is the distance from the left edge of the canvas, and y is the distance from the top of the canvas.
For example, if you have a canvas that’s 400 pixels wide and 300 pixels high:
0,0is the upper-left corner.400,0is the upper-right corner.0,300is the lower-left corner.400,300is the lower-right corner.200,150is the center of the canvas. (You can find the center by dividing the width and height in half.)
Practice: Coordinates
Get out a piece of paper (graph paper if you have it!) and draw a rectangle. Pretend the rectangle is a
1000x500canvas. Draw the result of these function calls:circle(0, 0, 200); circle(250, 125, 100); rect(250, 275, 200, 100); circle(450, 0, 200); circle(450, 500, 300); rect(650, 0, 100, 500); circle(1000, 250, 300);Now write a p5.js sketch that calls these functions, and compare the actual result to your drawing.
Colors
At this point, you’re probably tired of looking at boring white shapes. Let’s add some color!
Open the p5.js reference and find the fill function. The fill function can take many different kinds of parameters, but I use the R, G, and B format most often.
In this format, the fill function takes 3 parameters. Each parameter is a number between 0 and 255, representing how much red, green, and blue to mix into the color.
Calling the fill function changes the color of any shapes you draw from that point on, until you call the fill function again.
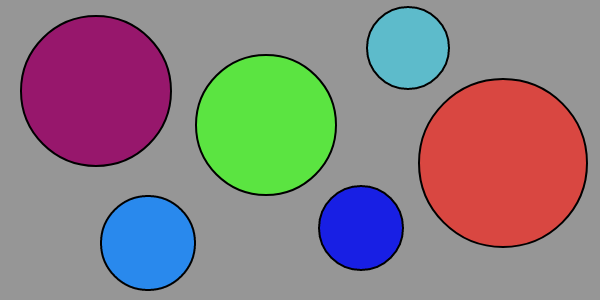
For example, this sketch draws a red circle:
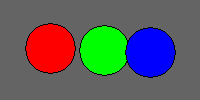
And this sketch draws red, green, and blue circles:
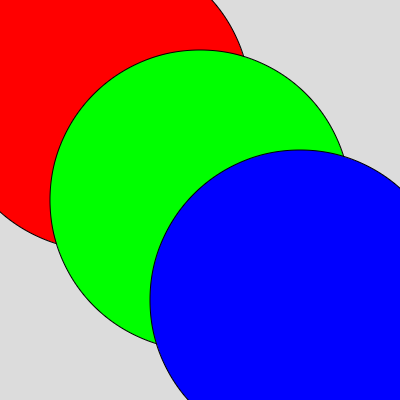
By the way, lines that start with // slashes are comments. These lines are ignored by the computer, but can make your code easier for a human to read!
RGB colors work a little differently than physical colors that you might be familiar with if you’ve ever used watercolors or crayons. I don’t want to get into all of the intricacies here, because it gets very complicated- color is a whole field of study! If you’re curious, you can go down the Wikipedia rabbit hole starting with the RGB color model article.
But for now, don’t be afraid to experiment with the parameters to see how they interact, or search for RGB color pickers to get the RGB values you need.
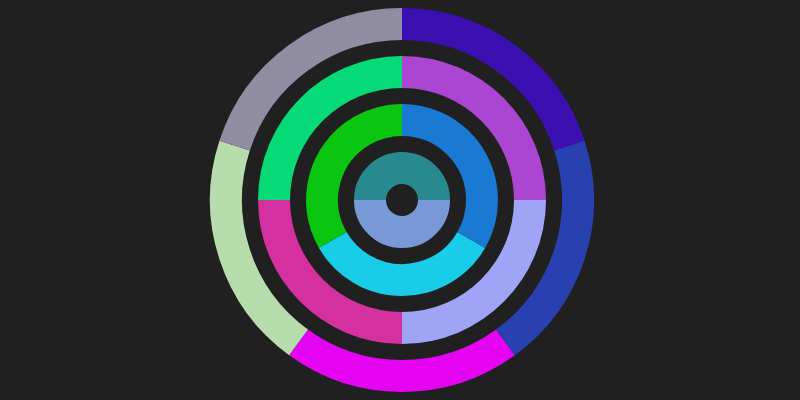
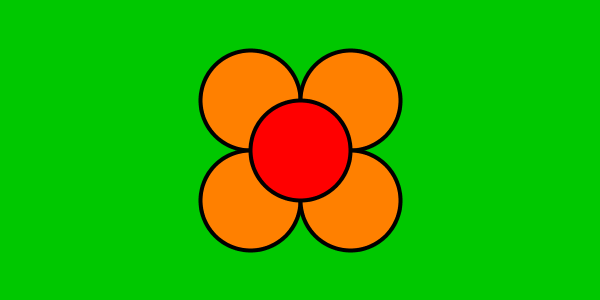
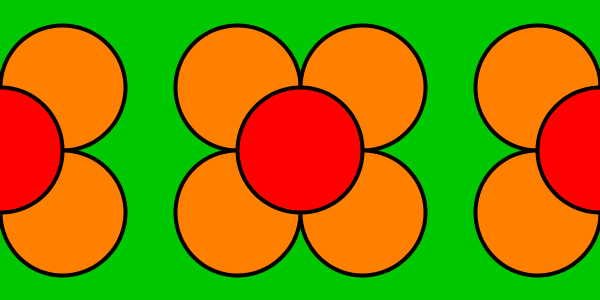
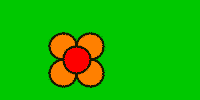
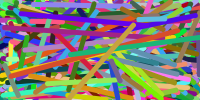
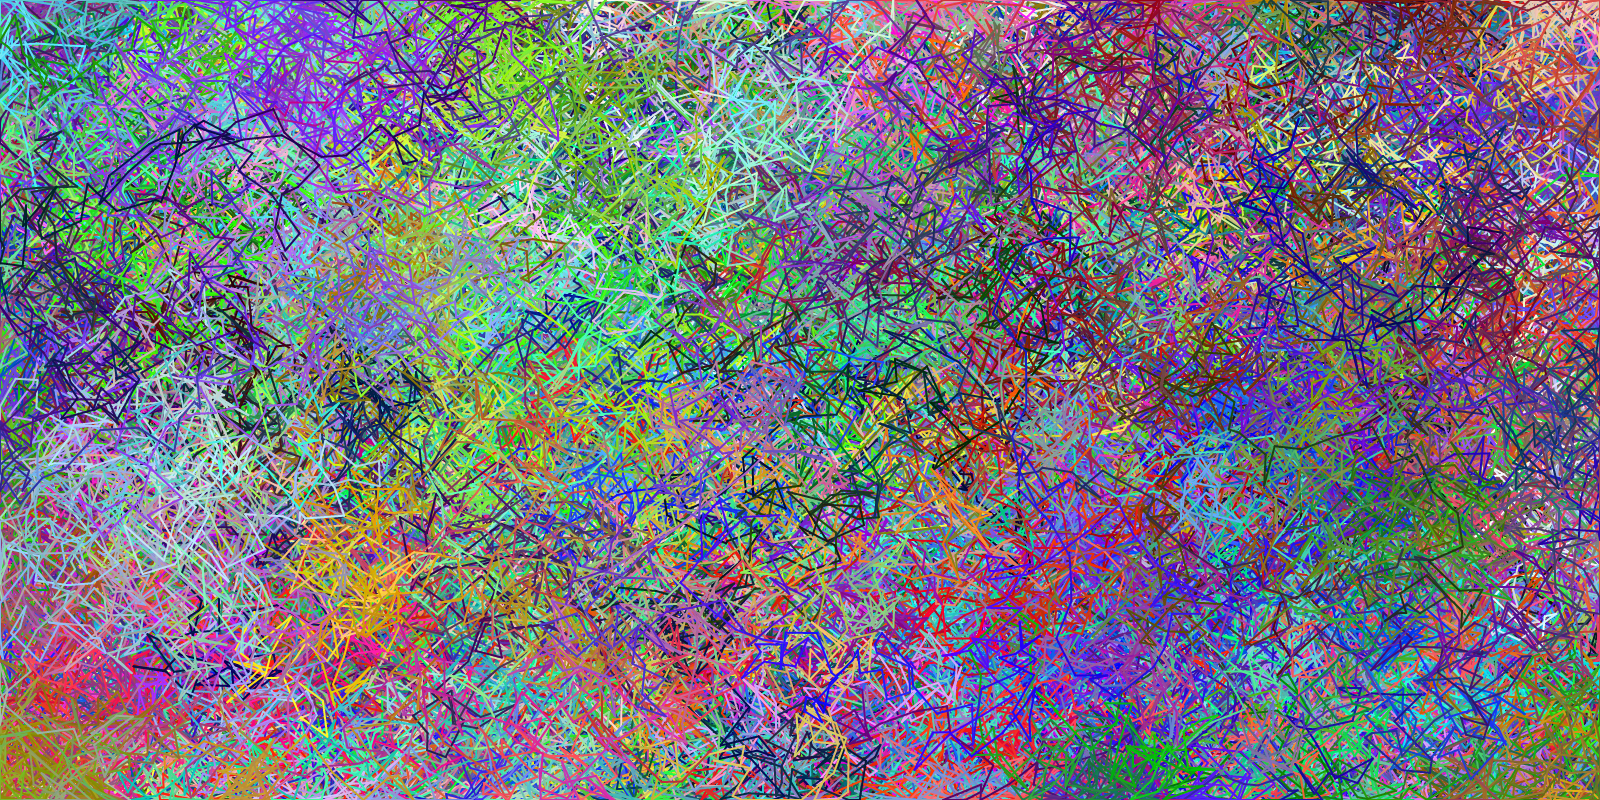
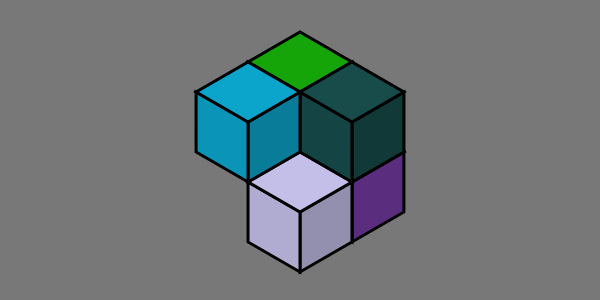
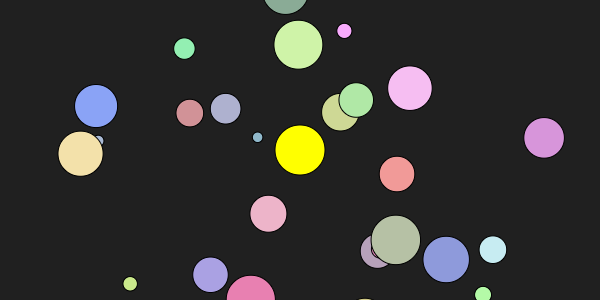
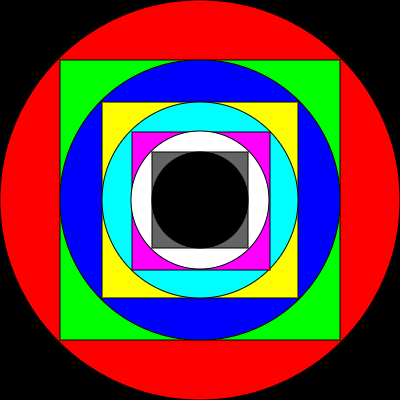
Practice: Colors and Coordinates
Write a sketch that uses the
square,circle, andfillfunctions to draw this:
You are now a programmer.
You’ve now experienced the process of starting with a goal, reading through the reference, and writing code that tries to accomplish that goal. That process is 95% of what a programmer does. From here it’s “just” a matter of figuring out how to do more and more stuff, by expanding your knowledge to other functions, other languages, other references. But the process is going to be the same every time: start with a goal, do some research, write some code that probably doesn’t work at first, fix it, and repeat.
You now know what it feels like to be a programmer, because you are a programmer.
Sharing Sketches
One of my favorite things about the p5.js editor is how easy it is to share your work. When you have a sketch that you’re happy with, click the File menu, and then select Share from the menu. In the dialog that pops up, copy the Present link. Send that link so other folks can see your work!
I love seeing what other people are working on! Feel free to send me a link on Twitter or on the HappyCoding.io forum!
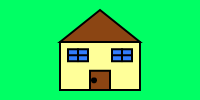
Homework
The best way to learn how to code is by, well, writing code. Whoever said “practice makes perfect” wasn’t lying!
So before you move on to the next tutorial, stop and practice writing some code! Give yourself a goal, and then read through the p5.js reference to figure out how to accomplish that goal. Write some code and see what happens. If you aren’t quite sure about the kinds of things you can create, here are a few ideas:
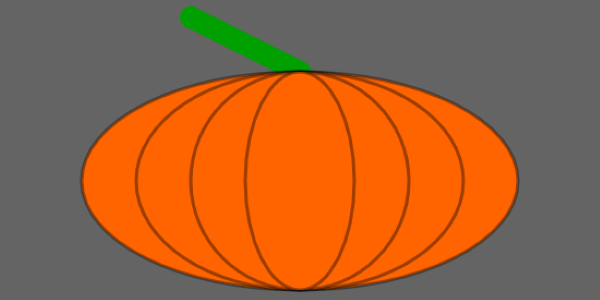
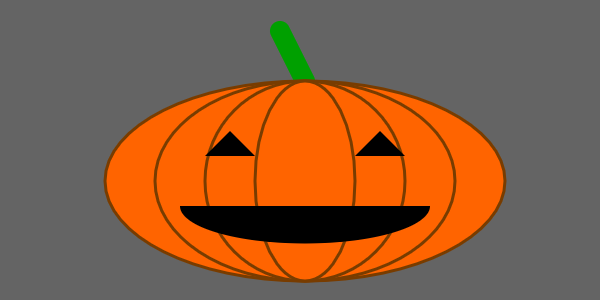
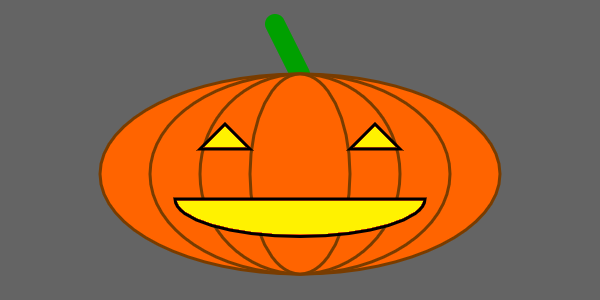
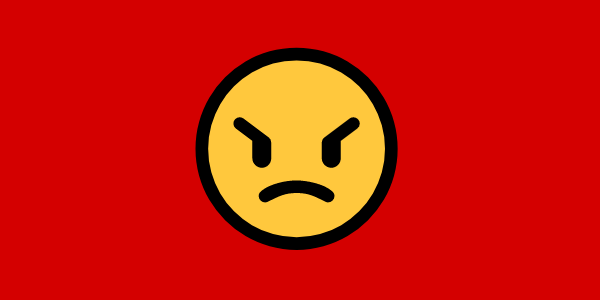
- Draw a smiley face.
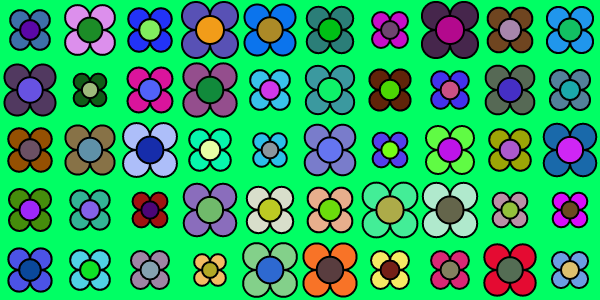
- Draw a flower or a garden.
- Draw a rainbow.
- Draw a dog or cat.
- Draw a house.
Come up with a scene that you want to draw, and then write a program that draws it. Write p5.js code that calls functions to draw the scene.
And then post what you create in the forum!
