Creating Classes


Creating Classes
- State
- Defining a Class
thisKeyword- Class Functions
- Let Objects Handle Themselves
- Creating Many Instances
- Instance State
- Objects can contain other objects!
- Other Approaches
- Thinking in Objects
- Homework
Now you know how to use classes like the predefined p5.Vector class. You know that classes let you group a set of fields together, like the x and y fields of the p5.Vector class. And you know how to create instances of a class using the new keyword followed by the class name, also called a constructor.
Predefined classes like p5.Vector are useful, but you’ll likely encounter situations where you need a set of fields that are not captured by any existing classes. For example, p5.Vector gives you x and y fields, but what if you also wanted your object to contain r, g, and b fields so each instance had its own color?
This tutorial teaches you how to define your own classes, which lets you group together any set of fields you can think of.
State
The first step in creating your own class is identifying what state you want to capture to describe objects. Let’s start with an example that doesn’t use any classes or objects:
This sketch uses four variables to store the state of a circle that bounces around the window.
So the state consists of four variables: circleX, circleY, xSpeed, and ySpeed.
Now, let’s say you wanted to show 10 circles bouncing around the screen. You could create four arrays: xArray, yArray, xSpeedArray, and ySpeedArray. But working with four different parallel arrays is confusing, so you might look for a class that contains those four variables. The p5.Vector class is pretty close, but it only contains x, y, and z fields.
Defining a Class
Instead of using a predefined class like p5.Vector, you can define your own class.
To define a class, use the class keyword, then give your class a name. Then inside curly brackets {}, write the body of the class. The body consists of a constructor and any functions you want inside the class. Let’s start with the constructor.
A constructor looks a lot like a function, except it has a special name: constructor. Most constructors take values as parameters and use those to set class-level variables to store the state of the object.
class Circle {
  constructor(x, y, xSpeed, ySpeed) {
    this.x = x;
    this.y = y;
    this.xSpeed = xSpeed;
    this.ySpeed = ySpeed;
  }
}
This constructor takes four arguments, and then uses the this keyword to assign the value of those arguments to class-level variables. (More on this in the this keyword section below.)
You can put this class definition anywhere in your sketch. I usually put my class definitions at the bottom.
Now that you’ve defined a Circle class, you can use it just like you used the p5.Vector class.
You can create a variable at the top of your sketch:
let myCircle;
Then inside the setup() function, you can use the new keyword to create a new instance of Circle:
myCircle = new Circle(150, 150, 1, 2);
The myCircle variable now points to an instance of Circle with x = 150, y = 150, xSpeed = 1, and ySpeed = 2.
In the draw() function, you can use the dot operator to access the fields inside the myCircle variable:
circle.x += circle.xSpeed;
if (circle.x < 0 || circle.x > width) {
  circle.xSpeed *= -1;
}
Putting it all together, it looks like this:
This code defines a Circle class that contains x, y, xSpeed, and ySpeed fields, and then creates an instance of that class to represent a circle bouncing around the screen.
this Keyword
You might be wondering what’s going on with the code inside the Circle constructor. What does this mean?
When you’re inside a class, the this keyword refers to the current instance. Variables without a this. before them are either temporary “local” variables (like the arguments passed into the Circle constructor) or “global” variables (like the width and height variables). For example, look at a specific line:
this.x = x;
This line of code says “set this instance’s x variable to the value of the local variable named x“.
If it helps you follow the code, you can give the constructor parameters different names than the class-level variables:
class Circle {
  constructor(xValue, yValue, xSpeedValue, ySpeedValue) {
    this.x = xValue;
    this.y = yValue;
    this.xSpeed = xSpeedValue;
    this.ySpeed = ySpeedValue;
  }
}
But the pattern of using the same name for class variables and constructor arguments is very common, so you’ll likely encounter it in code written by other people.
Class Functions
So far you’ve learned how to define a class that includes a set of fields, and a constructor that sets those fields.
Remember that classes can also contain functions, like the add() function of the p5.Vector class. These functions often do something based on the values of the instance’s fields.
Defining a class function is a lot like defining a sketch function like setup() and draw().
To define a function inside your class, give it a name, and then list any arguments in () parentheses. Then in {} curly brackets, write the code that should run when that function is called. Note that you don’t need to use the function keyword for class functions!
Here’s an example:
class Circle {
  constructor(x, y, xSpeed, ySpeed) {
    this.x = x;
    this.y = y;
    this.xSpeed = xSpeed;
    this.ySpeed = ySpeed;
  }

  move() {
    this.x += this.xSpeed;
    if (this.x < 0 || this.x > width) {
      this.xSpeed *= -1;
    }

    this.y += this.ySpeed;
    if (this.y < 0 || this.y > height) {
      this.ySpeed *= -1;
    }
  }

  display() {
    circle(this.x, this.y, 50);
  }
}
The move() function uses the class variables to handle moving and bouncing the circle, and the display() function draws the circle.
This means your sketch-level draw() function can be simplified, since all of the logic has been moved inside the Circle class:
function draw() {
  background(50);
  myCircle.move();
  myCircle.display();
}
Now instead of containing a bunch of code that moves, bounces, and draws the circle, the draw() function tells the circle to move and draw itself.
Putting it all together, it looks like this:
Let Objects Handle Themselves
When you create a class, you should try to include everything about an object inside that class. In other words, a class should be self-contained, so that the code that uses that class doesn’t need to worry about the details.
For example, the Circle class includes everything needed to move, bounce, and display a circle, which means the draw() function can tell the circle to do its thing instead of containing a bunch of circle-bouncing logic.
This process of including everything about an object inside a class is called encapsulation. The Circle class encapsulates the concept of a bouncing circle, so the draw() function can tell the circle to move, bounce, and draw itself, instead of doing all of that work directly.
function draw() {
  background(50);

  myCircle.move();
  myCircle.display();
}
This is a little subtle, but it lets you organize your code into logical pieces, which becomes very important as you work with more complex code. This also helps you work with other people: imagine you’re responsible for the draw() function, and somebody else is responsible for creating a new Square class that showed a bouncing square. What would you be responsible for? What would they be responsible for? This way of “thinking in objects” lets you draw clear lines between coders, which makes working on a team much more manageable.
Creating Many Instances
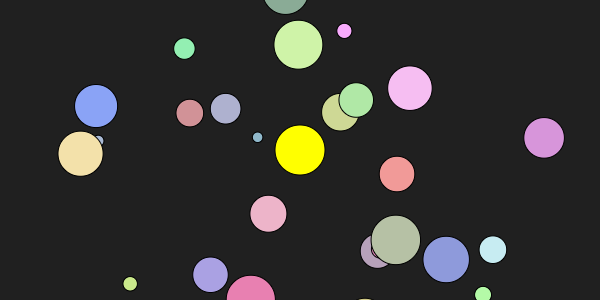
Let’s get back to the goal of showing 10 circles bouncing around the screen.
Now that you’ve encapsulated the concept of a bouncing circle inside the Circle class, you can create multiple instances of that class to add more circles to your sketch.
To do that, you can use an array that holds Circle instances:
let circles = [];
This line of code creates an empty array that will hold Circle instances. This doesn’t create any Circle instances yet! You still have to create the instances and add them to the array:
for(let i = 0; i < 10; i++) {
  circles[i] = new Circle(random(width), random(height), random(-3, 3), random(-3, 3));
}
This for loop creates ten instances of the Circle class, each with a random x, y, xSpeed, and ySpeed value.
Then you can loop over the array to move and draw each circle:
for(let i = 0; i < circles.length; i++) {
  circles[i].move();
  circles[i].display();
}
Putting it all together, it looks like this:
Now if you want to add more circles, you only have to change the size of the array. And if you want to modify the logic of every circle (to wrap to the left side of the screen when it goes off the right side, or to change color, or to change size), then you only have to change the code in one place: inside the Circle class. That’s encapsulation!
Instance State
The important thing to understand about objects is that each instance is a self-contained unit. Changing one instance, either by modifying its fields directly or by calling its move() function , does not change the other instances. That’s why you can have many circle instances bouncing around the screen, all with their own internal values for their x, y, xSpeed, and ySpeed fields.
Objects can contain other objects!
So far, the Circle class has contained four primitive fields representing its state: x, y, xSpeed, and ySpeed. But nothing prevents you from using other objects inside your class!
For example, here’s the Circle class rewritten to use p5.Vector instances:
class Circle {
  constructor(x, y, xSpeed, ySpeed) {
    this.position = new p5.Vector(x, y);
    this.speed = new p5.Vector(xSpeed, ySpeed);
  }

  move() {
    this.position.add(this.speed);

    if (this.position.x < 0 || this.position.x > width) {
      this.speed.x *= -1;
    }

    if (this.position.y < 0 || this.position.y > height) {
      this.speed.y *= -1;
    }
  }

  display() {
    circle(this.position.x, this.position.y, 50);
  }
}
This Circle class uses p5.Vector instances to represent its position and its speed. The rest of the sketch (the setup() and draw() functions) can stay the same, because the Circle class encapsulates its own internal representation of a bouncing circle.
Other Approaches
The above approach for defining a class and then creating instances of that class follows the latest JavaScript best practices, and it’s what I personally recommend using. But there are a couple other approaches to creating objects that you’ll likely see in other people’s code, so I wanted to at least mention them here.
Object Literals
Another way to create objects in JavaScript is to use an object literal, which is a comma-separated list of property:value pairs inside { } curly brackets. Here’s an example:
This code creates a myCircle variable and points it to an object literal that contains x, y, and size fields. It then uses the myCircle variable in the draw() function to draw a circle.
It’s also possible to include a function inside an object literal:
This code adds a display() function to the object literal that myCircle points to, and then calls that function from the draw() function.
You’ll often see object literals for objects that only contain a small number of fields. But if your objects contain many fields, or if they contain functions, it’s probably a better idea to use proper classes like you saw above.
Constructor Functions
Another older approach for defining a class is to use a constructor function. Here’s an example:
In this code, Circle is a constructor function, which was how classes were defined in JavaScript before the 2015 version of JavaScript introduced proper classes.
You should not use constructor functions in new code, but you’ll probably see them in other people’s code, so I wanted to mention them.
Thinking in Objects
Like I mentioned in the using objects tutorial, objects aren’t just a new way of organizing your code, they’re a new way of thinking about your code.
Like many things in coding, there isn’t a single “correct” way to approach object oriented programming. From here on out, a lot of code becomes more subjective than you might expect. It’s less about what’s correct, and more about what makes the most sense to you.
Does it make more sense to represent a bouncing circle as four primitive variables, or does it make more sense to use two p5.Vector instances? Does that change if you were to encapsulate the concept of a color for each circle? What about a size?
There isn’t a right or wrong answer to any of those questions. That can be frustrating and confusing, but I also find it beautiful in its own way. The code you write is an extension of how your brain organizes the world.
Just don’t forget the this keyword.
Homework
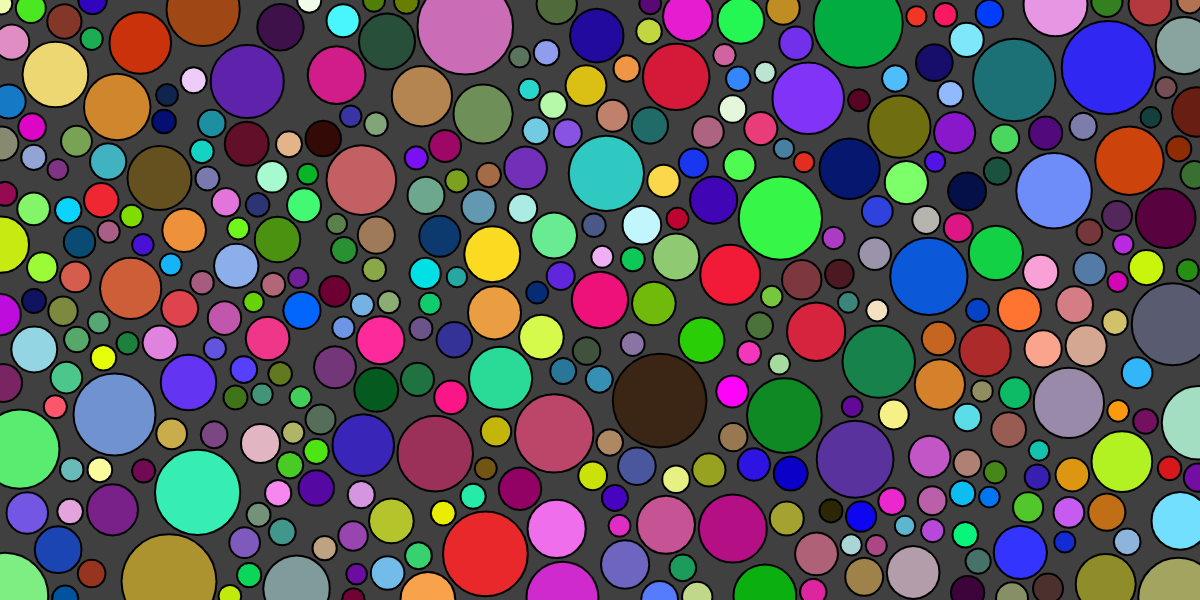
- Modify the bouncing circles program to make every circle have a random color and size.
- Make it so all of the circles restart at the position of the cursor when the user clicks the mouse.
- Create a fireworks program. When the user clicks, display an explosion at that position. Hint: your explosion can be 100 red circles that fly off in random directions.
- Create a flocking simulation. Start with circles that move randomly around the screen. Then add logic that makes every circle follow the circle closest to it, or the average position of the 10 closest circles.
- Remember the scene you drew in a previous homework? Convert it to use objects, and then animate it by having those objects move over time. For example, if I drew a garden scene, maybe I would use
Flowerobjects that grow over time.
