Hour of Code


Hour of Code
- What is programming?
- Download Processing
- Calling Functions
- The Processing Reference
- You are now a programmer.
- Example: Smiley Face
- Using Variables
- Example: Sized Smiley Face
- Creating Variables
- The
random()Function - Creating Functions
- Animation
- If Statements
- Example: Random Walker
- User Input
- What’s next?
The Hour of Code is a challenge: spend an hour of your time learning how to code. You’d be amazed at what you can accomplish in that amount of time!
The Hour of Code was organized by Code.org as a way to get more people involved in programming- especially people who might not consider themselves “typical” computer scientists. The “official” Hour of Code takes place during Computer Science Education Week in December, but you can try it out any time!
The idea is not that you’ll be an expert after one hour, but you will have a better understanding of what computer science is, and you’ll know where to go from here.
Time is ticking, so let’s dive right in:
What is programming?
Programming is the process of writing instructions that a computer can follow. Of course, computers can’t understand English (not yet anyway), so those instructions are written in code.
By writing code, you can create computer programs. The web browser you’re viewing this page with is a program. Apps and games are also programs. Basically, anything a computer can run is a program, and those programs are written using code.
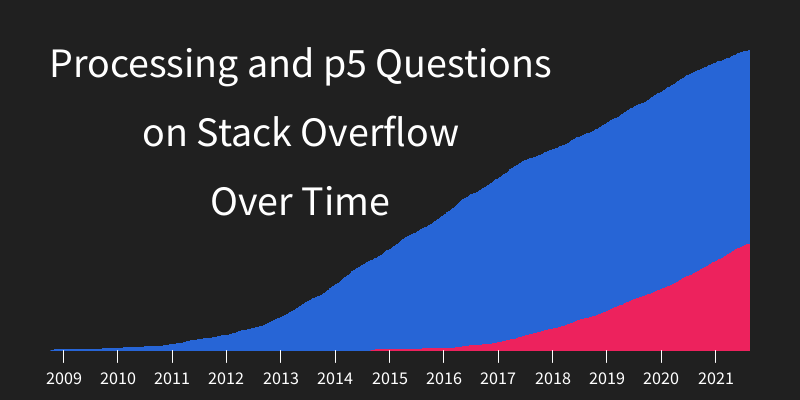
There are different code langauges, and we’ll be using a language called Processing. Processing is designed to make it easy to make animated, interactive, and artistic programs. Here are some example programs written using Processing.
When people think of code, they often think of boring ones and zeroes, but there’s more to it than that. Code allows you to create pretty much anything you can think of. It’s more of an art or a craft than most people realize, and plenty of artists use code to express themselves.
Processing was designed with that in mind.
Download Processing
You can download Processing from here. It’s free, so you can click the No Donation checkbox for now. If you end up loving Processing, feel free to come back and donate some money. But for now, let’s just download it.
The download gives you a .zip file. Double click the .zip file and then drag the directory inside it anywhere. (For now, putting it on your desktop is fine.) That gives you a directory, and inside that directory is a processing.exe file (or a similar runnable file on Mac and Linux). Run that file!
That opens up the Processing editor, which looks like this:
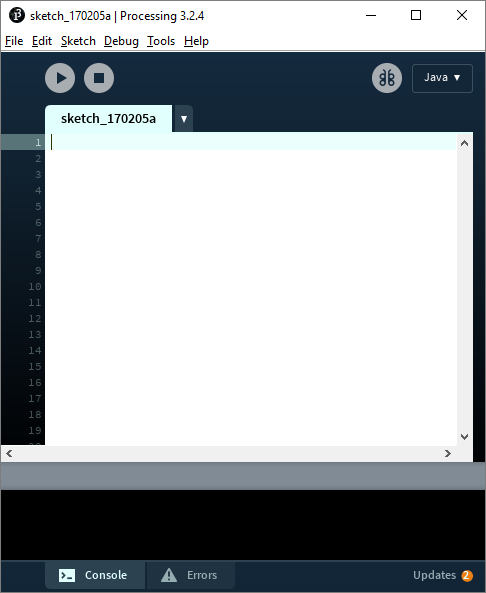
This is where we’ll be writing our code. This is a code editor, which is a lot like a basic text editor except it has extra features like coloring the text so it’s easier to read code, and the run button (the triangular button in the upper-left corner) that runs your code.
If you can’t download the Processing editor (because you’re on a mobile device or on a computer with restricted download rules), that’s okay. You can use the embedded code editors below.
Calling Functions
Now that we have Processing downloaded, we can start writing code.
You can think of code as a series of instructions. Think about how you might give driving directions to somebody else:
drive 5 miles
turn left
drive 3 miles
The other person takes your instructions and follows each one, one after the other. Code works in the same way: you write instructions, and the computer follows each one, one at a time, one after the other. A single instruction is called a function, and you call functions to tell the computer what to do.
In your Processing editor, type this line of code and hit the run button:
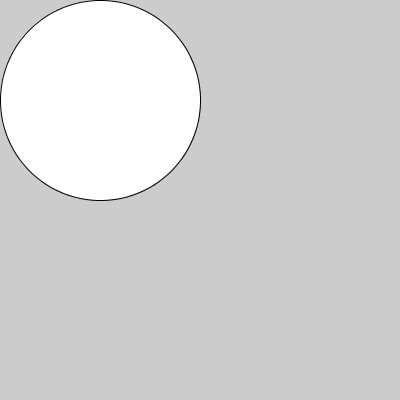
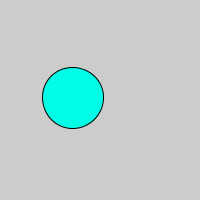
ellipse(50, 50, 75, 75);
And you should see this:

You can also run the code directly in the browser using this embedded editor:
See the Pen by Happy Coding (@KevinWorkman) on CodePen.
Congratulations on writing your first line of code! ![]()
![]()
This line of code is a single instruction that calls the ellipse() function. The ellipse() function tells the computer to draw a circle, and the numbers in the ( ) parentheses tell it where and how big to draw it. Try changing some of the numbers to see what each one means!
Those numbers are called parameters, and they give the computer more information about exactly what you want it to do. Think of them as the 5 in the drive 5 miles instruction. You tell the computer to jump, and it asks you how high. In this case, the first parameter specifies an X value for the circle (its horizontal position, the distance from the left edge of the window), the second parameter specifies a Y value (its vertical position, the distance from the top edge of the window), the third parameter specifies the circle’s width, and the fourth parameter specifies its height.
Don’t forget the semicolon! Similar to how we end our sentences with a . period, we end each line of code with a ; semicolon. Forgetting to add a semicolon is one of the most common programming mistakes, so just keep it in mind as you write your code.
The Processing Reference
Believe it or not, you’ve just taken the hardest step. Now you know what programming is, and you know how to write code by calling functions and passing in parameters. Now it’s “just” a matter of knowing what functions are out there and what parameters they need.
Let me introduce you to your new best friend: the Processing reference. This page lists (almost) every function that you can call in Processing, and clicking on a function gives you more information about what parameters it takes.
This might seem overwhelming, but you don’t have to memorize anything. Instead, bookmark this page and come here whenever you’re curious about how to do something. This should be your first stop whenever you’re confused or need more info.
For example, let’s say we wanted to branch out and draw a rectangle. We’d start by looking at the reference and scanning for a function that sounded promising. (If we still couldn’t find it, we could Google “Processing draw rectangle” which would take us to the specific reference page.) Sure enough, we eventually find the rect() function!
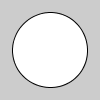
We can read the rect() reference to learn that it takes the same parameters as the ellipse() function: an X, a Y, a width, and a height. With that in mind, we can add a rectangle to our program:
ellipse(40, 40, 60, 60);
rect(40, 40, 50, 50);
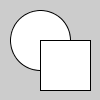
See the Pen by Happy Coding (@KevinWorkman) on CodePen.
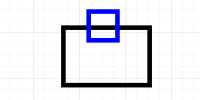
Notice that the rectangle is drawn on top of the circle, because the computer is following your instructions in order. Think of it like painting a circle on a piece of paper, and then painting a rectangle over top of it.
You are now a programmer.
At its core, programming is a process of coming up with a goal, reading the documentation and doing Google searches to learn how to accomplish that goal, and then writing code that accomplishes that goal. From here on we’re just going to do that over and over again.
Let’s make our window bigger, change its background color, and color our shapes. Before you scroll down and look at the code, try to find the functions that do each of those things, and then try to write the code yourself!
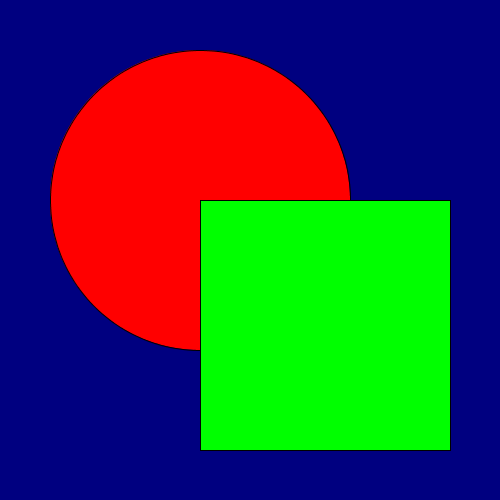
Hopefully you found the size() function which takes a window width and window height, the background() function which takes red, green, and blue values that mix together to form a background color, and the fill() function which also takes red, green, and blue values to color the shapes. Our code might look like this:
size(500, 500);

background(0, 0, 128);

fill(255, 0, 0);
ellipse(200, 200, 300, 300);

fill(0, 255, 0);
rect(200, 200, 250, 250);
This code calls the size() function to create a window that’s 500x500 pixels instead of the default 100x100, then it calls the background() function and passes in three parameters. The three parameters are red, green, and blue values (also known as RGB values) from 0-255 that mix together to form a color. In this case it’s just a blue value of 128, which is dark blue.
Then it calls the fill() function, which also takes RGB values, in this case red. Think of this like dipping a paintbrush in red paint, and then using that paintbrush to paint a circle when the ellipse() function is called in the next line. Then it calls the fill() function again, this time passing in a green RGB value, and finally it uses that brush to paint a green rectangle.
See the Pen by Happy Coding (@KevinWorkman) on CodePen.
Can you add a yellow triangle to your program?
Example: Smiley Face
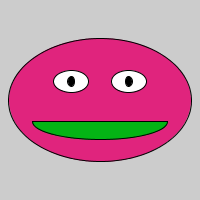
Here is an example program that takes everything we’ve learned so far (coming up with a goal, looking stuff up in the reference, and writing code that accomplishes that goal) and draws a smiley face:
size(200, 200);

//green
fill(0, 255, 0);

//draw the head
ellipse(100, 100, 150, 150);

//white
fill(255);

//draw the eyes
ellipse(75, 85, 30, 20);
ellipse(125, 85, 30, 20);

//black
fill(0);

//draw the pupils
ellipse(75, 85, 10, 10);
ellipse(125, 85, 10, 10);

//red
fill(255, 0, 0);

//draw the mouth
arc(100, 125, 80, 50, 0, 3.14);
line(60, 125, 140, 125);
The lines that start with // forward slashes are comments and are ignored by the computer. They’re just there for us to help understand our own code. Also, the arc() function is probably new to you, but remember you can always consult the Processing reference to learn more about a function!
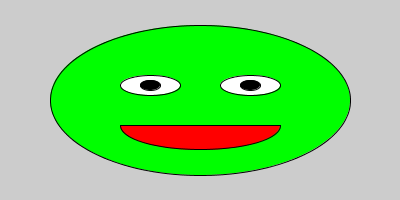
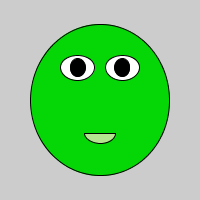
This code draws a smiley face:
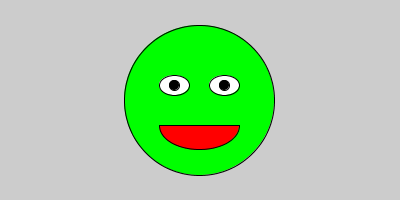
See the Pen by Happy Coding (@KevinWorkman) on CodePen.
Using Variables
Now you know how to call the size() function to change the size of the window, and you know how to pass parameters into functions like the ellipse() function to draw shapes.
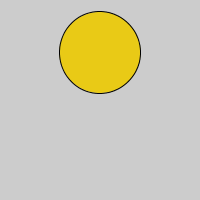
Let’s say we want to draw a circle that takes up the entire window. We could do that using this code:
size(200, 200);
ellipse(100, 100, 200, 200);
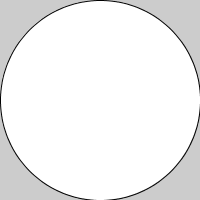
This code calls the size() function to create a 200x200 pixel window. Then it calls the ellipse() function and gives it a center of 100,100, which is in the center of the 200x200 window. It also gives the circle a size of 200x200, so it takes up the whole window.
But what if we wanted to change the window size?
size(400, 400);
ellipse(100, 100, 200, 200);
Now we’ve changed the size of the window, but we haven’t change the position or size of our circle. Think about where the coordinate 100,100 is in our 200x200 window, and where that same coordinate is in a 400x400 window.
We end up drawing the cirlce in the upper-left corner of our window. To fix this, we could go through and change every parameter. That wouldn’t be too bad in this example program, but what about the smiley face program? Or an even more complicated program with hundreds of lines of code? Plus we’d have to repeat that process every time we changed the window size!
Wouldn’t it be nice if the computer could just remember the size of the window and base the parameters off that instead? That’s what variables are for!
After the size() function is called, we can use the width and height variables, which hold the size of the window. We can use them exactly like we can use values. We can also use operators (math stuff like +, -, *, and /) with variables. So we could rewrite our circle program to use variables instead of hard-coding the parameters ourselves:
size(400, 400);
ellipse(width/2, height/2, width, height);
Now our code uses the width and height variables. Using width/2 gives us halfway between the left and right side of the window, and height/2 gives us halfway between the top and bottom of the window. Try thinking of a few example window sizes and then calculating width/2 and height/2 to see why this makes sense. The last two parameters of width and height make the circle’s size match the window size.
See the Pen by Happy Coding (@KevinWorkman) on CodePen.
What happens if you call size(200, 100) or size(300, 600)?
Example: Sized Smiley Face
We can use the width and height variables in our smiley face program to make sure it scales with the window size:
size(200, 200);

//green
fill(0, 255, 0);

//draw the head
ellipse(width*.5, height*.5, width*.75, height*.75);

//white
fill(255);

//draw the eyes
ellipse(width*.375, height*.425, width*.15, height*.1);
ellipse(width*.625, height*.425, width*.15, height*.1);

//black
fill(0);

//draw the pupils
ellipse(width*.375, height*.425, width*.05, height*.05);
ellipse(width*.625, height*.425, width*.05, height*.05);

//red
fill(255, 0, 0);

//draw the mouth
arc(width*.5, height*.625, width*.4, height*.25, 0, 3.14);
line(width*.3, height*.625, width*.7, height*.625);
See the Pen by Happy Coding (@KevinWorkman) on CodePen.
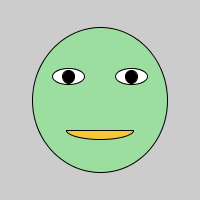
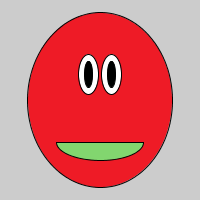
If we change the first line of our code to size(400, 200), then we get a wider smiley face:
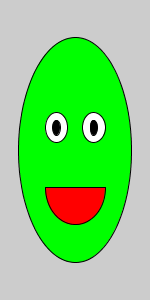
If we change the first line of our code to size(150, 300), then we get a taller smiley face:
You can read this example for more info on exactly how we figure out what values to multiply width and height by. But for now just keep in mind that you can use variable to store values, which makes it easier to write code that changes over time.
Creating Variables
You aren’t limited to the predefined width and height variables that Processing gives you. You can also create your own variables!
To create a variable, you give it a type, a name, and a value. It looks like this:
float x = 50;
This line of code creates a float variable (meaning it will hold a number) named x that holds a value of 50. You can now use this variable just like you can use the width and height variables:
float x = 50;
ellipse(x, 40, 25, 25);
You can create as many variables as you want:
float circleX = 50;
float circleY = 50;
float circleWidth = 75;
float circleHeight = 75;
ellipse(circleX, circleY, circleWidth, circleHeight);
You can also set the value of a variable using other variables:
float circleX = width/2;
float circleY = height/2;
float circleWidth = width*.75;
float circleHeight = height*.75;
ellipse(circleX, circleY, circleWidth, circleHeight);
See the Pen by Happy Coding (@KevinWorkman) on CodePen.
This simple example might not seem very useful, but variables come in handy when you want to base your code off of a value that can change. One example is when using the random() function.
The random() Function
The random() function gives you a random number between two parameters each time you call it, which you can then pass into a function as a parameter or store in a variable.
float x = random(0, 100);
//x is now a random number between 0 and 100
That might not seem very useful, but it allows you to create programs that do different things every time they’re run, or to generate new and unexpected behavior.
For example, this program draws a randomly colored, randomly placed, and randomly sized circle every time the program is run:
float circleX = random(0, width);
float circleY = random(0, height);
float circleSize = random(20, 100);
fill(random(0, 255), random(0, 255), random(0, 255));
ellipse(circleX, circleY, circleSize, circleSize);

See the Pen by Happy Coding (@KevinWorkman) on CodePen.
(Try clicking the “rerun” button in the lower-right of the code editor.)
We can combine everything we’ve learned so far to create a program that draws a random smiley face!
size(200, 200);

//place face in middle of window
float faceX = width/2;
float faceY = height/2;

//smallest face is half the window, biggest face is whole window
float faceWidth = random(width/2, width);
float faceHeight = random(height/2, height);

//random face color
fill(random(255), random(255), random(255));

//draw the head
ellipse(faceX, faceY, faceWidth, faceHeight);

//random eye size
float eyeWidth = random(faceWidth*.1, faceWidth*.25);
float eyeHeight = random(faceHeight*.1, faceHeight*.25);

//random eye position
float spaceBetweenEyes = random(eyeWidth, eyeWidth*2);
float leftEyeX = faceX - spaceBetweenEyes/2;
float rightEyeX = faceX + spaceBetweenEyes/2;
float eyeY = faceY - random(faceHeight*.1, faceHeight*.25);

//white
fill(255);

//draw the eyes
ellipse(leftEyeX, eyeY, eyeWidth, eyeHeight);
ellipse(rightEyeX, eyeY, eyeWidth, eyeHeight);

//random pupil size
float pupilWidth = random(eyeWidth*.1, eyeWidth*.9);
float pupilHeight = random(eyeHeight*.1, eyeHeight*.9);

//black
fill(0);

//draw the pupils
ellipse(leftEyeX, eyeY, pupilWidth, pupilHeight);
ellipse(rightEyeX, eyeY, pupilWidth, pupilHeight);

//random mouth size and Y
float mouthWidth = random(faceWidth*.2, faceWidth*.8);
float mouthHeight = random(faceHeight*.1, faceHeight*.3);
float mouthY = faceY + random(faceHeight*.1, faceHeight*.25);

//random mouth color
fill(random(255), random(255), random(255));

//draw the mouth
arc(faceX, mouthY, mouthWidth, mouthHeight, 0, 3.14);
line(faceX - mouthWidth/2, mouthY, faceX + mouthWidth/2, mouthY);
This code is getting pretty complicated, but just take it one line at a time. Think about exactly what each line does. Write it out in English if that helps! It can seem overwhelming to look at the finished code, but you wouldn’t write this entire program all at one time. You’d start by showing a circle, then making it so the circle is randomly sized, and then you would add random colors. You’d get that working first before moving onto the eyes, which you’d work through in a similar process. That’s the process you already learned: defining a goal, looking through the reference, and writing code.
Anyway, random faces!
See the Pen by Happy Coding (@KevinWorkman) on CodePen.
This idea of using code to create random art is called procedural generation, and it has a lot of really cool uses.
Creating Functions
So far, the code we’ve written has been a single list of instructions that the computer follows, and then the program is done.
But you can also write code that is called more than once, which allows you to draw scenes that change over time, to create animations, or to interact with the user. You do this by creating functions and then putting your code (which itself calls other functions) inside those functions. Here’s an example:
void setup() {
  size(200, 200);
}

void draw() {
  fill(random(255), random(255), random(255));
  ellipse(random(width), random(height), 20, 20);
}
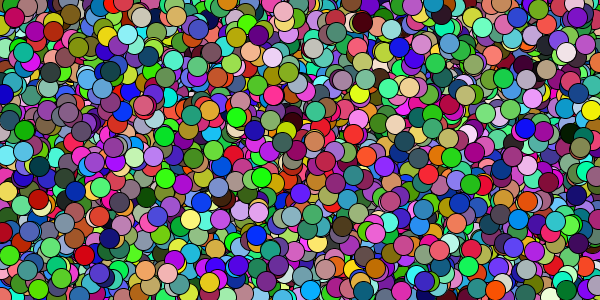
This code creates two functions: a setup() function and a draw() function. Inside the setup() function, the code creates a 200x200 window, and in the draw() function the code draws a randomly colored and randomly placed circle.
And here’s the important part: Processing automatically runs the code in the setup() function once at the beginning of a program, and then it runs the code in the draw() function 60 times per second.
So now instead of drawing a single random circle, our program draws 60 random circles every second!
See the Pen by Happy Coding (@KevinWorkman) on CodePen.
Try adding a call to the background() function as the first line inside the draw() function to see what happens.
Animation
Now you know how to create variables, and how to use the draw() function to execute code 60 times per second. You can combine those ideas to change the value of a variable over time, which allows you to create animations!
You know that you can set the value of a variable based on another variable:
float circleY = width/2;
After a variable is created, you can also set its value based on itself, which uses its old value to come up with a new value:
float circleY = 50;
circleY = circleY + 10;
//circleY is now 60
If we use this idea with the draw() function, we can change the value of a variable over time. And if we base our drawing on that changing variable, our drawing will change over time, creating an animation.
float circleY = 25;

void draw(){
  background(200);
  ellipse(50, circleY, 10, 10);

  circleY = circleY + 1;
}
This code creates a variable named circleY and sets it to 25. Then every time the draw() function is called, the code draws a gray background and then draws a circle using the circleY variable as its vertical position. Then the code adds 1 to the circleY variable. Next time the draw() function is called, the circleY function is a bit higher, which moves the circle further away from the top of the screen.
In other words, it looks like the circle is falling:

See the Pen by Happy Coding (@KevinWorkman) on CodePen.
If Statements
Our animation isn’t very interesting, because as soon as the circle leaves the screen, the program is over. It would be nice if we could detect when the circle leaves the screen and then do something else, like reset the circle or even make it bounce. That’s where if statements come in handy.
An if statement is a way of asking a yes or no question and then only executing code if the answer is yes. Let’s add one to our program:
float circleY = 25;

void draw(){
  background(200);
  ellipse(50, circleY, 20, 20);

  circleY = circleY + 1;

  if(circleY > height){
    circleY = 0;
  }
}
This is exactly like the previous program, except at the end of the draw() function there’s an if statement that checks whether circleY is greater than height (in other words, if the circle has fallen off the bottom of the window). If so, it resets the circleY variable to 0, which moves the circle back to the top of the window. Note that the circleY = 0 line only happens if circleY is greather than height, otherwise that line is skipped!

See the Pen by Happy Coding (@KevinWorkman) on CodePen.
But we aren’t limited to falling circles! Let’s see another example:
Example: Random Walker
float x;
float y;
float shade;

void setup() {
  size(200, 100);

  //start in middle of screen
  x = width/2;
  y = height/2;
  shade = 128;
}

void draw() {

  //randomly move the point
  x = x + random(-1, 1);
  y = y + random(-1, 1);

  //wrap left and right
  if(x < 0){
    x = width;
  }
  if(x > width){
    x = 0;
  }

  //wrap top and bottom
  if(y < 0){
    y = height;
  }
  if(y > height){
    y = 0;
  }

  //randomly change the color
  shade = shade + random(-1, 1);

  //don't let the color go outside the bounds
  if(shade < 0){
    shade = 0;
  }
  if(shade > 255){
    shade = 255;
  }

  //set the color
  stroke(shade);

  //draw the point
  point(x, y);
}
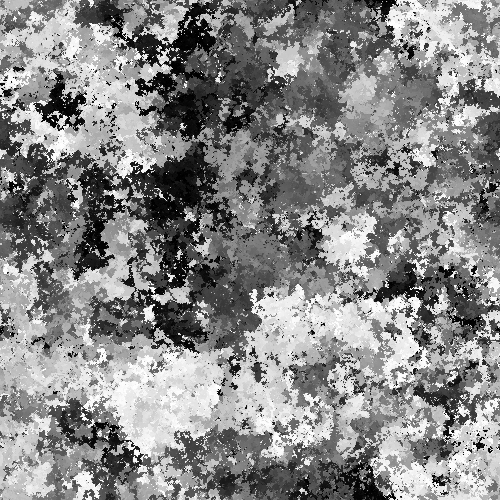
This program stores a point in x and y variables, as well as a shade of gray in the shade variable. Then in the draw() function, the code randomly increases or decreases the x and y variables, and uses if statements to wrap the point to the other side when it goes off the screen. Similarly, the code randomly increases or decreases the shade variable, and uses if statements to prevent it from going outside the bounds of 0-255. Then it simply draws the point.
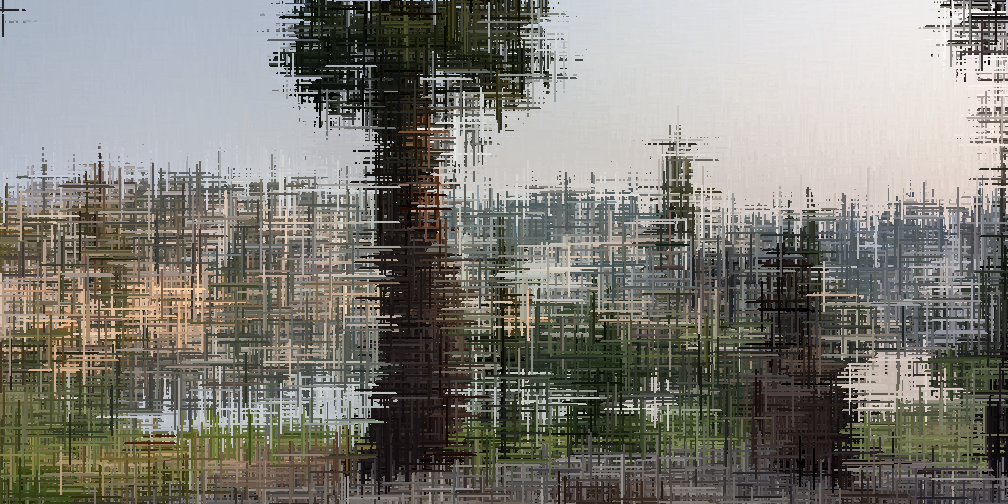
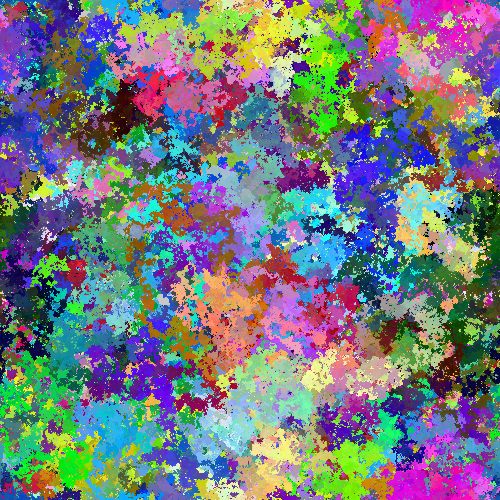
It does this 60 times per second, which results in “scribbling” randomly on the screen. It’s not too exciting to watch, but if you leave it alone for a while it results in cool looking scenes like this:
Try writing code that adds color!
See the Pen by Happy Coding (@KevinWorkman) on CodePen.
This is a real algorithm called the random walker, and it has a ton of real-life uses. I just like it because it makes pretty pictures. ![]()
User Input
So far, our programs have not been interactive. They’ve involved randomness, but they haven’t reacted to anything the user does. Let’s add code that interacts with the user moving the mouse!
Similarly to how the width and height variables store the size of the window, the mouseX and mouseY variables hold the current position of the mouse. We can use these variables to draw stuff where the mouse is:
void setup() {
  size(400, 200);
}

void draw() {
  ellipse(mouseX, mouseY, 50, 50);
}
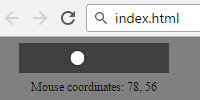
This code simply draws a circle wherever the mouse is.
See the Pen by Happy Coding (@KevinWorkman) on CodePen.
Try changing this code so the circle chases the mouse instead of drawing right on top of it! Hint: Store the circle’s position in variables, and change them using if statements based on whether they’re greater than or less than the mouse coordinates.
There are a bunch of other variables (and functions) that you can use to interact with the user. Another example is the mousePressed variable, which you can use with an if statement to execute code when the user is pressing the mouse:
void setup() {
  size(400, 200);
}

void draw() {
  if(mousePressed){
    ellipse(mouseX, mouseY, 50, 50);
  }
}
Now our code only draws a circle if the mouse is pressed, which turns this into a simple drawing program!
See the Pen by Happy Coding (@KevinWorkman) on CodePen.
Congratulations, you’ve completed the Hour of Code! ![]()
![]()
What’s next?
This Hour of Code wasn’t really designed to teach you how to code. It was designed to teach you how to learn how to code. So it’s okay if you don’t remember much of what you just read, like exactly what an if statement looks like. That part isn’t really important.
The important part is this: now you know what code is, and what programming is. It’s defining a goal, consulting the reference (and Google) to learn how to do something, and then writing code and seeing what happens. Notice that writing code comes last!
From here, you could spend some time just playing with what we’ve learned so far. Here are a couple random ideas that you should be able to do using only the stuff we talked about so far:
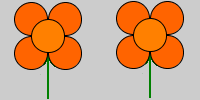
- Draw something! This can be whatever you want: a garden of flowers, or an ocean of creatures, or a space scene full of aliens. Make it as realistic or as beautiful or as funny as you want. Get creative!
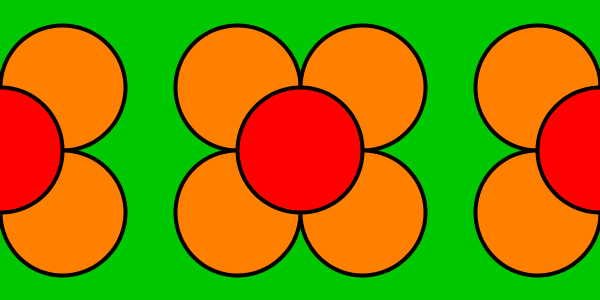
- Create a procedural generator that draws random cats, or even random versions of the scene in the above idea.
- Create a piece of interactive art!
- You could even make a simple game, like Pong. Make it interesting by adding your own twist to it!
But again, this Hour of Code wasn’t meant to make you an expert coder. We left out a lot, and glossed over some of the more complicated stuff. So if programming seems like something you’d like to learn more about, you might want to spend some more time doing the regular tutorials here.
If you have any questions, or feedback on this (was anything too complicated or not interesting enough?) please contact me or come say hello on the forum!