Setup (Java 8)


Setup (Java 8)
To use Google Cloud, we first have to install a few tools that Google Cloud uses.
Java
First, make sure you have Java installed. If you’ve already been writing Java, this is probably done already.
If not, you can download Java from here. Make sure you download the JDK, not the JRE.
Path
After you install Java, make sure your Java directory is added to your PATH environment variable. You can follow these directions.
At this point you should be able to execute javac -version in a command line window.
JAVA_HOME
Next, set your JAVA_HOME environment variable so it points to your Java directory.
Maven
We’re going to use Maven to run our programs and deploy to Google Cloud.
Download Maven from here and then follow these instructions to add your Maven directory to your PATH environment variable.
At this point you should be able to execute mvn -version in a command line window.
Google Cloud Project
To use Google Cloud, we first have to create a Google Cloud Project. This will give us access to all of the tools in Google Cloud.
Go to console.cloud.google.com and then create project (direct link here).
You should see something like this:
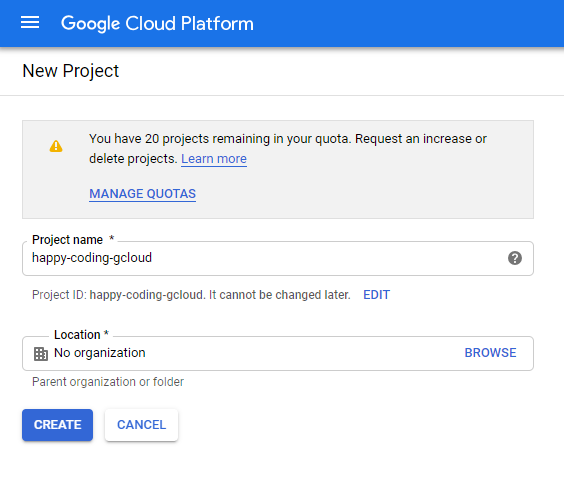
Give your project a name and then click the Create button.
When that step finishes finishes, you should see something like this:

Note the Project ID on this page, because you’re going to need it later.
App Engine Project
App Engine is a Google Cloud framework for launching and running your code on Google servers so anyone can access it using a public URL.
To use App Engine, we first have to create an App Engine application. This tells Google to spin up a server that we can use to deploy our code.
From console.cloud.google.com, expand the navigation menu on the left, and then click the App Engine link. (Direct link here.) You should see something like this:
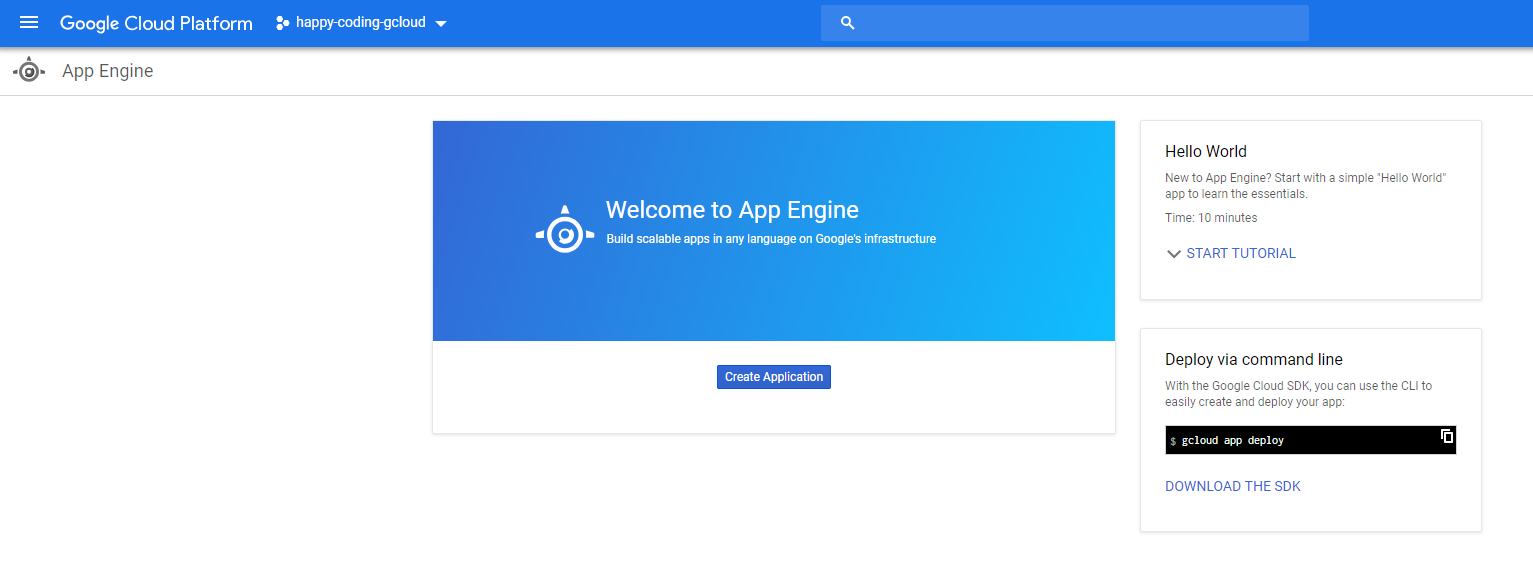
Click the Create Application button. You’ll then see a screen like this:
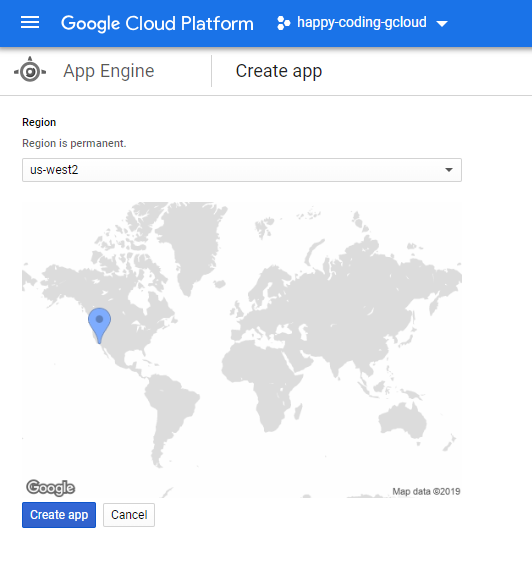
This lets you choose where in the world your server is hosted. You can read more about this here. In real life you’d choose a location closest to where most of your users are, but for now the default is fine.
Click the Create app button.
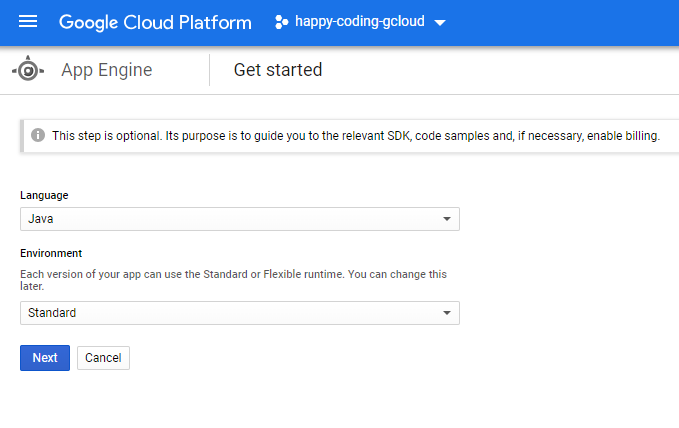
On this screen, choose Java for the language, and Standard as the environment, and click the Next button.
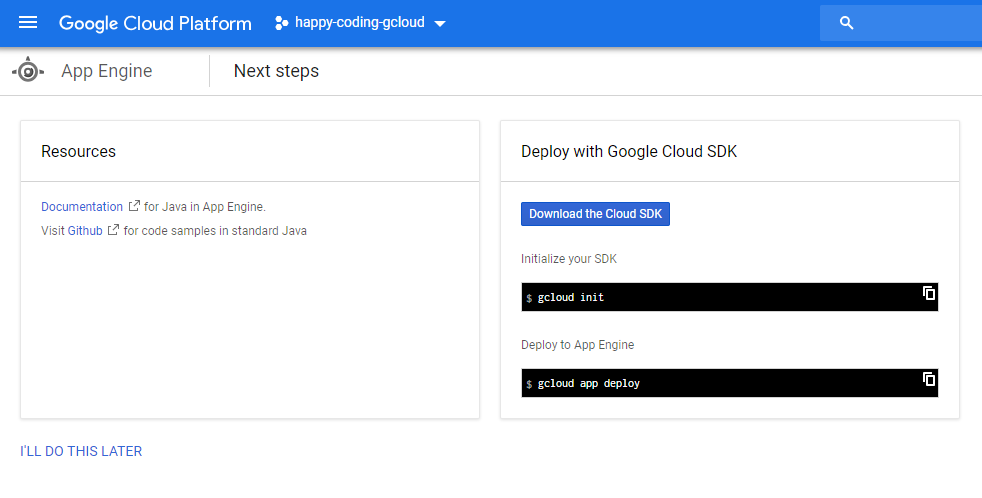
On the last screen, you can click the I'll do this later button at the bottom.
You’re done! If App Engine displays an option for deploying a sample project, you can ignore that. We’re going to deploy our own project in a minute.
Hello World
You can download a barebones example webapp from here.
This project contains 4 files:
hello-world/pom.xmlis a Maven POM file and defines our project.src/main/is a directory that contains our code.webapp/is a directory that contains web files.index.htmlis an HTML file that shows static content.
WEB-INF/is a directory that contains files we don’t want users to access, like config files.appengine-web.xmlis a config file that sets up our App Engine deployment.
java/is a directory that contains our server-side code.io.happycoding.servletsis a Java package.HelloWorldServlet.javais a Java servlet that runs server-side code and returns some HTML content.
Running Locally
Navigate to the hello-world directory in a command line, and then execute this command:
mvn appengine:devserver
Tip: This is the most common command you’ll use when developing Google Cloud projects, so remember it! (Or bookmark this page.)
This tells Maven to use the App Engine Plugin defined in the pom.xml file to deploy our project to a local server. In other words, this turns our computer into a server that runs our code. This is very helpful for testing out code during development, before you deploy it to your live server.
The first time you run this command it’ll take a couple minutes while it automatically downloads all of the libaries it needs. After this first time it’ll be much faster.
When the command completes and you see Dev App Server is now running in your command line, visit this url in a web browser:
This URL points to the local server that we just ran. You should see this:
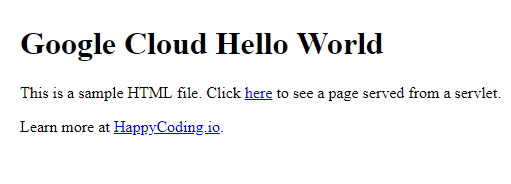
This is the HTML content of the index.html file in our project.
Navigate to localhost:8080/hello to view the content that’s served by the HelloWorldServlet class.
You can bring your server down by pressing ctrl+c in your command line. Try making a simple change to the index.html and HelloWorldServlet files and running the server again to see your change.
Deploying to App Engine
Running a local server is useful for developing, but eventually you’ll probably want to deploy your code to a live URL so other people can see it.
First, open up the appengine-web.xml file and find this line:
<application>YOUR_PROJECT_ID</application>
Change YOUR_PROJECT_ID to be your actual project ID, which you can find at console.cloud.google.com.
Finally, navigate to the hello-world directory in a command line, and then execute this command:
mvn appengine:update
This command tells Maven to use the App Engine plugin defined in the pom.xml file to deploy our project to the App Engine application inside our Google Cloud project. In other words, it deploys our code to our live site.
The first time you run this command, it will open up a web browser that asks you to login to your Google account. When you login, you’ll see a page with a code of random letters and numbers. Copy this code, paste it back into your command line, and then press enter.
When this command completes, you can navigate to YOUR_PROJECT_ID.appspot.com to view the live version of your project. You can also send this URL to other people for them to see your work.
IDEs
The hello world project, and any projects that follow a similar setup, should work with any editor or IDE.
If you’re using Eclipse or Intellij, you can import it as a Maven project.
You can also use editors like Atom, Sublime, or Notepad++.
I personally use Eclipse or Intellij to edit code, but I prefer to use the command line to deploy.
