Google Maps


Google Maps
Google Maps lets users get directions, see what’s nearby, and explore the world. Google Maps is also available as a JavaScript library, which lets you write code to create maps and geospatial visualizations of your own data.
API Keys
When you load the Google Maps JavaScript library, you have to give it an API key. An API key is a special string that tells the library which Google Cloud project to associate requests with. So before you can start writing code, you need to obtain a Google Maps API key.
Follow the Google Maps documentation to get an API key. It will look like a long string of random characters.
Note: In a real project, you’d probably create two API keys: one that you use for local testing, and another that you use for your live site. To prevent attackers from using your live API key, you’d restrict it to only work with your live URL.
Hello World
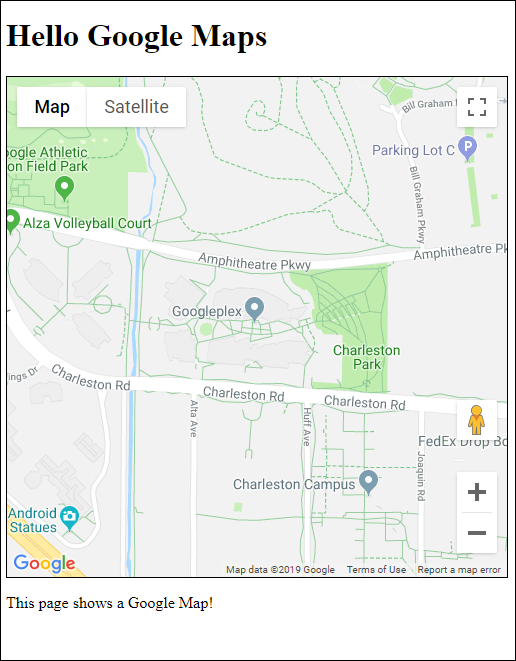
Here’s an example that adds a Google Map to a webpage:
<!DOCTYPE html>
<html>
<head>
  <title>Hello Google Maps</title>
  <script src="https://maps.googleapis.com/maps/api/js?key=YOUR_API_KEY"></script>
  <script>
    function createMap(){
      const map = new google.maps.Map(document.getElementById('map'), {
        center: {lat: 37.422, lng: -122.084},
        zoom: 16
      });
    }
  </script>
  <style>
    #map {
      width: 500px;
      height: 500px;
      border: thin solid black;
    }
  </style>
</head>
<body onload="createMap();">
  <h1>Hello Google Maps</h1>
  <div id="map"></div>
  <p>This page shows a Google Map!</p>
</body>
</html>
Loading the Library
This line loads the Google Maps library:
<script src="https://maps.googleapis.com/maps/api/js?key=YOUR_API_KEY"></script>
Make sure you put this line before any of your code that uses the library. This is called synchronous loading.
You can also load the library asynchronously instead.
Creating a Map
To create a Google Map, you can call the google.maps.Map() constructor and pass it a parent element and an options argument:
function createMap(){
  const map = new google.maps.Map(document.getElementById('map'), {
    center: {lat: 37.422, lng: -122.084},
    zoom: 16
  });
}
The parent element is an element that’s in your HTML, and the map will be displayed inside that element. You can use CSS to set the width and height of the map element.
The options argument is a set of properties used to configure the map. You must at least provide a center and a zoom, but there are many other optional properties you can also change. See this page for a full list. Try styling your map or experimenting with different map types.
Exploring the API
This tutorial isn’t meant to introduce every single thing you can do with the Google Maps API. Instead, I’d encourage reading through the Google Maps documentation for the library to get an idea of the kinds of things you can do.
But here are a few common features that might come in handy.
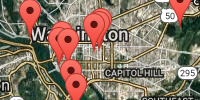
Markers
Markers are red pins that highlight specific locations. You can use Marker objects to show pins on your map.
Add this to your createMap() function:
const trexMarker = new google.maps.Marker({
  position: {lat: 37.421903, lng: -122.084674},
  map: map,
  title: 'Stan the T-Rex'
});
(Full code on GitHub.)
This code creates a new Marker that gets added to your map.
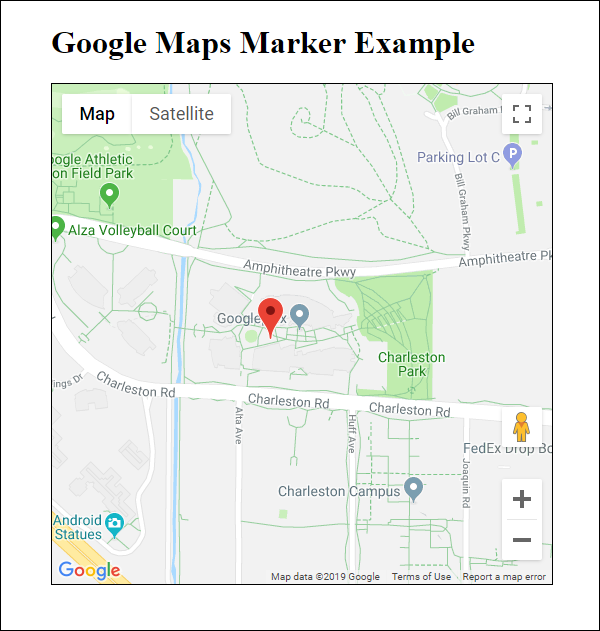
The map now shows a red marker. Try looking through the Google Maps documentation and changing the settings of the marker: change its position, or its color.
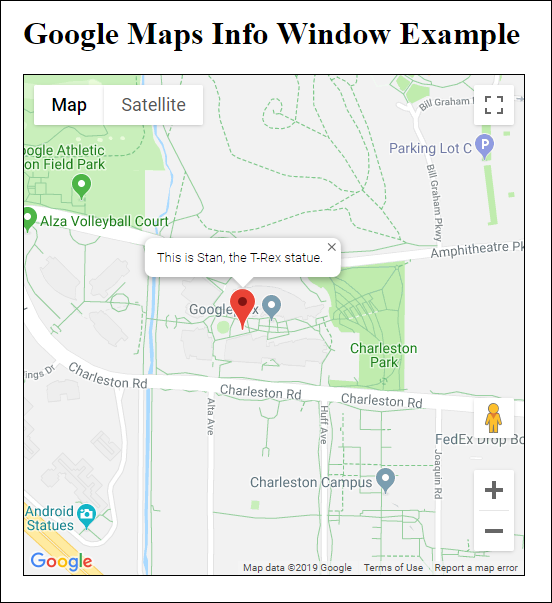
Info Windows
Now you have a marker on your map, but it doesn’t tell you very much. To give your users more information, you can read through the Google Maps documentation page, which introduces info windows.
Info windows are small popup boxes that display on top of a Google Map. You can use an info window on your map to add a description to your marker. Add this to your createMap() function:
const trexInfoWindow = new google.maps.InfoWindow({
  content: 'This is Stan, the T-Rex statue.'
});
trexInfoWindow.open(map, trexMarker);
(Full code on GitHub.)
This code creates a new InfoWindow and opens it on your marker.
Events
Now you have an info window, but it displays as soon as the page loads, and the user has no way to reopen it after they close it. If you want to show the info window when the user clicks the marker, you can look through the documentation to find this sample and this reference page to learn more about events.
In this case, you’d want to add a click listener to the marker:
trexMarker.addListener('click', function() {
  trexInfoWindow.open(map, trexMarker);
});
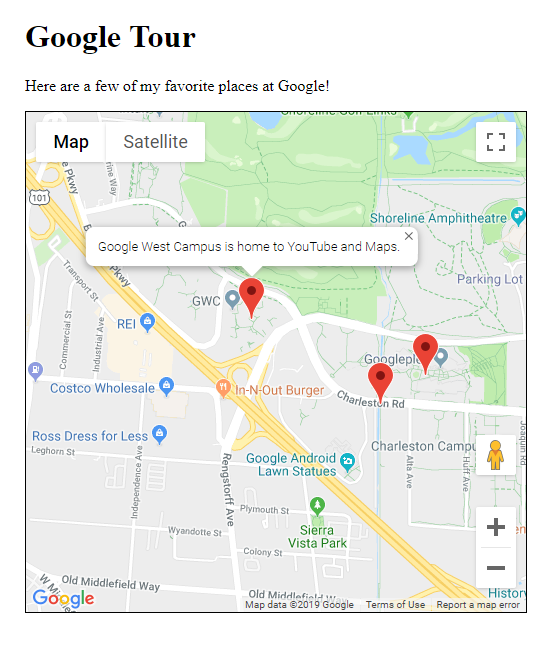
You can use everything you’ve read so far to create multiple markers that each show an info window when clicked. View the full code here.
Other Features
Don’t be afraid to look through the documentation for the Google Maps API to learn more about other features you can take advantage of. You can also use google search to find other features: for example, googling “Google Maps JavaScript API street view” will return a ton of results.
