Servlets


Servlets
- Servlet Classes
- Compiling Servlet Classes
- Annotations
- Query Parameters
- URL Paths
- Multiple Servlets
- Mixing Static and Dynamic Content
- Outputting HTML
- Examples
So far, you’ve learned how to run a Jetty or Tomcat server, and you know how to set up a static web app. This tutorial introduces servlets which lets you write Java code that runs on your server to fulfill requests.
Servlet Classes
A servlet is a Java class that runs certain functions when a user requests a URL from a server. These functions contain code that reacts to a user’s actions, and can do things like save data to a database, execute logic, and return information needed to render a page.
To build a servlet, create a class that extends the HttpServlet class, and then define a request handler function. You’ll learn about different types of request handlers later, but to get started, define a doGet() function:
package io.happycoding;

import java.io.IOException;
import jakarta.servlet.annotation.WebServlet;
import jakarta.servlet.http.HttpServlet;
import jakarta.servlet.http.HttpServletRequest;
import jakarta.servlet.http.HttpServletResponse;

@WebServlet("/hello")
public class HelloWorldServlet extends HttpServlet {

  @Override
  public void doGet(HttpServletRequest request, HttpServletResponse response)
      throws IOException {
    response.setContentType("text/html;");
    response.getWriter().println("<h1>Hello world!</h1>");
  }
}
This code defines a HelloWorldServlet class, which extends the HttpServlet class. It overrides the doGet() function, which takes a HttpServletRequest and a HttpServletResponse as parameters. Inside the doGet() function, the code gets a PrintWriter from the response and outputs some HTML content to it.
Compiling Servlet Classes
Just like any other Java file, you have to compile your servlet into a .class file. The only trick is that we need to make sure the Java servlet API is on our classpath.
Read Anatomy of a Web App for a few approaches you can use to compile your server classes. To help you get started, here are some example projects:
Annotations
The HelloWorldServlet class doesn’t have a main() function, so how do you run it? The answer is you don’t! Instead, you need to tell your server to run the code when a user requests a certain URL from it. To do that, the code uses the @WebServlet annotation.
...
@WebServlet("/hello")
public class HelloWorldServlet extends HttpServlet {
...
This annotation tells your server that this servlet class will handle any requests sent to the /hello URL.
So far, you’ve only seen GET requests which are triggered when you navigate to a URL in a web browser. When your server receives a GET request for the /hello URL, it automatically calls the doGet() function of the servlet with the matching annotation.
Query Parameters
So far, you’ve been mapping a single URL to a servlet. But you can make more advanced requests.
For example, you can read query parameters in your servlet and use them in your Java code. You do this using the request.getParameter() function, like this:
import java.io.IOException;
import java.io.PrintWriter;
import jakarta.servlet.annotation.WebServlet;
import jakarta.servlet.http.HttpServlet;
import jakarta.servlet.http.HttpServletRequest;
import jakarta.servlet.http.HttpServletResponse;

@WebServlet("/hello")
public class HelloWorldServlet extends HttpServlet {

	@Override
	public void doGet(HttpServletRequest request, HttpServletResponse response) throws IOException {

		String name = request.getParameter("name");

		PrintWriter out = response.getWriter();
		out.println("<h1>Hello " + name + "</h1>");
		out.println("<p>Nice to meet you!</p>");
	}
}
This servlet uses the request.getParameter() function to get the name parameter, and it uses that to output a greeting in HTML. Add this code to your servlet and then visit /hello?name=Kevin to see this:
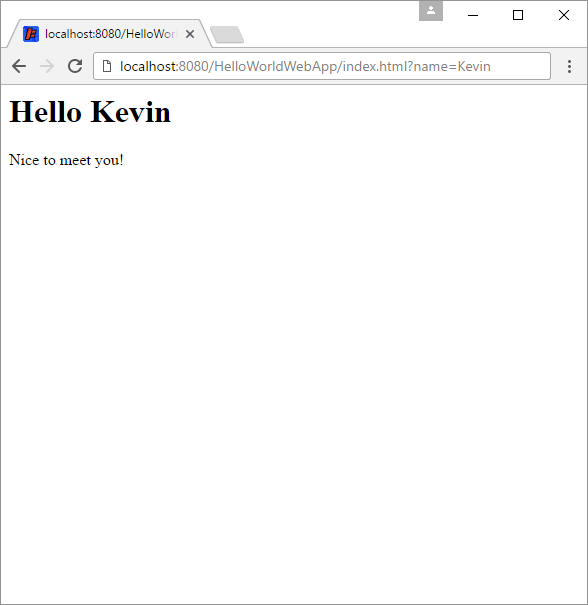
Try changing the query parameter to see different names!
URL Paths
Remember that the @WebServlet annotation on a servlet class tells your server which URL to map the servlet to. For example, this annotation maps the index.html URL to a servlet:
@WebServlet("/index.html")
In addition to single URLs, you can also use the asterisk * wildcard symbol to map multiple URLs to the same servlet. Here’s an example:
@WebServlet("/hello/*")
This annotation maps any URL that starts with /hello/ to the servlet. So any of these URLs would trigger the servlet’s response functions:
/HelloWorldWebApp/hello//hello/Ada/hello/Grace/Hopper
This lets you generate different content depending on the URL. In your servlet, you can use the request.getRequestURI() function, which gives you the URL after the domain (the http://localhost:8080 or example.com part).
So if you visit /hello/Kevin, you can get the /hello/Kevin part of the URL using the request.getRequestURI() function. Then to get the Kevin part, you can use the substring() function. Putting it all together, it looks like this:
import java.io.IOException;
import java.io.PrintWriter;
import jakarta.servlet.annotation.WebServlet;
import jakarta.servlet.http.HttpServlet;
import jakarta.servlet.http.HttpServletRequest;
import jakarta.servlet.http.HttpServletResponse;

@WebServlet("/hello/*")
public class HelloWorldServlet extends HttpServlet {

	@Override
	public void doGet(HttpServletRequest request, HttpServletResponse response) throws IOException {

		String requestUrl = request.getRequestURI();
		String name = requestUrl.substring("/hello/".length());

		PrintWriter out = response.getWriter();
		out.println("<h1>Hello " + name + "</h1>");
		out.println("<p>Nice to meet you!</p>");
	}
}
Then visit /hello/Kevin and you should see this:
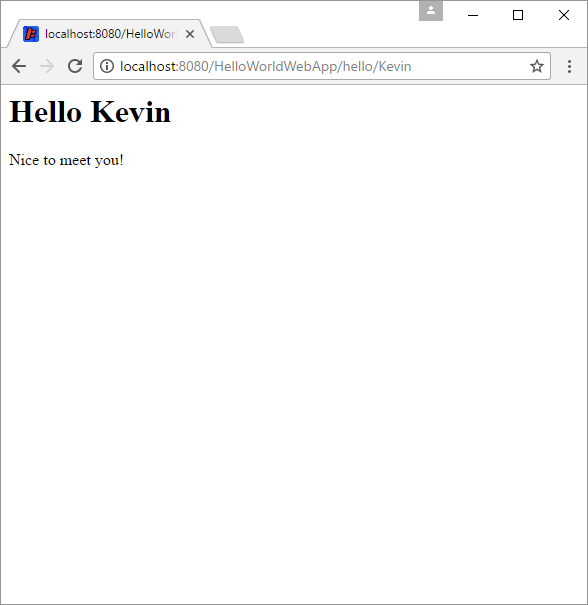
Now try going to different URLs to change the greeting. Imagine how hard this would be with with static HTML files!
Multiple Servlets
So far, all of the example web apps have contained a single servlet. But you aren’t limited to just using one servlet at a time. Your web app can contain multiple servlets!
Add another servlet to your web app by creating another class that extends the HttpServlet class:
import java.io.IOException;
import java.io.PrintWriter;
import java.util.Date;
import jakarta.servlet.annotation.WebServlet;
import jakarta.servlet.http.HttpServlet;
import jakarta.servlet.http.HttpServletRequest;
import jakarta.servlet.http.HttpServletResponse;
@WebServlet("/date.html")
public class DateServlet extends HttpServlet {
@Override
public void doGet(HttpServletRequest request, HttpServletResponse response) throws IOException {
Date now = new Date();
PrintWriter out = response.getWriter();
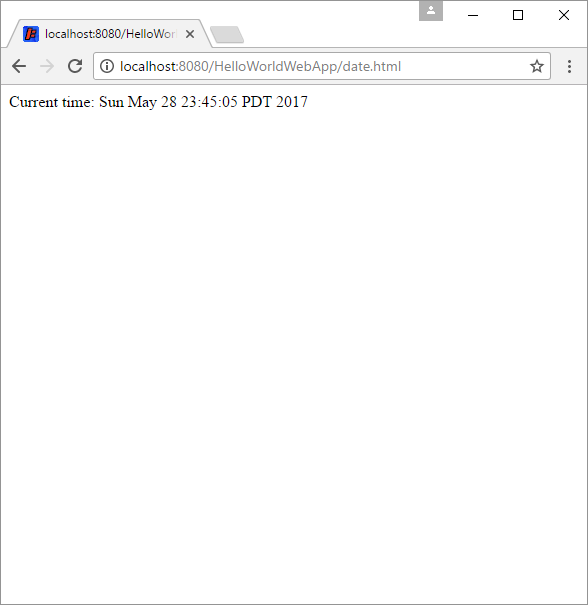
out.println("<p>Current time: " + now.toString() + "</p>");
}
}
Compile this code the same way you compiled your first servlet class, and then open a browser to /date.html and you should see this:
You can also still visit URLs like /hello/Felicia to trigger your first servlet.
Most web apps will consist of several servlets, which is a handy way to split up your logic.
Mixing Static and Dynamic Content
In the setup tutorials, you learned how to serve static files from your server. This tutorial showed you how to create dynamic content using a servlet class. But it’s not an either-or thing: you can serve both static files and dynamic content from the same server!
For example, add this static index.html page to your web app:
<!DOCTYPE html>
<html>
	<head>
		<title>My Web App</title>
	</head>
	<body>
		<h1>Welcome to my web app!</h1>
		<p>Here are some names in the greeting servlet:</p>
		<ul>
			<li><a href="/hello/Ada">Ada<a></li>
			<li><a href="/hello/Grace">Grace<a></li>
			<li><a href="/hello/Hal">Hal<a></li>
		</ul>
		<p><a href="/date.html">Here</a> is the current time servlet.</p>
	</body>
</html>
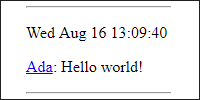
Save this to a file named index.html using the directory structure introduced in the Anatomy of a Web App tutorial. Then open a browser to /index.html and you should see this:
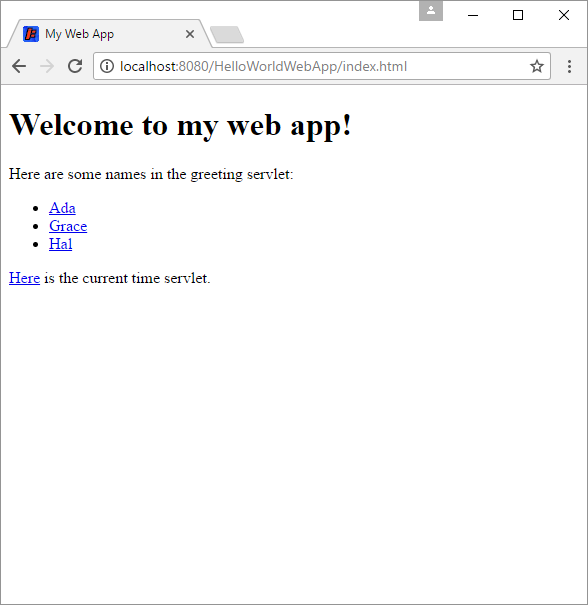
This new index.html file is a static page that links to the servlet URLs. This approach of mixing static and dynamic content is useful when you have some sites that should always be the same (like a homepage or an about page), but other pages that should change (like user profiles or data fetched from a database). It’s also useful for storing stuff like CSS files and images, which you can use in your dynamic HTML.
Outputting HTML
In the examples above, the servlets didn’t output a full HTML page. I did this mostly to keep them shorter, but you can output a full HTML page from your servlet. That might look like this:
import java.io.PrintWriter;
import java.io.IOException;
import java.util.Date;
import jakarta.servlet.annotation.WebServlet;
import jakarta.servlet.http.HttpServlet;
import jakarta.servlet.http.HttpServletRequest;
import jakarta.servlet.http.HttpServletResponse;

@WebServlet("/date.html")
public class MyServlet extends HttpServlet {

	@Override
	public void doGet(HttpServletRequest request, HttpServletResponse response) throws IOException {
		PrintWriter out = response.getWriter();
		out.println("<!DOCTYPE html>");
		out.println("<html>");
		out.println("<head>");
		out.println("<title>My Web App</title>");
		out.println("</head>");
		out.println("<body>");
		out.println("<h1>My Web App</h1>");
		out.println("<p>The current time is: " + new Date().toString() + "</p>");
		out.println("</body>");
		out.println("</html>");
	}
}
This code is meant as an example of outputting a full HTML page to the client. It’s pretty unwieldy though, so you’ll learn better ways to do that in the next tutorial.
