Jetty Setup


Jetty Setup
- Download Jetty
- Jetty Home and Jetty Base
- Initialize Jetty Base
- Run Jetty
- Hello World Web App
- Root Web App
- More Info
- Examples
This tutorial walks through the process of using Jetty to run a server on your computer. Running a local Jetty server is handy for testing things out without needing to update (or pay for) a live server.
Jetty is a popular Java server, especially because of its ability to run embedded in any Java application. You can learn how to do that in the embedded Jetty tutorial, or you can keep reading to use Jetty as its own server container.
Download Jetty
Jetty is bundled as a jetty-home directory inside a .zip file, which you can download from here.
Download that file, and then unzip the directory anywhere. I put mine on my desktop. You can always move it later.
Jetty Home and Jetty Base
The jetty-home directory contains everything you need to run a Jetty server, but it doesn’t contain your actual server code or webpages. You need to create a separate directory for your code.
Create a jetty-base directory. You can call it anything, and you can put it anywhere. I called mine jetty-base and put it on my desktop for now.
As a general rule, you’ll never change anything in the jetty-home directory (the directory you downloaded, which contains a start.jar file), and you’ll put all of your code and files in your jetty-base directory.
Note: Previous versions of Jetty did not separate jetty-home and jetty-base, and you would put your code directly in Jetty’s home directory. But as of Jetty 10, you should keep your code separate from Jetty’s home directory.
Initialize Jetty Base
Right now, your jetty-base directory is empty. To initialize it with some files that Jetty needs, you can run the start.jar file inside your jetty-home directory. There are two ways to do this:
Option 1: Open a command line to your jetty-home directory, and then run the start.jar file and pass it the jetty.base argument:
cd /path/to/your/jetty-home
java -jar start.jar jetty.base=/path/to/your/jetty-base --add-module=server,http,deploy,annotations
For example, I would run these commands:
cd C:\Users\kevin\Desktop\jetty-home-11.0.5
java -jar start.jar jetty.base=C:\Users\kevin\Desktop\jetty-base --add-module=server,http,deploy,annotations
Option 2: Open a command line to your jetty-base directory, and then use the full path to start.jar:
cd /path/to/your/jetty-base
java -jar /path/to/your/jetty-home/start.jar --add-module=server,http,deploy,annotations
For example, I would run these commands:
cd C:\Users\kevin\Desktop\jetty-base
java -jar C:\Users\kevin\Desktop\jetty-home-11.0.5\start.jar --add-module=server,http,deploy,annotations
In both cases, you’re running start.jar and telling it where your jetty-base directory is, either through the jetty.base argument or from cd-ing into it first. Then you’re telling it to add the server, http, deploy, and annotations modules, which you’ll need as you work through the rest of the tutorials.
Your jetty-base directory should now contain a few configuration files. You can open them if you’re curious, but you won’t need to change them.
Run Jetty
Now that you’ve initialized your jetty-home directory, you can run a Jetty server!
Just like before, you need to run the start.jar file and tell it where your jetty-base directory is, either through the jetty.base parameter or by cd-ing into it first.
Option 1: Open a command line to your jetty-home directory, and then run the start.jar file and pass it the jetty.base argument:
cd /path/to/your/jetty-home
java -jar start.jar jetty.base=/path/to/your/jetty-base
For example, I would run these commands:
cd C:\Users\kevin\Desktop\jetty-home-11.0.5
java -jar start.jar jetty.base=C:\Users\kevin\Desktop\jetty-base
Option 2: Open a command line to your jetty-base directory, and then use the full path to start.jar:
cd /path/to/your/jetty-base
java -jar /path/to/your/jetty-home/start.jar
For example, I would run these commands:
cd C:\Users\kevin\Desktop\jetty-base
java -jar C:\Users\kevin\Desktop\jetty-home-11.0.5\start.jar
Tip: These commands are the exact same thing as the initialization commands, but without the --add-module=server,http,deploy,annotations part.
Your command line should print out some info, ending with a line that contains Started Server. That means you’re running Jetty!
Open a web browser and navigate to http://localhost:8080/ which should give you an error that looks like this:
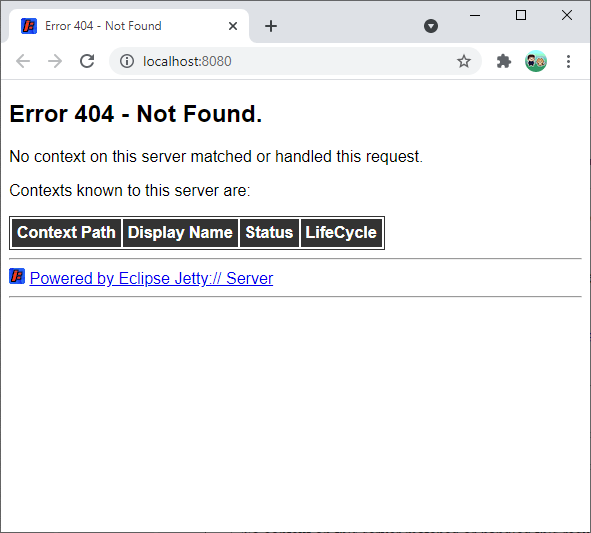
If you’re seeing this, that’s a good thing! It means that Jetty is running, but you haven’t added any web apps to it. Let’s do that now!
Hello World Web App
You can think of a web app as a website and everything in it, including its server code. Now that you have Jetty running, you can add web apps to it!
In your jetty-base folder, notice the webapps directory. This is where your web apps will go.
To add a web app to your server, create a folder inside the webapps directory, and then add your files inside your folder.
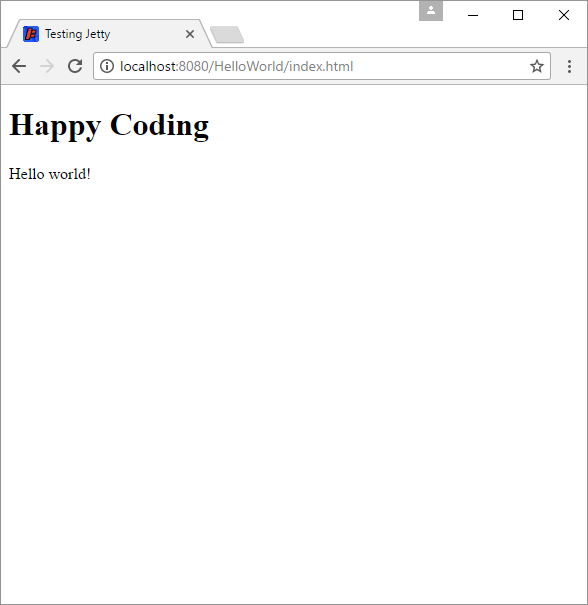
For example, create a HelloWorld folder inside your webapps directory. Inside the HelloWorld directory, save this HTML to a file named index.html:
<!DOCTYPE html>
<html>
	<head>
		<title>Testing Jetty</title>
	</head>
	<body>
		<h1>Happy Coding</h1>
		<p>Hello world!</p>
	</body>
</html>
Your directory structure should look like this:
-
jetty-base/-
resources/(files you don't care about)
-
start.d/(files you don't care about)
-
webapps/-
HelloWorld/index.html
-
-
Now open your web browser to http://localhost:8080/HelloWorld/index.html, and you should see this:
Notice that you didn’t have to restart the Jetty server. It should automatically detect changes to the webapps folder.
Congratulations, you just wrote your first web app! ![]()
Example Project
So far, the whole web app is a single HTML file, but if it helps, you can view and download this example project here:
Root Web App
Notice that the URL for your web app contains the HelloWorld directory. This is useful if you have multiple web apps running on the same server, but you also might want to create a “top level” web app that doesn’t include its name in its URL. To do that, create a web app named root.
In your webapps directory, create another folder named root. And in that root folder, save this HTML to another file named index.html:
<!DOCTYPE html>
<html>
	<head>
		<title>Root Web App</title>
	</head>
	<body>
		<h1>Root Web App</h1>
		<p><a href="http://localhost:8080/HelloWorld/index.html">Here</a> is a link to the Hello World app.</p>
	</body>
</html>
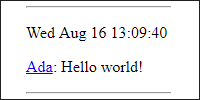
Now open up your web browser to http://localhost:8080/index.html, and you should see this:
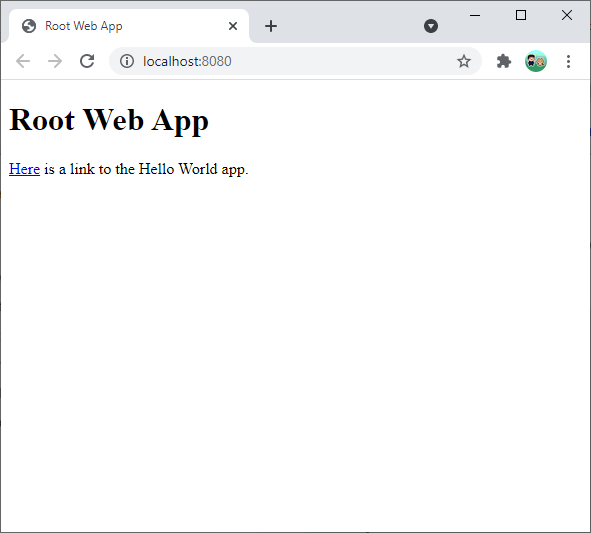
Note that this URL does not contain the root directory.
Also note that you can link between web apps, just like you can link between web pages- because that’s what these are!
More Info
-
This Stack Overflow answer helped me understand the difference between
jetty-homeandjetty-base.