GitHub Profile README


GitHub Profile README
GitHub is a website that lets you post your code so you can keep it organized and share it with other people. It’s a little bit like social media for coders, and it’s a great way to show off your code and to see what other folks are working on.
GitHub profile READMEs let you customize your GitHub profile and make it your own. They’re also a great way to introduce yourself to GitHub and HTML!
This tutorial walks you through the process of creating a GitHub profile README, and ends on some next steps for creating your own webpage using GitHub Pages!
Before you get started, sign up for a GitHub account.
Git
Git is a tool that lets you store your files so you can work from multiple computers, or with other people. It’s commonly used by people working on code projects together, since it lets everybody work with the same files. It’s also handy when you’re working on your own, because it lets you track your changes over time.
Git is a version control system which is a fancy way of saying that Git helps you track different versions of files. If you’ve ever written a paper and then saved a file called my-paper-final.txt and then realized you needed to change it, so you saved a file called my-paper-final-2.txt and then made even more changes, eventually saving a file called my-paper-final-really-final-this-time-3.txt, then that’s another kind of version control system. Git is a way of automating that.
I’m mentioning Git because GitHub uses it behind the scenes. But for now, you only need to keep in mind that GitHub is a website that uses git to let people collaborate on coding projects.
Create a Repo
GitHub uses the concept of repositories to organize your files. A repository (also called a repo) is a top-level directory that contains your files and folders. A repo also gives you control over who can make changes to your files, as well as ways to track feature requests and bug reports, and a bunch of other features that are useful for working on code with a group.
Eventually you might create a repo that holds the code you’ve written in p5.js or Processing, but for now let’s focus on creating a repo that contains your profile README file.
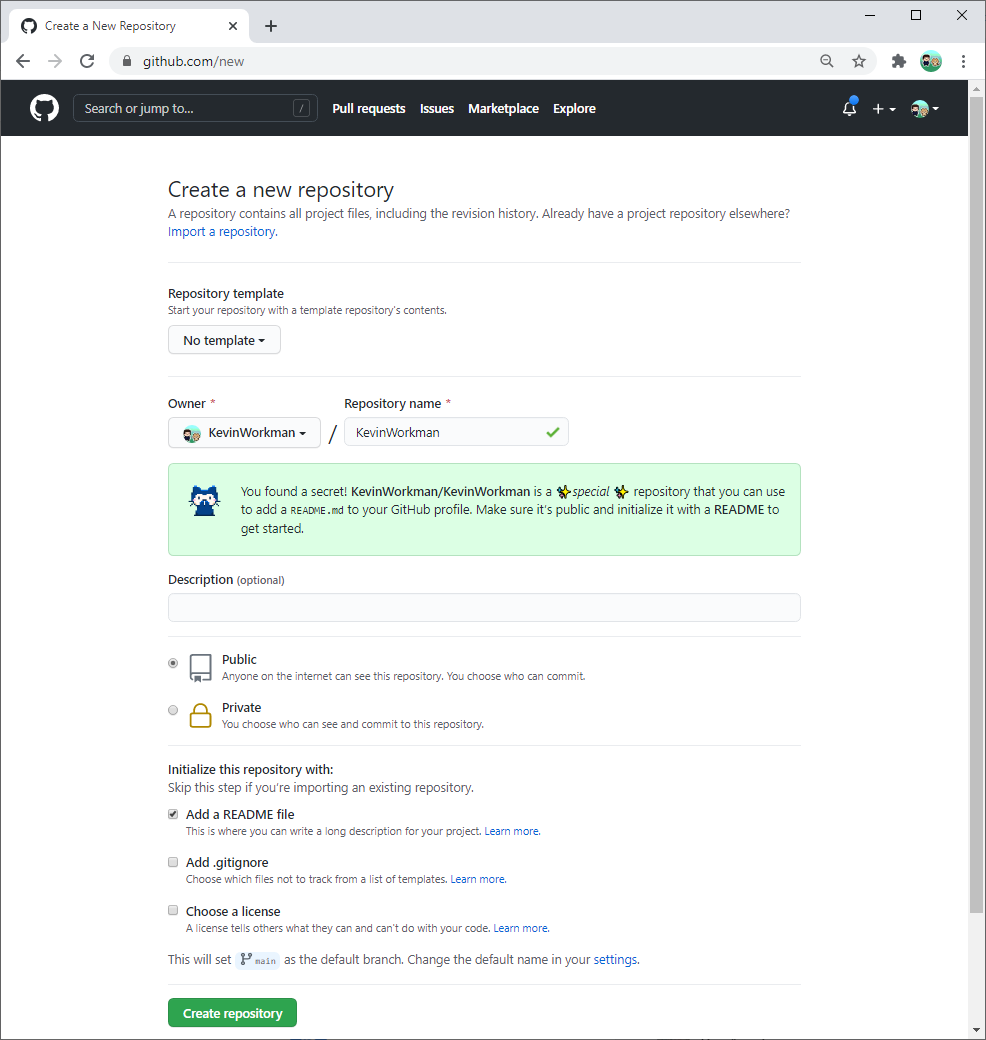
GitHub profile READMEs require a repo with a special name: your username! For example, my GitHub username is KevinWorkman, so I would create a repo named KevinWorkman.
Create a new repo with a name that matches your GitHub username. Make sure your new repo is public, and check the Add README file box. You should see something like this:
Click the Create repository button, and you should see a new repo with a single file in it:
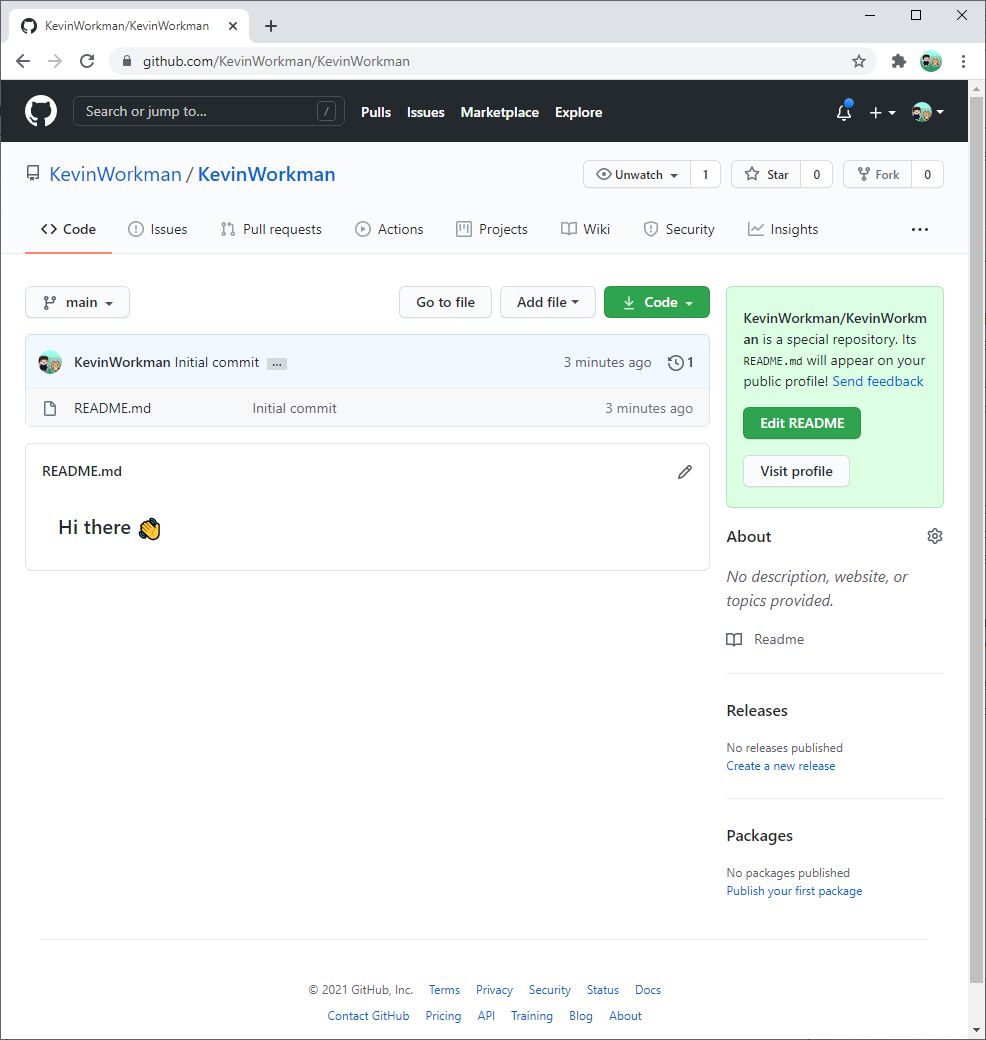
And here’s the magic part: whatever is in that file will show up in your GitHub profile!
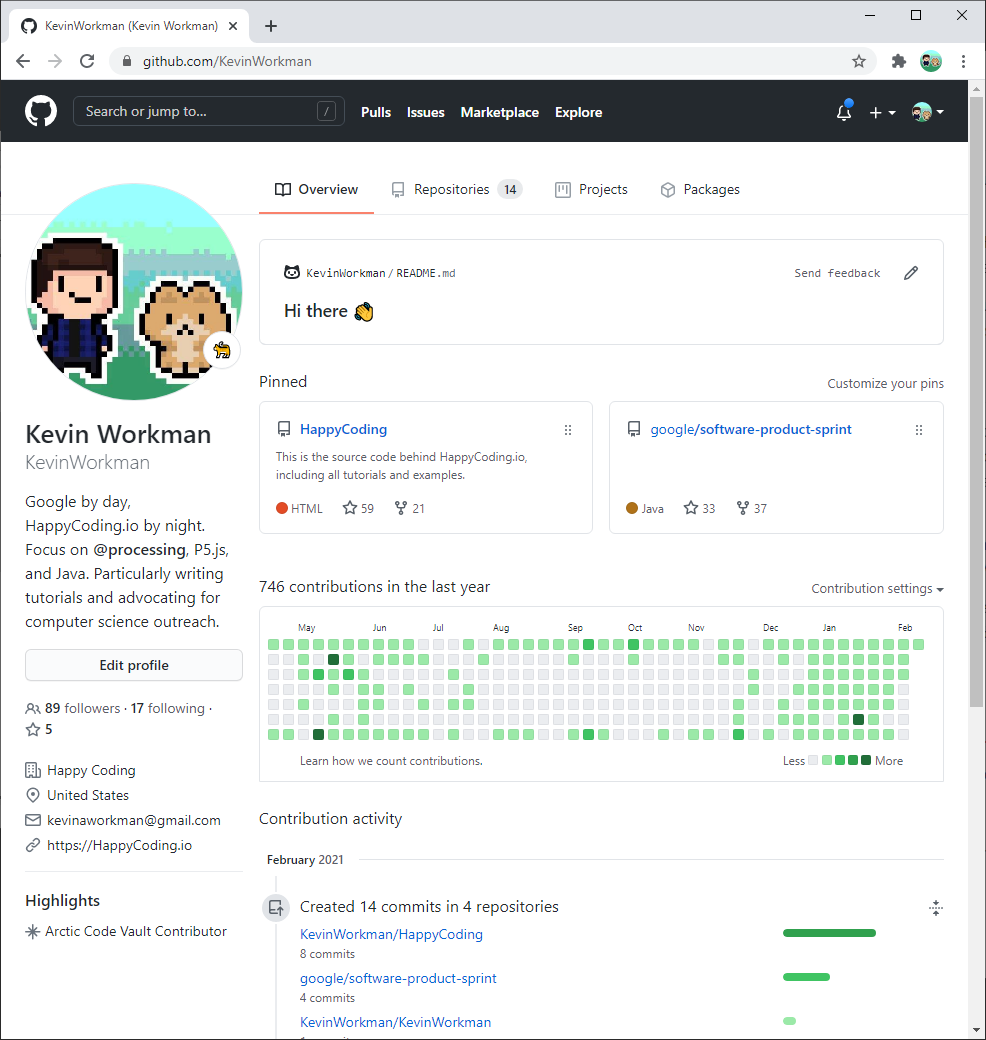
Modify Your README File
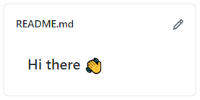
Click the pencil icon in the upper-right corner of your GitHub profile. That opens a web editor that lets you edit your README.md file.
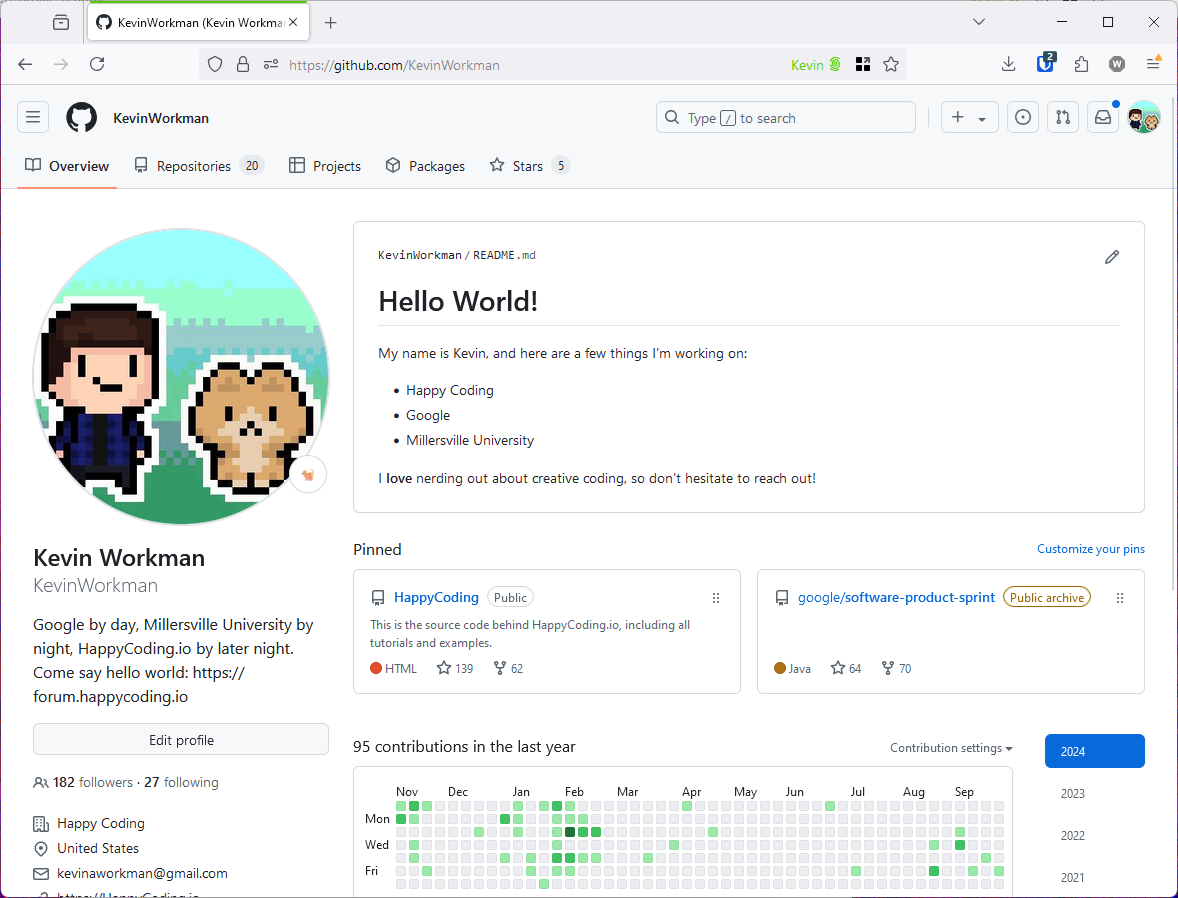
Modify its contents to describe yourself. Here’s what I might start with:
# Hello World!

My name is Kevin, and here are a few things I'm working on:

- Happy Coding
- Google
- Millersville University

I **love** nerding out about creative coding, so don't hesitate to reach out!
Don’t worry too much about making this perfect. You can always change it later. For now, focus on making a tiny change so you can test out uploading your changes!
When you’re done, click the Commit changes… button, and then click Commit changes in the dialog that pops up.
Finally, navigate back to your GitHub profile page to confirm your changes are live!
Markdown
At this point you might be wondering what the .md part of the README.md file means, or why the **love** in my file is rendered as bold in my profile. The answer to both is that README.md is a Markdown file!
Markdown is a way to format text that is then converted into HTML. It’s used on sites like GitHub, Stack Overflow, and the Happy Coding forum!
For example, **this** Markdown is converted to <strong>this</strong> HTML, which your browser renders as bold text. My README.md file above also contains # Hello World which is rendered as an <h1> heading, and a list specified by multiple lines that start with a - dash.
You can learn more about Markdown using guides like Basic writing and formatting syntax.
Try using markdown to add a link to your Instagram feed, or to your favorite Spotify playlist. Try adding a picture of yourself or a screenshot of what you’re working on! Don’t forget that search engines are your friend: try searching for “markdown images” for more resources. Upload your changes to GitHub and double-check that they work on your profile!
HTML
Markdown is nice if you have a lot of text and you don’t want to clutter it up with HTML tags. I write all of Happy Coding’s posts (including this one) in Markdown! But if you want more control over your final output, you’ll probably need to use HTML.
Markdown files are converted to HTML, which means you can also put HTML directly in a Markdown file. The converter will see that it’s already HTML and will leave it alone.
So if you’re new to HTML, your GitHub profile README is a great place to practice! For example, here’s the HTML I might use:
<h1 align="center">Hello World!</h1>
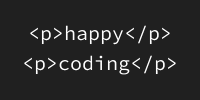
<p>My name is Kevin, and here are a few things I'm working on:</p>
<ul>
<li>Happy Coding</li>
<li>Software Product Sprint</li>
<li>Google Maps</li>
</ul>
<hr>
<p>I <strong>love</strong> nerding out about creative coding, so don't hesitate to reach out!</p>
In general, Markdown itself doesn’t have any rules about what you can or can’t include in the file. But GitHub profile READMEs use GitHub Flavored Markdown, which has its own restrictions. Specifically:
- You can use many HTML tags, but not all of them. For example,
<p>,<ul>, and<img>are allowed, but<input>,<textarea>, and<button>are not. Those are just examples, so make sure to double check whether GitHub Flavored Markdown supports the tag you’re trying to use! - You can’t use CSS at all! You can sometimes rely on old tricks (like the
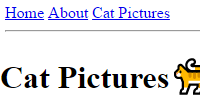
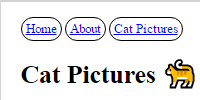
alignattribute in my above example), but you can’t style your content like you could with a full webpage. If you see some fancy styling in a GitHub profile README, chances are it’s actually an image! - You can’t use JavaScript at all!
GitHub profile READMEs are a great way to dip your toes into HTML, and if you’re curious, you can read more in the HTML tutorials.
Next Steps
You now know everything you need to make your GitHub profile README your own!
Check out the Awesome GitHub Profile README repo for a ton of examples of what other folks have done with their GitHub profile READMEs.
Some of those examples get pretty fancy, using things like GitHub actions to automatically update the README.md file, or server-side coding to make interactive links and images. But don’t let that intimidate you! Start with customizing your profile, and branch out from there!
As you get more familiar with GitHub and HTML, you might want to branch out into creating your own webpage using GitHub Pages. You might also create separate repos for your code projects.
Whatever you decide to do next, please post a link in the Happy Coding forum - I’d love to see what you’re working on!