GitHub Pages


GitHub Pages
- Create a Repository
- Confirm Your GitHub Pages Settings
- Test Your URL
- Add an HTML File
- View Your HTML File
- Update Your GitHub Pages Site
- Learn More
GitHub is a website that lets you post your code so you can keep it organized and share it with other people. It’s a little bit like social media for coders, and it’s a great way to show off your code and to see what other folks are working on.
GitHub Pages lets you take a GitHub repository and turn it into a webpage. In other words, you can use a GitHub repository to host your HTML, CSS, and JavaScript files. This tutorial walks you through the process of creating a GitHub Pages site!
I’m assuming you’ve already worked through the GitHub profile README tutorial and that you’ve created your first GitHub repository and practiced some HTML with your GitHub profile README. If not, go do that now and then come back!
Create a Repository
There are two different types of GitHub Pages repositories:
User sites are hosted at https://YOUR_USERNAME.github.io and are used for things like personal homepages, portfolio pages, and other sites associated with you as a user. To create a user site GitHub Pages repository, create a repo named YOUR_USERNAME.github.io.
Project sites are hosted at https://YOUR_USERNAME.github.io/YOUR_REPO_NAME and are used for documentation related to a specific repo, or standalone pages. To create a project site GitHub Pages repository, create a repo with any name, and then either:
- Create a branch in that repo named
gh-pages. - Go to the
Settingstab of your repo and enable GitHub Pages for themainbranch (or any branch you want).
(There’s a third type of GitHub Pages repository called an organization site, but you probably don’t need that right now.)
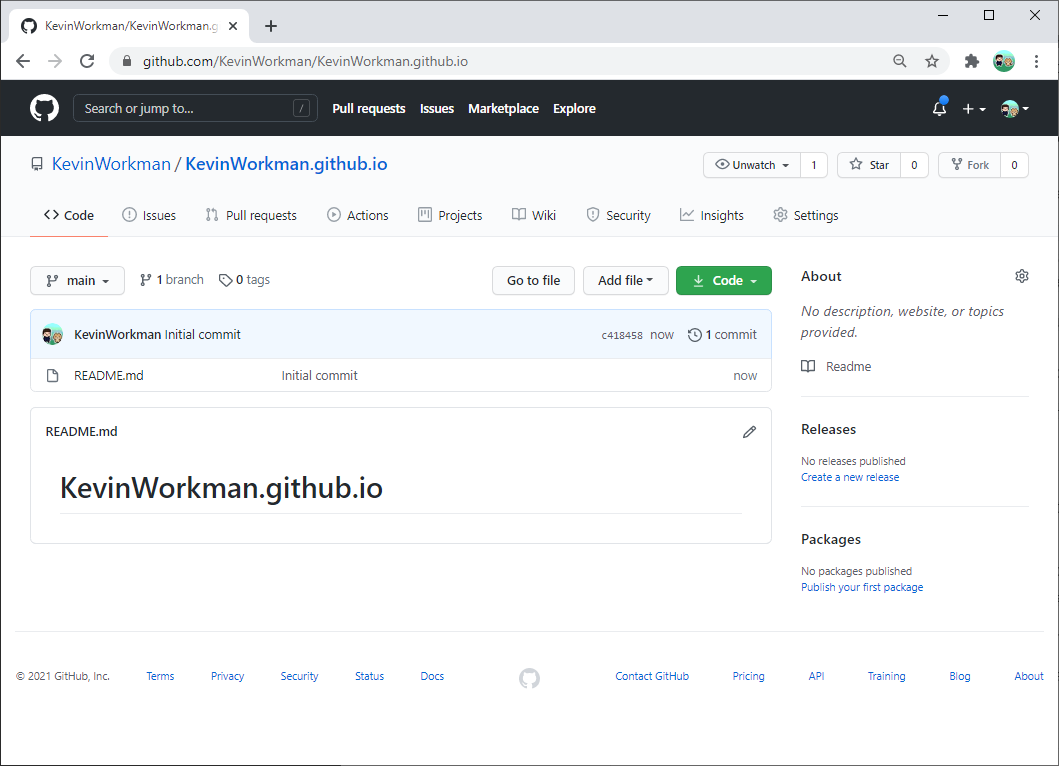
For now, create a user site GitHub Pages repository by creating a repo named YOUR_USERNAME.github.io. When you create your repo, check the Add a README file box.
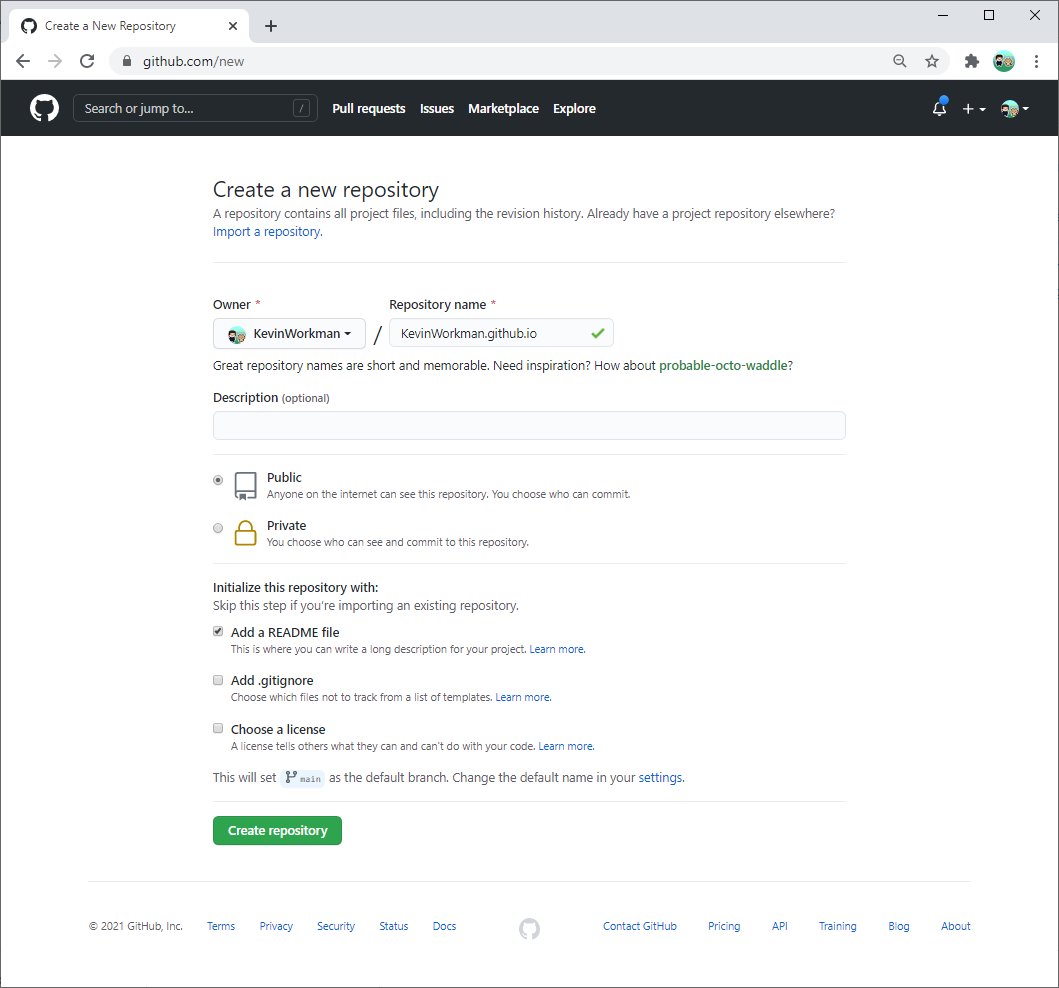
Click the Create repository button to create your repo!
Confirm Your GitHub Pages Settings
Next, go to the Settings tab of your repo and scroll down to the GitHub Pages section.

Creating a repo named YOUR_USERNAME.github.io automatically activates the GitHub Pages feature and enables these settings. If you wanted to turn a different repo into a GitHub Pages site, this is where you’d do that!
But if you’re working from a YOUR_USERNAME.github.io repo, you don’t have to change any settings. Go back to your repo’s homepage (the Code tab).
Test Your URL
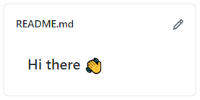
Right now, your GitHub Pages site is hosted at https://YOUR_USERNAME.github.io, but your repo only contains a single README.md file. To test that everything is working, point your browser to https://YOUR_USERNAME.github.io/README.md. You should see something like this:
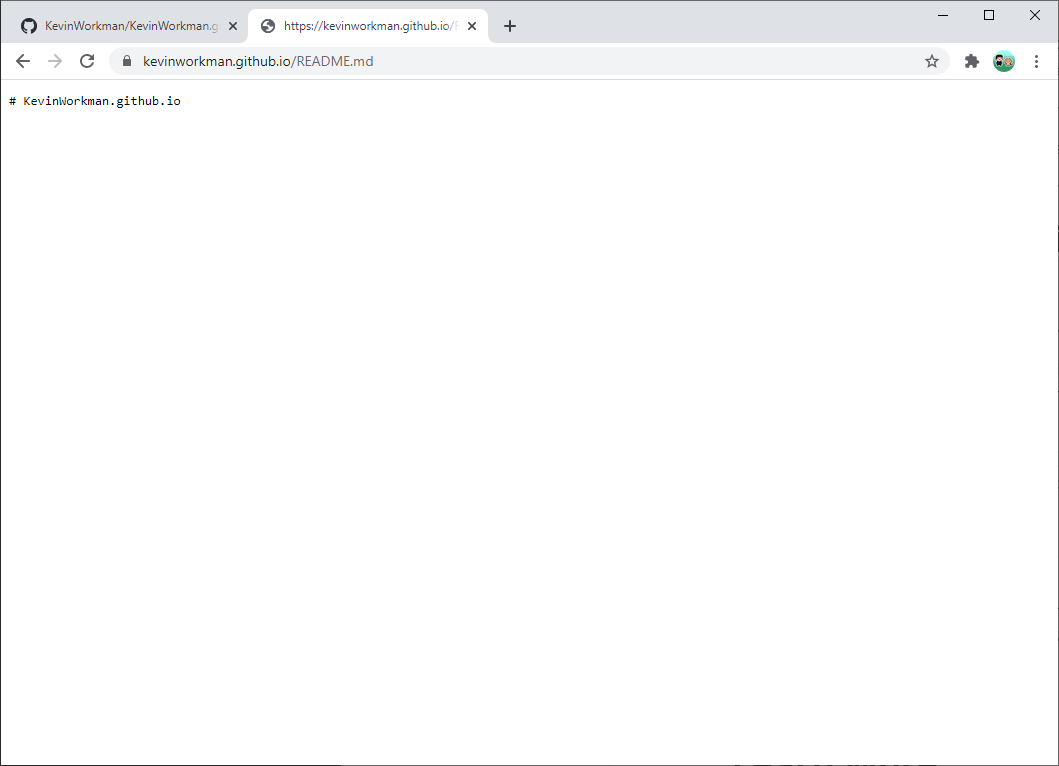
This is the raw content of the README.md file, hosted on GitHub Pages. Unlike the GitHub profile README feature, GitHub Pages does not convert markdown into HTML by default, which is why you see the raw markdown in your browser.
Add an HTML File
Next, follow the flow you learned in the GitHub profile README tutorial to add an index.html file to your repo.
-
Clone your repo. You can use GitHub Desktop or the git command line tool.
-
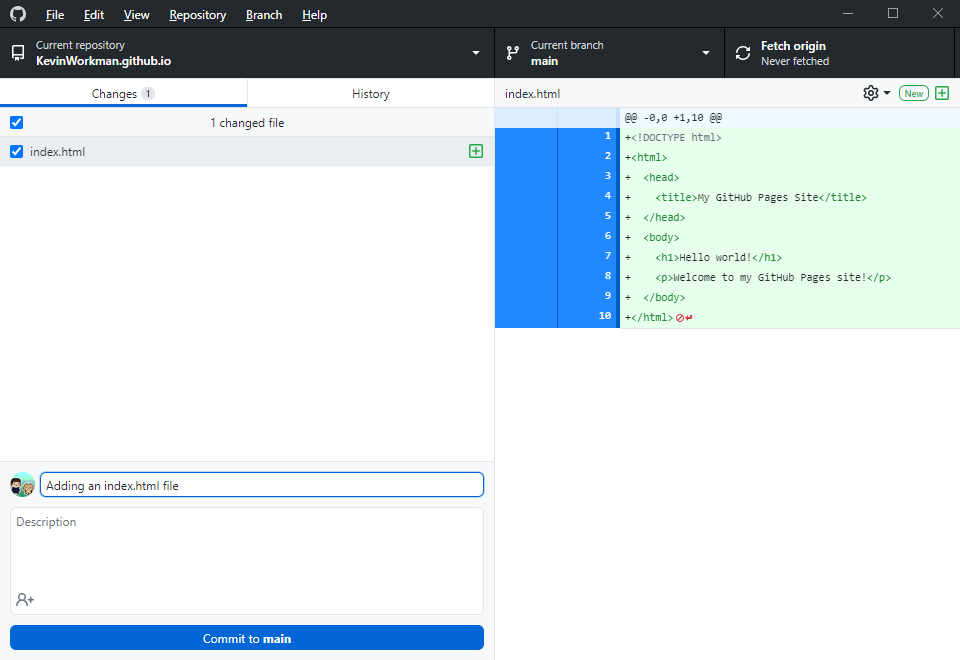
Create an
index.htmlfile containing some HTML content and save it to the local copy of your repo. You can use any text editor to do this step.Here’s some HTML content to start with:
<!DOCTYPE html>
<html>
  <head>
    <title>My GitHub Pages Site</title>
  </head>
  <body>
    <h1>Hello world!</h1>
    <p>Welcome to my GitHub Pages site!</p>
  </body>
</html>
Save this to your
index.htmlfile in your repo, right next to yourREADME.mdfile. You can test your HTML by opening the file in your browser. -
Add, commit, and push your
index.htmlfile. Again, you can use either GitHub Desktop or the git command line tool.
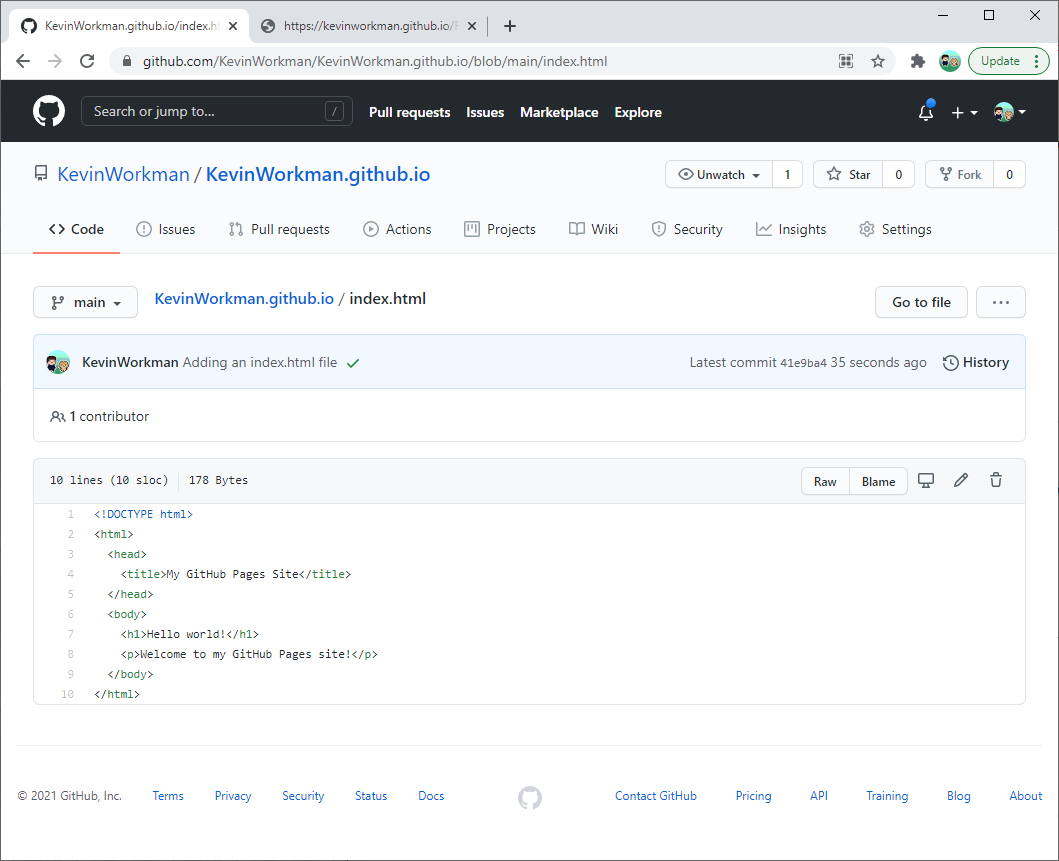
Go back to your repo in GitHub, and you should now have an index.html file in your repo.
View Your HTML File
Now here’s the magic part! Point your browser to https://YOUR_USERNAME.github.io/index.html and you’ll see your HTML rendered by the browser.
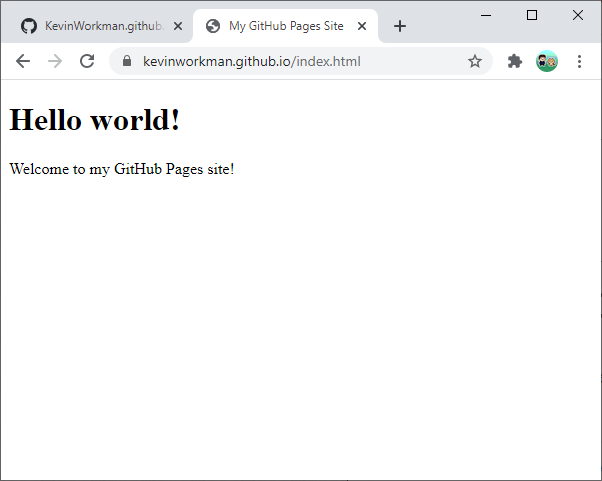
The index.html file is also a bit magical. By default, most web servers will automatically show index.html if you don’t specify a file. That means you can also navigate to https://YOUR_USERNAME.github.io without the index.html part to see your page!
You can send this link to your friends, add it to your GitHub profile README, or post it in the HappyCoding.io forum!
Update Your GitHub Pages Site
Now that you have everything connected, you can update your repo whenever you want to make changes to your site. Try these out:
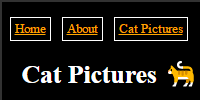
- Add HTML to describe yourself and link to projects you’ve worked on.
- Add an image like a picture of yourself, of your pet, or a screenshot of what you’re working on.
- Add CSS to style your webpage and make it prettier.
- Add JavaScript to make your webpage interactive.
You can make changes locally and test them before deploying them by opening the local files in your browser, and then push your changes whenever you’re ready to show them to the world.
GitHub Pages is nice because it means your repo and your live site are always in sync. Whenever you update your repo, GitHub Pages automatically updates your live site. Happy Coding itself is built using GitHub Pages!
Have fun making your GitHub Pages site, and don’t be afraid to get creative! And make sure to post a link in the HappyCoding.io forum so we can check it out!