From p5.js to HTML


From p5.js to HTML
This guide is designed for folks who have already learned a little p5.js, and want to build on that to learn about HTML.
Coding Languages
Think about how many human languages exist in the world: English, Spanish, Japanese, etc. Each one evolved its own syntax (the letters, words, and symbols of a language) and grammar (the rules about how you can use those letters, words, and symbols) over many years. For example, some languages put nouns before adjectives. Some languages are written right-to-left instead of left-to-right. Some even use completely different letters and symbols!
Coding languages are very similar. They’ve evolved their own syntax (symbols) and grammar (rules) over many years. Different coding languages are designed for different goals, and which one you choose depends on what you’re trying to do.
So far, you’ve been using a language called p5.js, which is great for creative coding. I also think it’s a great first language because it introduces the fundamentals in an engaging way. Plus it’s just fun!
But there are many other languages. Next you’ll be learning about HTML, which is a language designed for building webpages.
Replit
So far, you’ve probably been using the p5.js editor, which is great for writing p5.js code. But now that you’ll be writing HTML, you need to use an HTML editor.
There are many HTML editors out there, but for now I recommend using Replit.
(I like Replit because the default code it gives you is less overwhelming than the default code that some other editors give you.)
To use Replit, first sign up for a free Replit account.
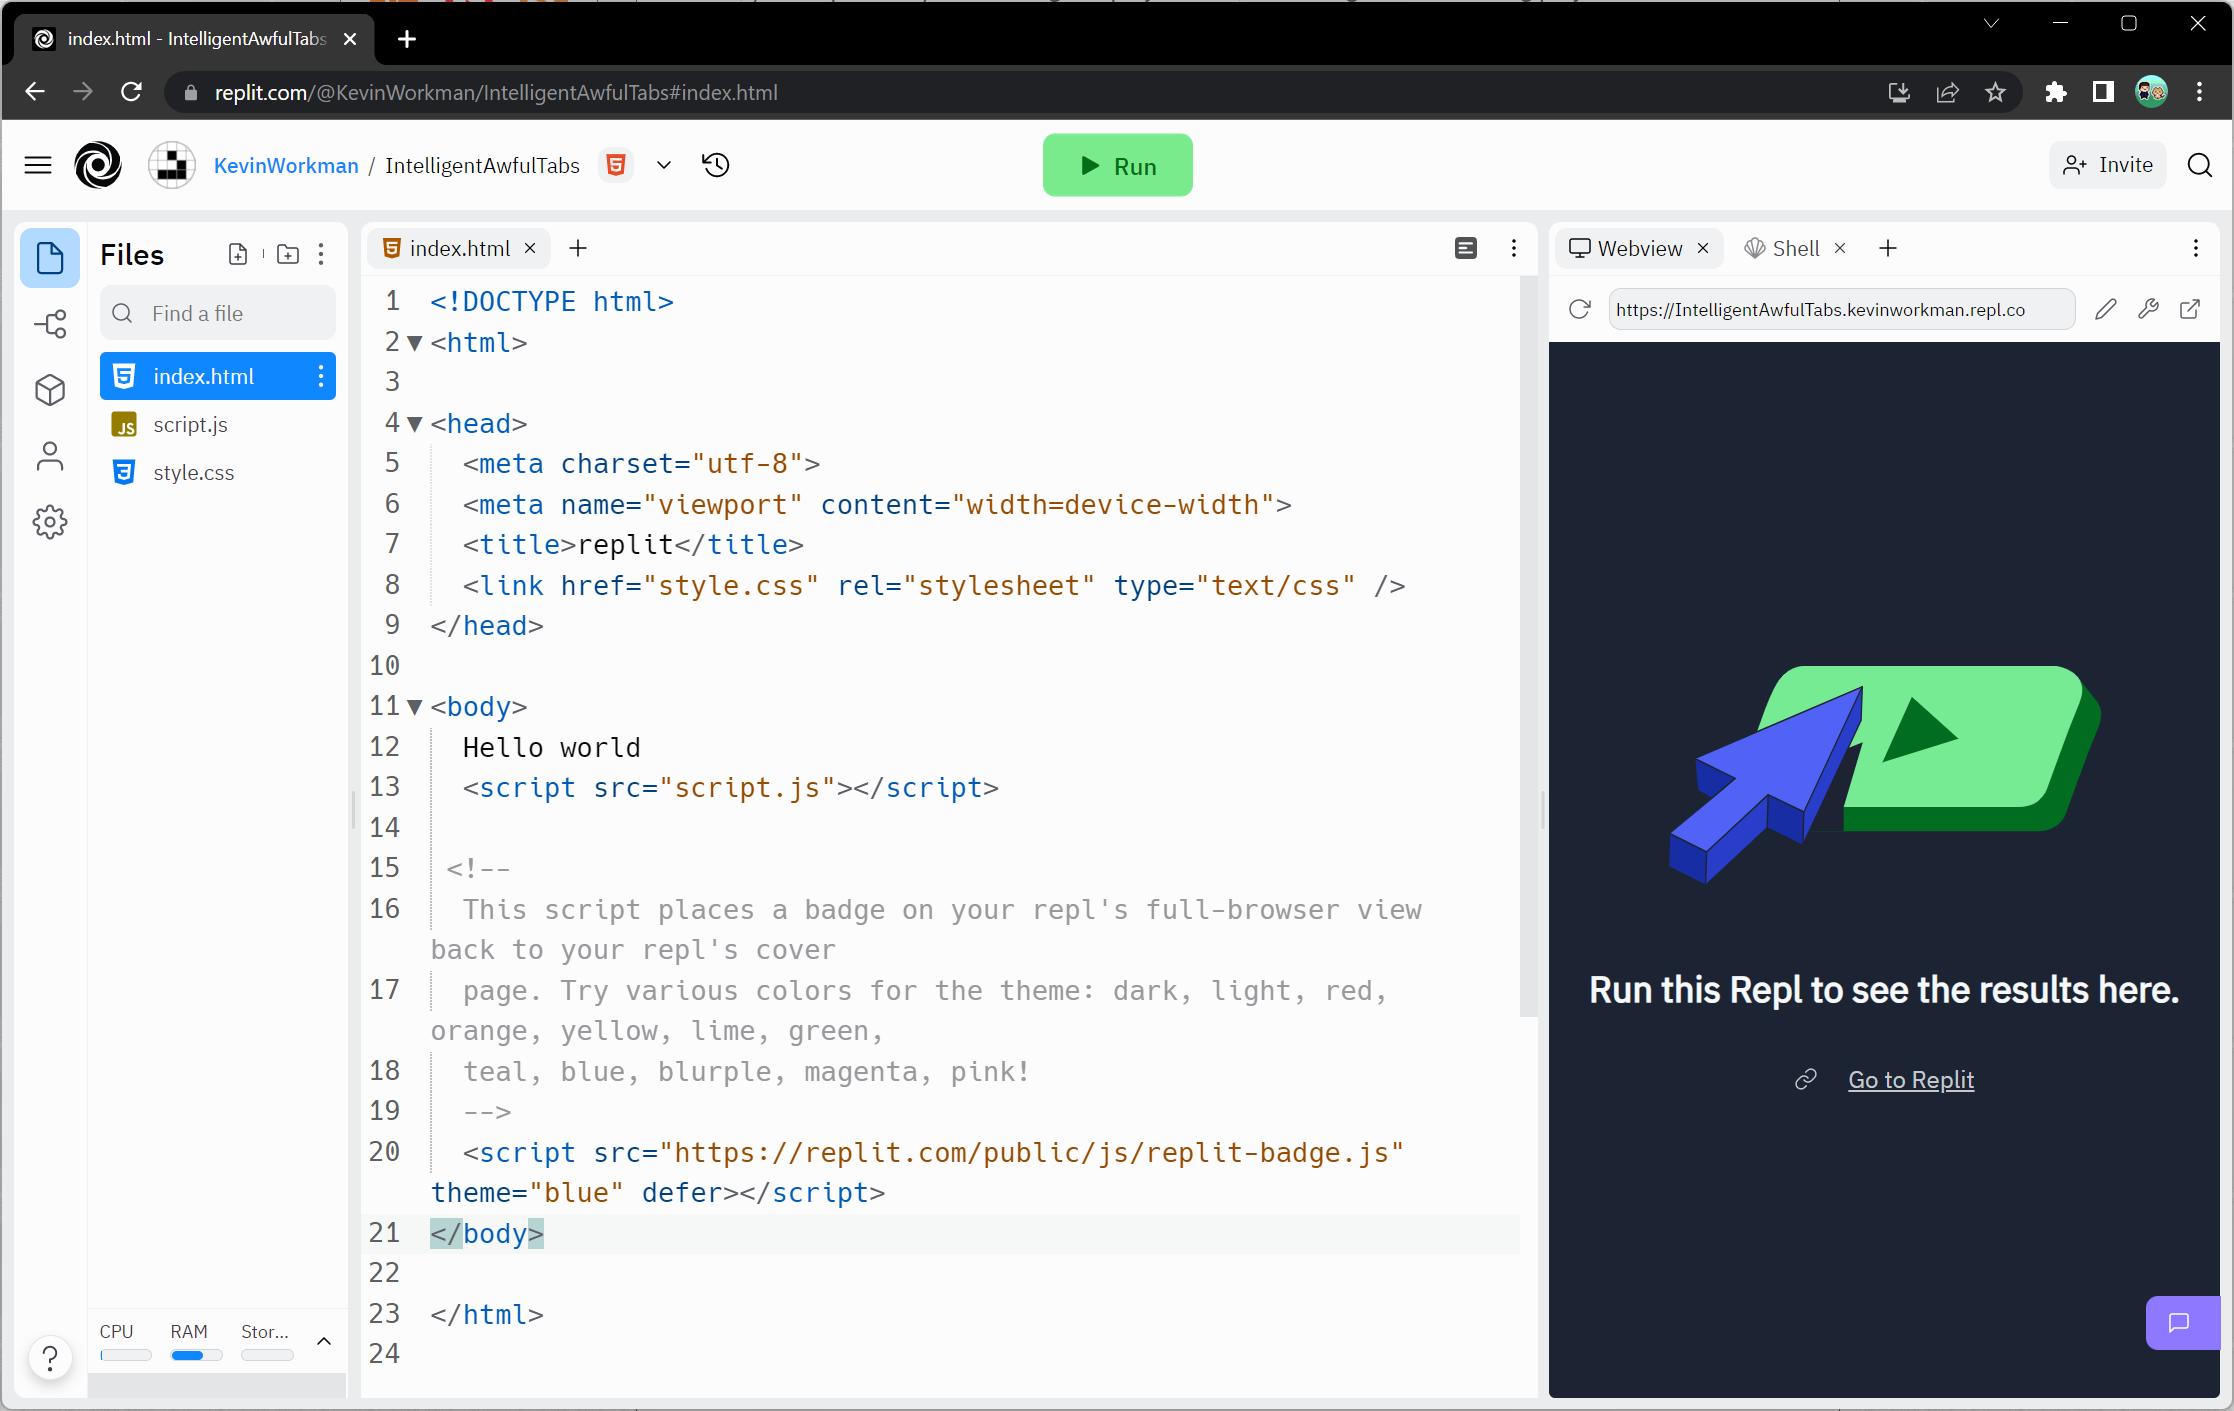
After you login, click the blue + Create button in the upper-left corner. You should see a dialog like this:

Select the HTML, CSS, JS template. Optionally name your project (which Replit calls a Repl), and then click the blue + Create Repl button.
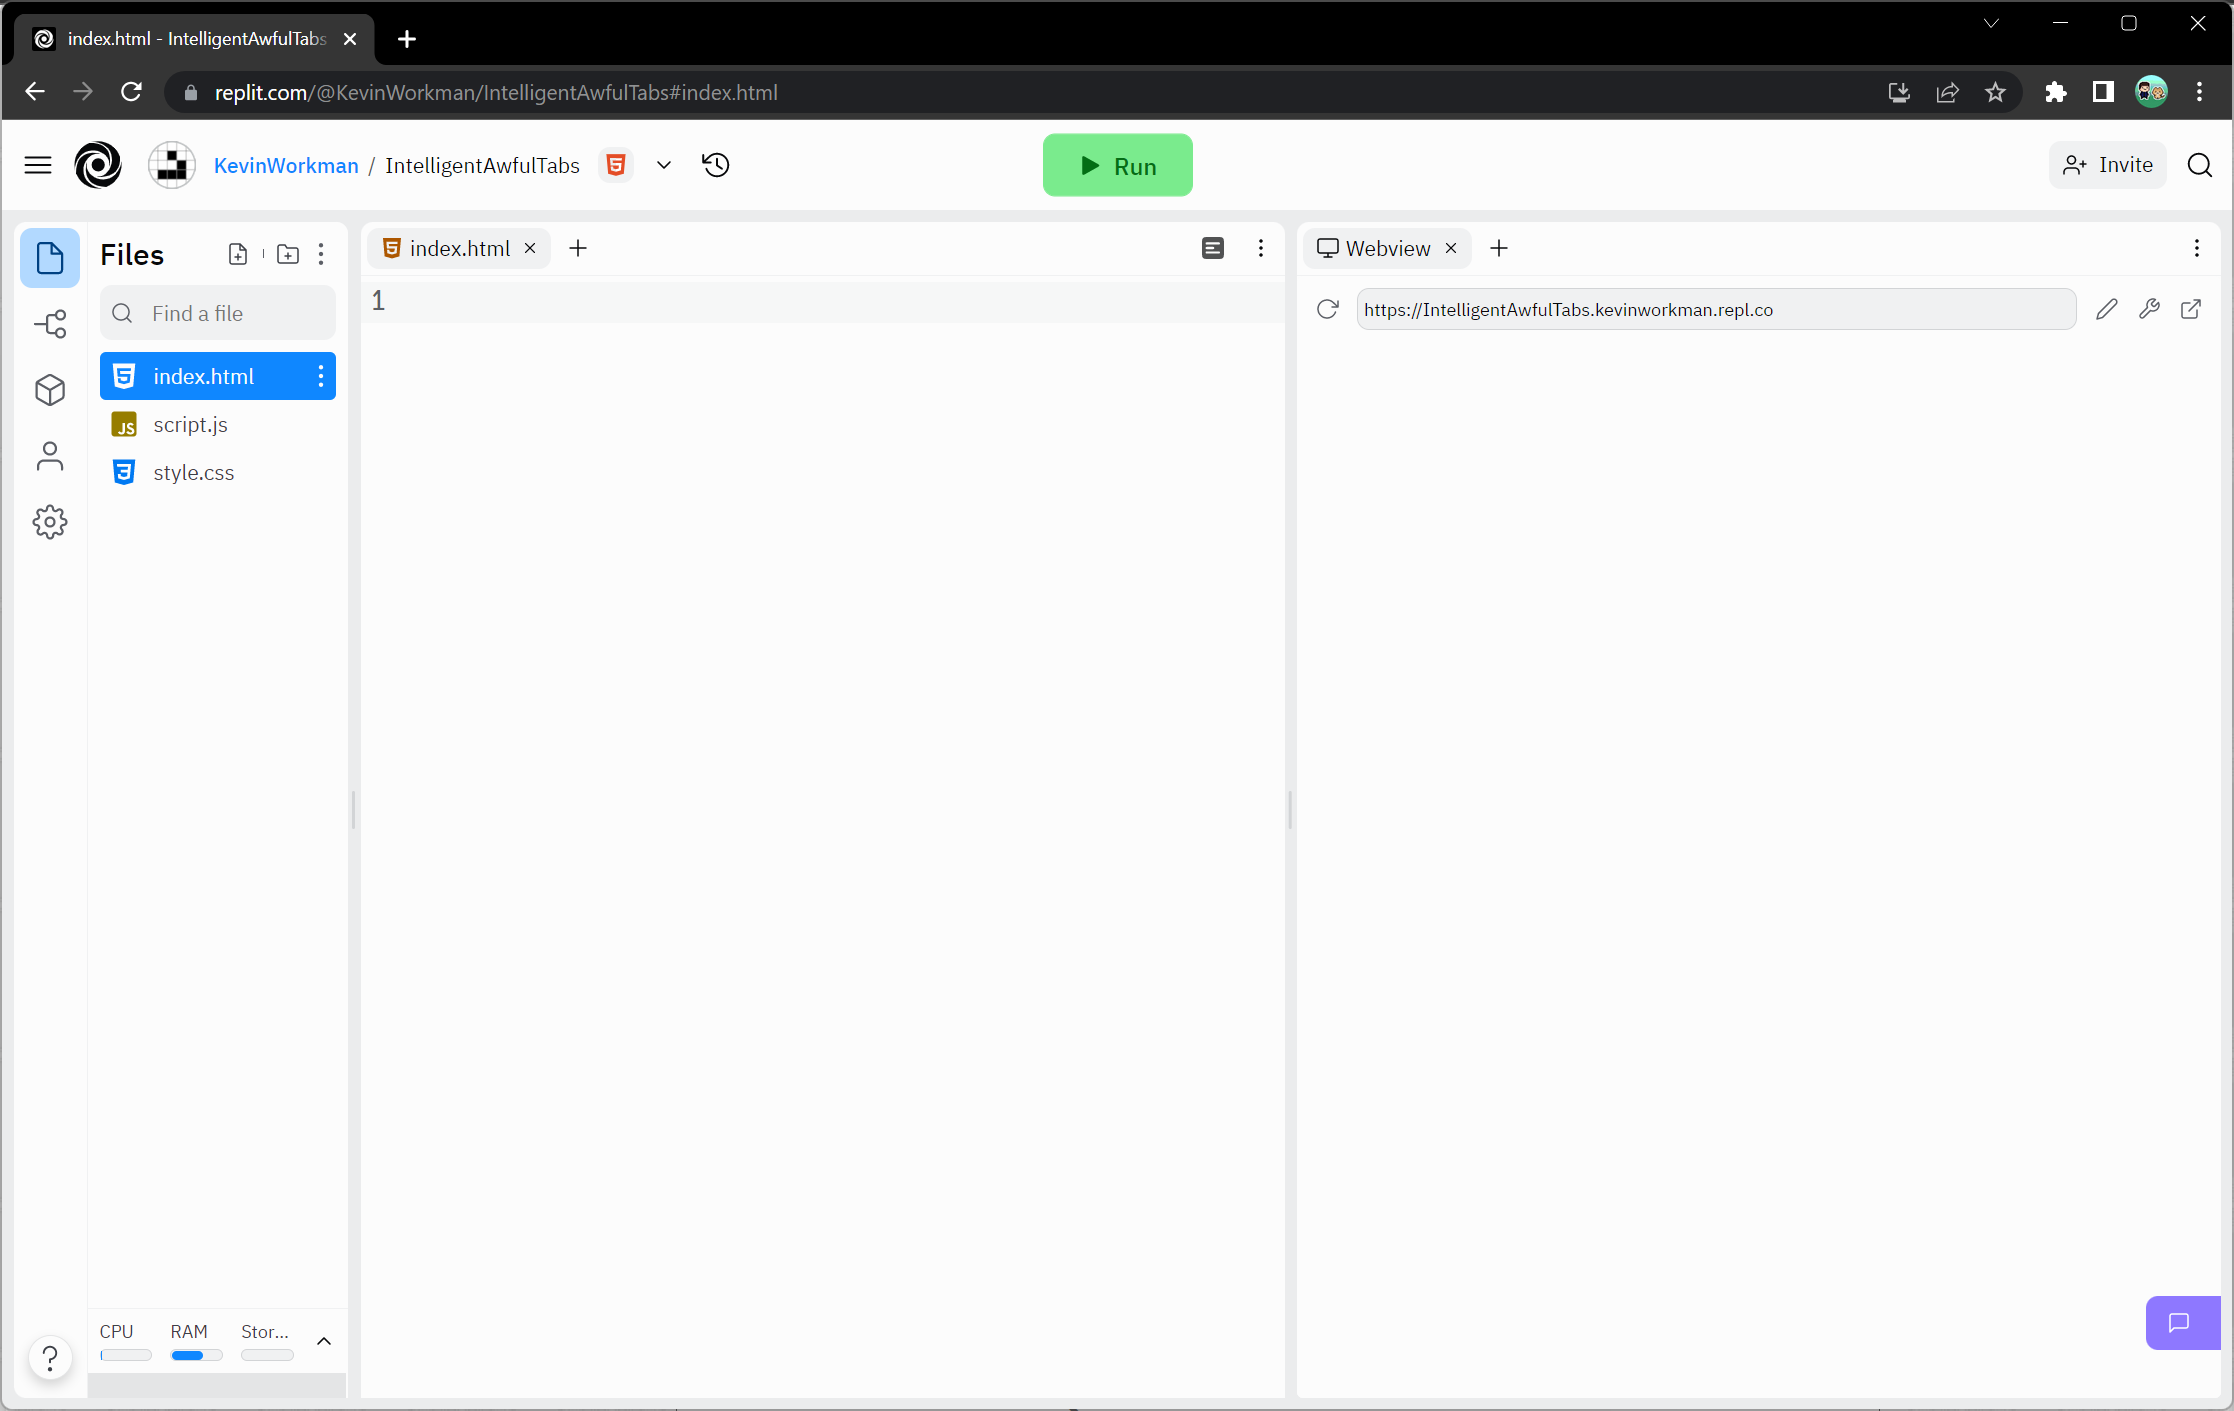
You should now see something like this:
Welcome to the Replit editor! Some of this might look similar to the p5.js editor. The left tab shows the files in your project- the only one you care about for now is the index.html file. The middle tab shows an editor for your code, and the right tab shows the result of your code.
Try clicking the green Run button at the top of Replit. You should see “Hello world” display in the right tab.
Getting Started
The default HTML code that Replit gives you can be a little overwhelming. So for now, delete all of the code in the index.html file. You should see an empty editor:
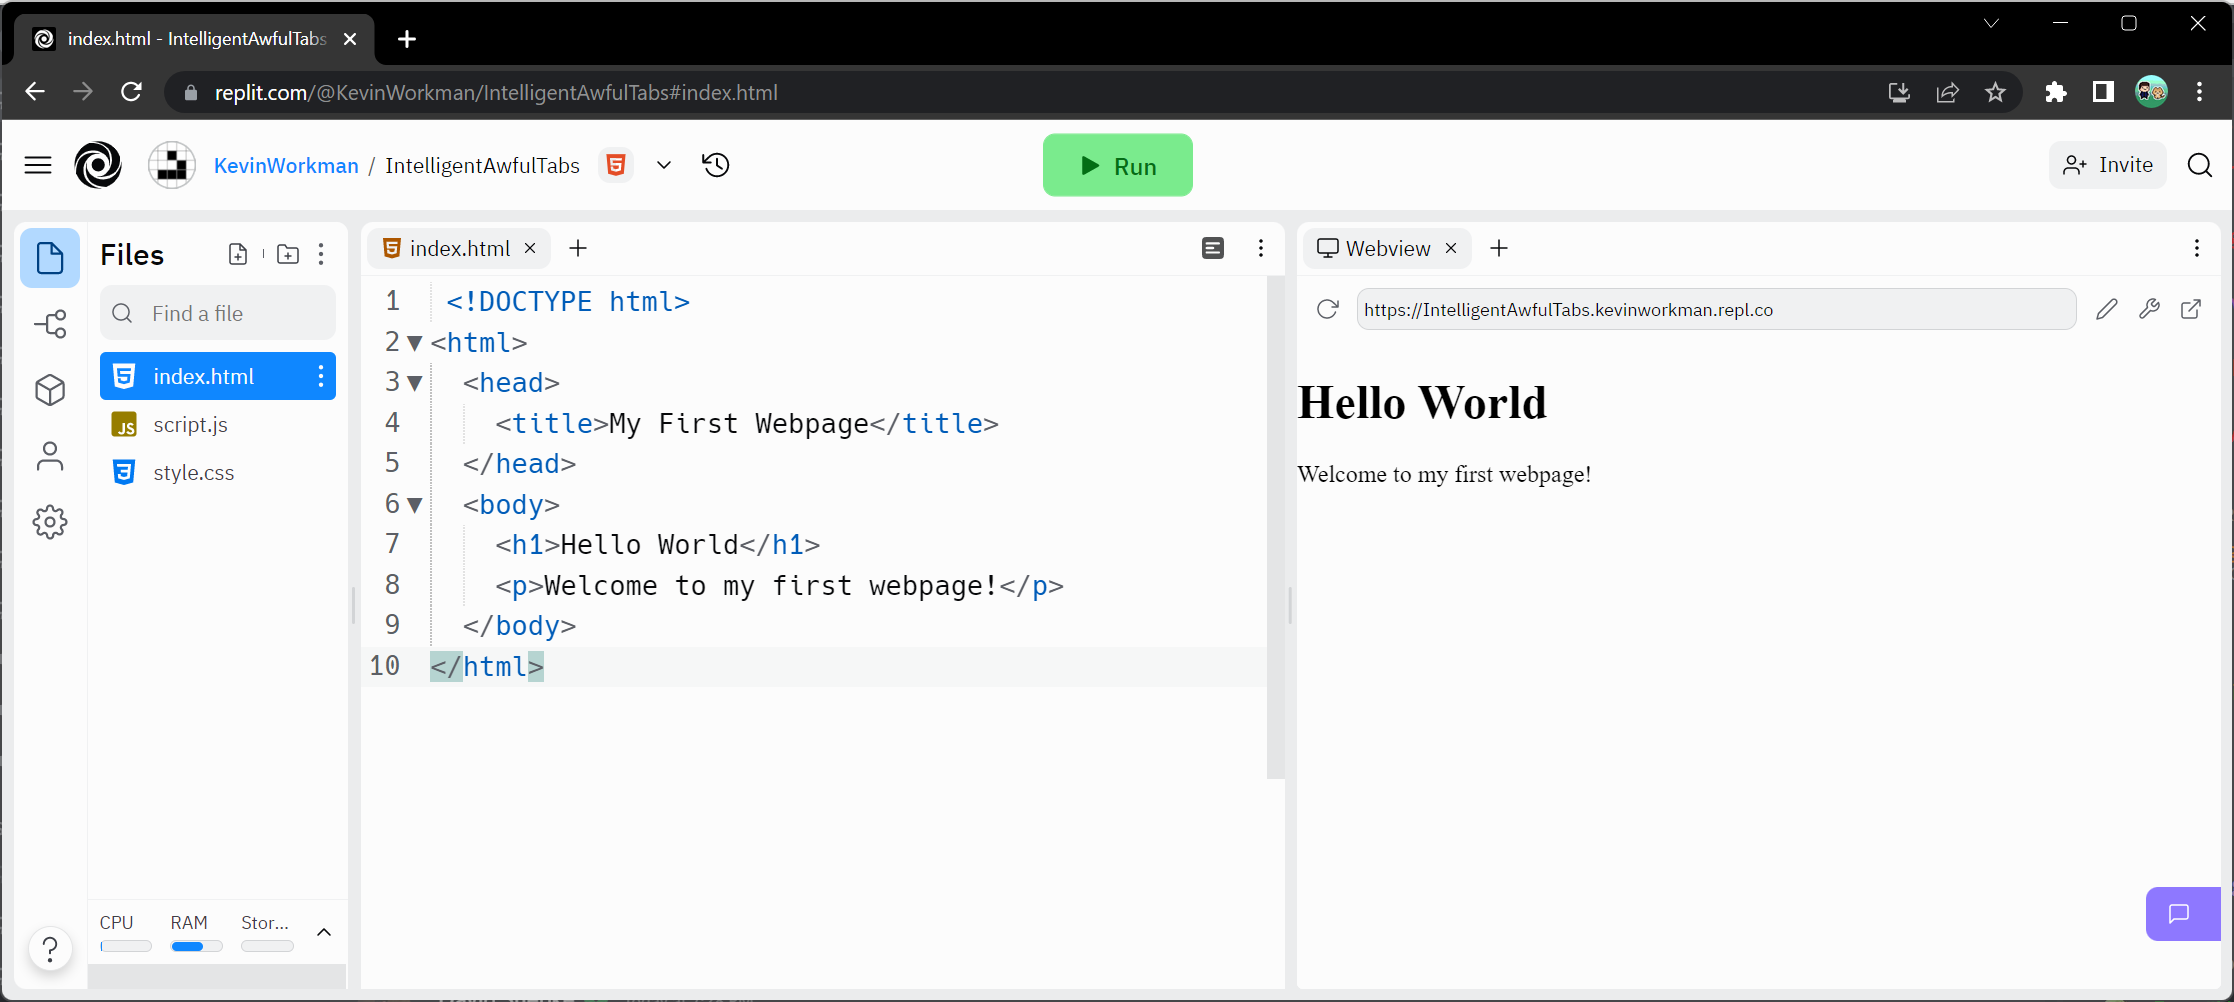
Next, copy this code into the index.html file:
<!DOCTYPE html>
<html>
<head>
<title>My First Webpage</title>
</head>
<body>
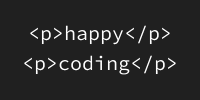
<h1>Hello World</h1>
<p>Welcome to my first webpage!</p>
</body>
</html>
This code is a little more manageable. Click the green Run button at the top, and you should see this:
HTML Tags
When you wrote p5.js, you called functions by writing their name and passing them parameters. To write HTML, you add tags to your content, which tells your browser what to do with that content.
For example, the <h1> tag tells the browser that a piece of content is a heading, the <p> tag tells the browser that text is a paragraph, and the <img> tag tells the browser to display an image.
An HTML tag has a name which goes between < > angle brackets, and contains content which goes between an opening and closing tag. A closing tag is a / forward slash followed by the tag name, both in angle brackets.
So this HTML:
<h1>Hello world!</h1>
Shows up like this in your browser:
Hello world!
You’ll learn more about HTML tags in the HTML tags tutorials.
Sharing Your Project
To share your project, you can send somebody to your code using the URL of your Replit editor, for example https://replit.com/@KevinWorkman/MyProjectName#index.html.
You can also send somebody to your webpage directly, using the URL in the Webview tab on the right, for example https://MyProjectName.kevinworkman.repl.co.
Terminology
This tutorial used the term HTML quite a few times, but I still haven’t defined what HTML actually means. You don’t really need to know all of this background information, but if you’re curious, here’s where the term HTML comes from.
Hypertext is text that can link to other text using hyperlinks. That might sound familiar, because pretty much every webpage contains a link to another webpage. There are also older examples of hypertext.
HTTP stands for Hypertext Transfer Protocol, which is a way for one computer to send hypertext to another computer. HTTP is how your browser asks for HTML from a specific URL, and the world wide web is built on top of HTTP.
Markup languages are ways to add formatting to text. For example, you might have seen inputs where words between asterisks like *this* are rendered as bold like this. That’s one kind of markup language, but there are many other examples.
Finally, HTML stands for Hypertext Markup Language, because it’s a way to write markup (using HTML tags) to tell your browser how to display hypertext.
Don’t worry, you don’t need to memorize any of that. But I think the history of this stuff is really interesting!
Next
The goal of this tutorial was to build on your p5.js knowledge to introduce the fundamentals of HTML. Now that you know how to use Replit to create HTML projects, you’re ready to learn more about HTML tags!