Hello World


Hello World
Now that our workspace is all set up, we can start writing libGDX games. This tutorial creates a very basic game and introduces the concepts, classes, and functions used by libGDX.
Projects
As mentioned in the setup tutorial, libGDX projects are actually comprised of several other projects: a core project that contains all of the game logic, and platform-specific projects that deploy to a specific platform, like Android or HTML.
Most of the code we’ll write will go in the core project, and we’ll use the desktop project to easily test our code by running it on our computer. We only have to worry about the Android or HTML projects when we’re ready to deploy.
Lifecycle
Similar to Android, libGDX uses lifecycle functions that fire when a certain event happens. To tie into these lifecycle functions, create a class that extends ApplicationAdapter (or implements ApplicationListener) and then override these functions:
create()is called once when your game is first opened.resize(int width, int height)is called when your game is resized, and once aftercreate()is called with the initial width and height of the game.render()is called many times per second. You should update and draw your game in this function. The exact framerate depends on the device. More on that in a second.pause()is called on Android whenever the app is sent to the background, and on desktop right beforedispose()is called.resume()is only called on Android, when the app is brought back to the foreground.dispose()is called when the game is exited.
The core project contains the class that extends ApplicationAdapter, and the platform-specific projects instantiate this class to create an application.
Here’s a simple example:
package io.happycoding.helloworld;

import com.badlogic.gdx.ApplicationAdapter;
import com.badlogic.gdx.Gdx;
import com.badlogic.gdx.graphics.GL20;
import com.badlogic.gdx.graphics.g2d.BitmapFont;
import com.badlogic.gdx.graphics.g2d.SpriteBatch;

public class HelloWorldGame extends ApplicationAdapter {
	SpriteBatch batch;
	BitmapFont font;

	@Override
	public void create () {
		batch = new SpriteBatch();
		font = new BitmapFont();
	}

	@Override
	public void render () {
		Gdx.gl.glClearColor(.25f, .25f, .25f, 1);
		Gdx.gl.glClear(GL20.GL_COLOR_BUFFER_BIT);
		batch.begin();
		font.draw(batch, "Happy Coding!", Gdx.graphics.getWidth()/2, Gdx.graphics.getHeight()/2);
		batch.end();
	}

	@Override
	public void dispose () {
		batch.dispose();
		font.dispose();
	}
}
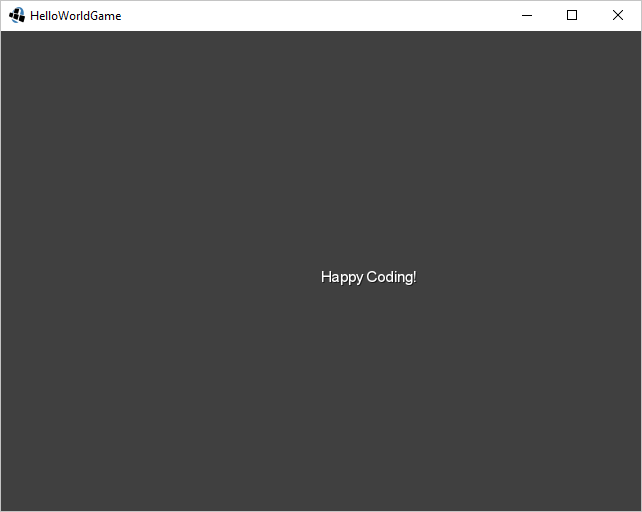
This class overrides the create(), render(), and dispose() functions. It draws a simple text message to the middle of the screen.
Drawing
LibGDX uses OpenGL to draw stuff to the screen. This allows us to write efficient drawing code, but it can also be a little bit complicated if you’ve never seen it before.
ShapeRenderer
To test stuff out, we can use the ShapeRenderer class, which gives us access to simple drawing functions. Most “real” libGDX games will use more advanced renderers and images, but let’s stick with the basics for now.
Here’s an example that uses the ShapeRenderer class to draw a circle:
package io.happycoding.helloworld;

import com.badlogic.gdx.ApplicationAdapter;
import com.badlogic.gdx.Gdx;
import com.badlogic.gdx.graphics.GL20;
import com.badlogic.gdx.graphics.glutils.ShapeRenderer;

public class HelloWorldGame extends ApplicationAdapter {
	ShapeRenderer shapeRenderer;

	@Override
	public void create () {
		shapeRenderer = new ShapeRenderer();
	}

	@Override
	public void render () {
		Gdx.gl.glClearColor(.25f, .25f, .25f, 1);
		Gdx.gl.glClear(GL20.GL_COLOR_BUFFER_BIT);

		shapeRenderer.begin(ShapeRenderer.ShapeType.Filled);
		shapeRenderer.setColor(0, 1, 0, 1);
		shapeRenderer.circle(200, 100, 75);
		shapeRenderer.end();
	}

	@Override
	public void dispose () {
		shapeRenderer.dispose();
	}
}
If you’re coming from a Processing or P5.js background, then the ShapeRenderer class should feel pretty familiar.
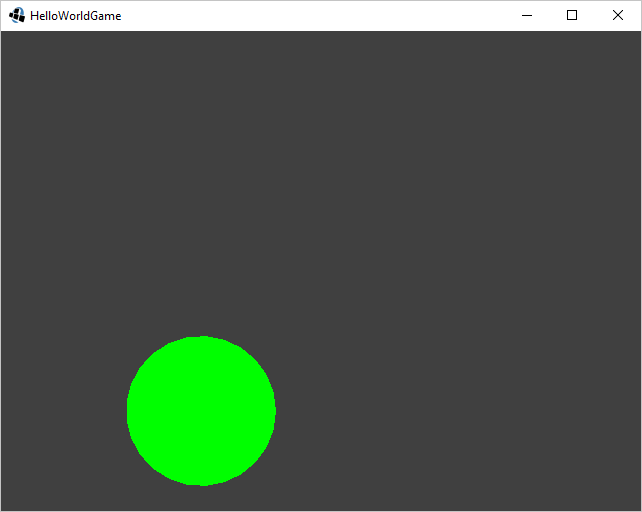
One thing worth noting here is that in OpenGL (and therefore in libGDX), the 0, 0 coordinate is in the bottom-left corner of the screen! In other words, the bottom of the screen has a Y position of 0, and the Y position increases as you get closer to the top of the screen. This is the opposite of many other drawing frameworks, so it might take some getting used to.
Animation
Creating an animation basically requires three steps:
- Store the state of your scene in a set of variables.
- Use those variables to draw your scene each frame.
- Update those variables over time to move your scene around.
Here’s an example that shows a circle that bounces around the screen:
package io.happycoding.helloworld;

import com.badlogic.gdx.ApplicationAdapter;
import com.badlogic.gdx.Gdx;
import com.badlogic.gdx.graphics.GL20;
import com.badlogic.gdx.graphics.glutils.ShapeRenderer;

public class HelloWorldGame extends ApplicationAdapter {
	ShapeRenderer shapeRenderer;

	float circleX = 200;
	float circleY = 100;

	float xSpeed = 2;
	float ySpeed = 1;

	@Override
	public void create () {
		shapeRenderer = new ShapeRenderer();
	}

	@Override
	public void render () {

		circleX += xSpeed;
		circleY += ySpeed;

		if(circleX < 0 || circleX > Gdx.graphics.getWidth()){
			xSpeed *= -1;
		}

		if(circleY < 0 || circleY > Gdx.graphics.getHeight()){
			ySpeed *= -1;
		}

		Gdx.gl.glClearColor(.25f, .25f, .25f, 1);
		Gdx.gl.glClear(GL20.GL_COLOR_BUFFER_BIT);

		shapeRenderer.begin(ShapeRenderer.ShapeType.Filled);
		shapeRenderer.setColor(0, 1, 0, 1);
		shapeRenderer.circle(circleX, circleY, 75);
		shapeRenderer.end();
	}

	@Override
	public void dispose () {
		shapeRenderer.dispose();
	}
}
The circleX and circleY variables hold the position of the circle, and the xSpeed and ySpeed variables hold the horizontal and vertical speed of the circle. In the render() function, we move the circle by its speed, and then check whether it’s going outside the bounds of the screen. If so, we reverse the speed of the circle, which makes it bounce of the edges of the screen.
Delta Time
Our above code has a problem. We don’t have complete control over how often the render() function is called. This means that our “game” will run slower or faster depending on the frame rate of the device our game is running on. This probably isn’t a big deal with this basic example, but with more advanced games you definitely want to make sure your game always runs at the same speed no matter what device is being used.
To do this, we need to factor in how much time has elapsed since the last frame and move our scene relative to that time. For example, if only a short amount of time has elapsed, then we should only move our circle a little bit, but if more time has elapsed then we need to move our circle further. This way on slower devices with lower frame rates, the circle will move further each frame, which will look the same as a circle moving more often but in smaller increments.
This might sound complicated, but libGDX gives us a handy Gdx.graphics.getDeltaTime() function, which returns how much time has elapsed since the last frame. This is a float value and represents a percent of a second, so .5 would be half a second. If we store our speeds as per second rates instead of per frame rates, then we can multiply our rates by the delta time to get the distance we should move each frame.
In other words, we should store our xSpeed and ySpeed as the distance to move per second:
float xSpeed = 120;
float ySpeed = 60;
Now we’re saying that the ball should move horizontally 120 pixels per second, and vertically 60 pixels per second.
Then we should multiply those rates by the delta time to get the distance for the current frame:
circleX += xSpeed *  Gdx.graphics.getDeltaTime();
circleY += ySpeed *  Gdx.graphics.getDeltaTime();
Now our circle will move at the same speed no matter what the frame rate of the device is.
You should always store your rates as per-second values and multiply them by the delta time to get the distance for the current frame!
Homework
- If you started with the Processing tutorials, recreate some of your basic Processing sketches in libGDX. Keep it simple for now and don’t worry about user input or making it into a game.
- Implement the random walker in libGDX.