Exporting Jar Files


Exporting Jar Files
So far, we’ve been writing, compiling, and running code on our own computer. That is fine for development, but eventually you’ll probably want to package your code up so other people can run it on their own computers.
Remember from the Java libraries tutorial that a .jar file is an archive file, which is a file that contains other files. You’ve probably seen .zip archive files before, and a .jar file is a lot like that. The only difference is that a .jar file is specifically designed to hold files related to Java code, and you can execute a Java program by running a .jar file.
This tutorial walks through bundling your Java program into a .jar file that other people can run.
Command Line
Let’s say we have this directory structure:
- MyProject/
- mymainpackage/
MainClass.java
- mypackageone/
MyClassOne.java
- mypackagetwo/
MyClassTwo.java
- mymainpackage/
And now we want to bundle this code up so other people can use it.
First, we have to compile our code into .class files, which we probably already know how to do (if not, check out the basic Java tutorial). For example, we might do this from a command prompt in the MyProject directory:
javac mymainpackage/MainClass.java mypackageone/MyClassOne.java mypackagetwo/MyClassTwo.java
This command compiles all of our .java files. We could also just compile one class that points to other classes, and the other classes would also be compiled. No matter how we compile our classes, the goal is that now our directory structure looks like this:
- MyProject/
- mymainpackage/
MainClass.javaMainClass.class
- mypackageone/
MyClassOne.javaMyClassOne.class
- mypackagetwo/
MyClassTwo.javaMyClassTwo.class
- mymainpackage/
Now that we have the .class files, we can bundle this into a .jar file. We’d do that by executing this command from the MyProject directory:
jar cfe MyProgram.jar mymainpackage.MainClass mymainpackage mypackageone mypackagetwo
This runs the jar command and passes in the cfe argument, which tells the jar tool to create a file with an entry point. MyProgram.jar is the name of the file to create, and mymainpackage.MainClass is the class (including its package information) that contains the main() method. Then mymainpackage, mypackageone, and mypackagetwo are the files and directories to include in the .jar file.
That should generate a MyProgram.jar file. And now that you have the MyProgram.jar file, you can run it via the command prompt using this command:
java -jar MyProgram.jar
Or you can just double-click it!
(Note that double-clicking a .jar file to run it requires Java to be installed, and depends on the file association settings on your computer.)
You can also open the .jar file with any archive manager (I use 7-Zip) to view the files inside it, or you can use this command:
jar tf MyProject.jar
Or if we wanted to put the .class files in a bin directory instead of right next to the source .java files, we could pass in a -d argument to our javac command:
javac -d bin mymainpackage/MainClass.java mypackageone/MyClassOne.java mypackagetwo/MyClassTwo.java
Now our directory would look like this:
- MyProject/
- mymainpackage/
MainClass.java
- mypackageone/
MyClassOne.java
- mypackagetwo/
MyClassTwo.java
- bin/
- mymainpackage/
MainClass.class
- mypackageone/
MyClassOne.class
- mypackagetwo/
MyClassTwo.class
- mymainpackage/
- mymainpackage/
Then we would run our jar command from inside the bin directory. This lets us create a .jar file that just contains the .class files, not the source .java files. Putting it all together, it would look like this:
cd MyProject
javac -d bin mymainpackage/MainClass.java mypackageone/MyClassOne.java mypackagetwo/MyClassTwo.java
cd bin
jar cfe MyProgram.jar mymainpackage.MainClass mymainpackage mypackageone mypackagetwo
Notice that we’re adding the package directories to the .jar file. We’re not adding the top-level MyProject directory to the .jar file.
Libraries
Now that you have a .jar file, other people can use it exactly like we used library .jar files in the Java libraries tutorial. If you don’t want to include a main class, juse drop the e and the entry point argument. It would look like this:
jar cf MyProject.jar mypackageone mypackagetwo
This generates a .jar file that is not runnable and can only be used as a library.
If your code uses a Java library, you have to pass that library into the classpath argument of the javac and java commands. For example, if your code uses a library in ThirdPartyLibrary.jar, the command to create your own library .jar file would look like this:
javac -cp ThirdPartyLibrary.jar -d bin mymainpackage/MainClass.java mypackageone/MyClassOne.java mypackagetwo/MyClassTwo.java
cd bin
jar cfe MyProgram.jar mymainpackage.MainClass mymainpackage mypackageone mypackagetwo
And now if somebody else wanted to use your MyProject.jar file, they would also have to list ThirdPartyLibrary.jar on their classpath when they run your .jar file:
java -cp ThirdPartyLibrary.jar jar MyProgram.jar
Note that you can only specify the classpath from the command line, so double-clicking a .jar file that requires other .jar files will not work. In this case you might consider packaging your program up as a .zip file and including a script that runs your program instead.
Eclipse
Here is the same type of project setup in Eclipse:
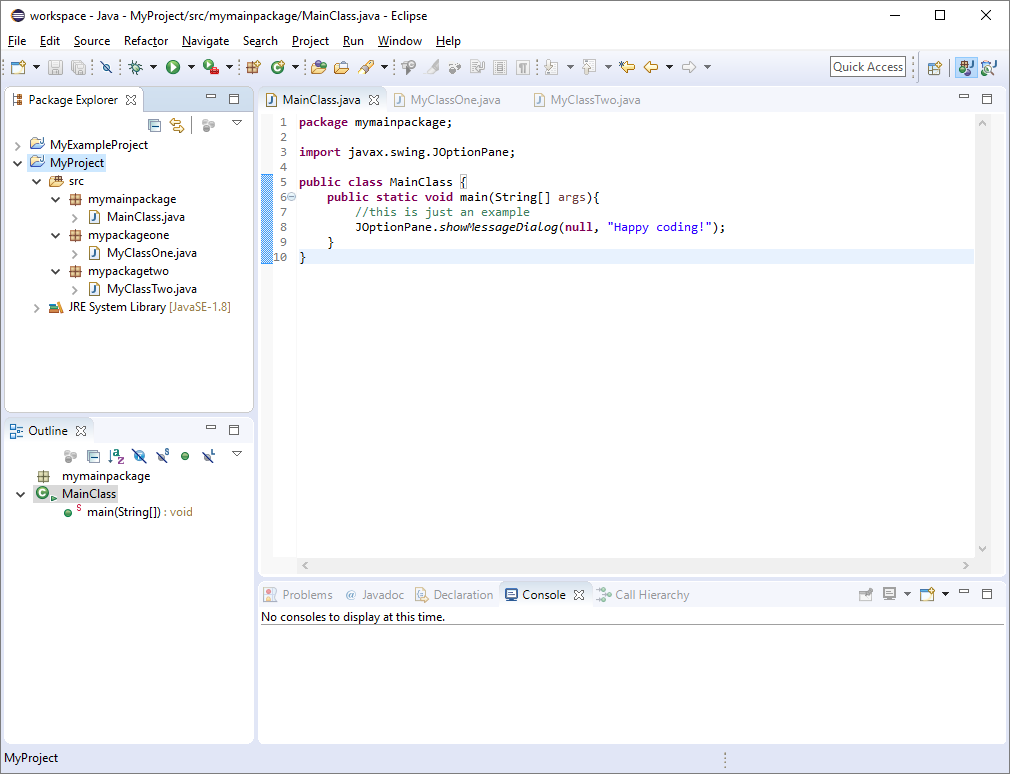
Note that this is just an example, so don’t pay too much attention to the code. Mostly just notice that the Package Explorer shows the same directory hiearchy we used above.
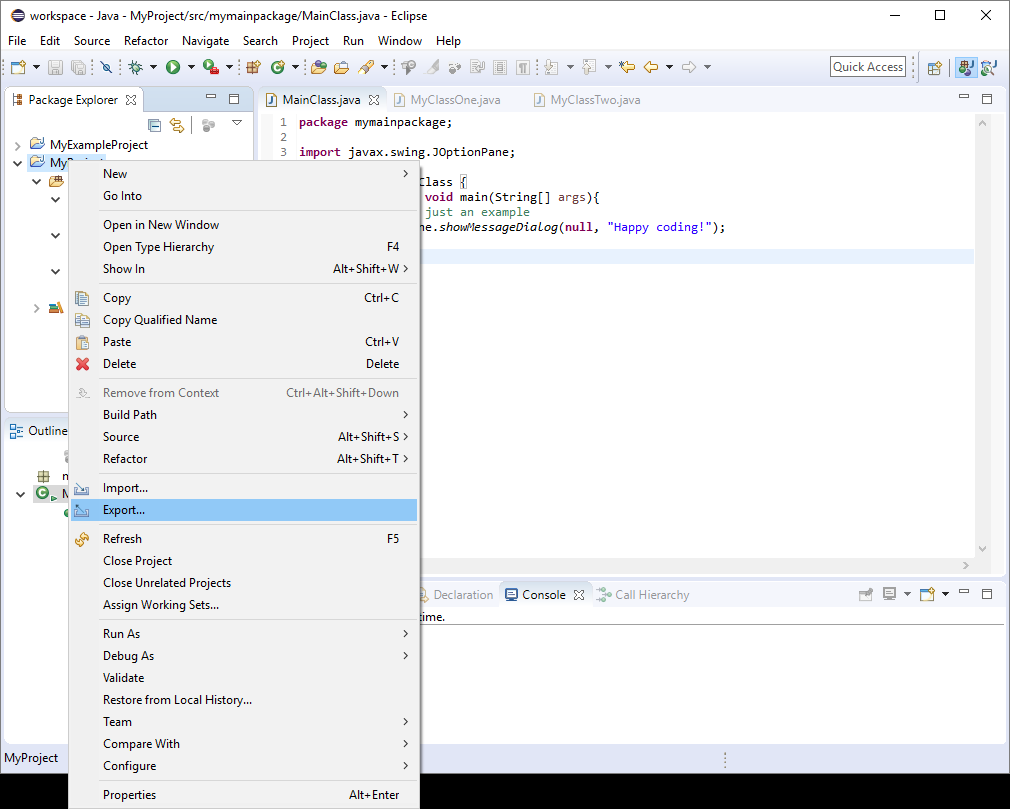
To export your project as a .jar file, right-click the project name, and then click the Export... option
This brings up the Export dialog. In that, expand the Java directory and choose either JAR file or Runnable JAR file:
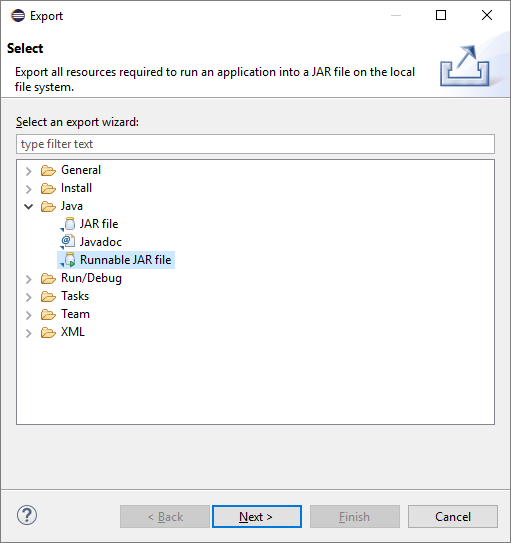
- Choose
JAR fileif you want to create a library.jarfile that doesn’t run when you double-click it. - Choose
Runnable JAR fileif you want to create a runnable.jarfile that executes your code when you double-click it.
If you choose Runnable JAR file, the next screen lets you specify several options:
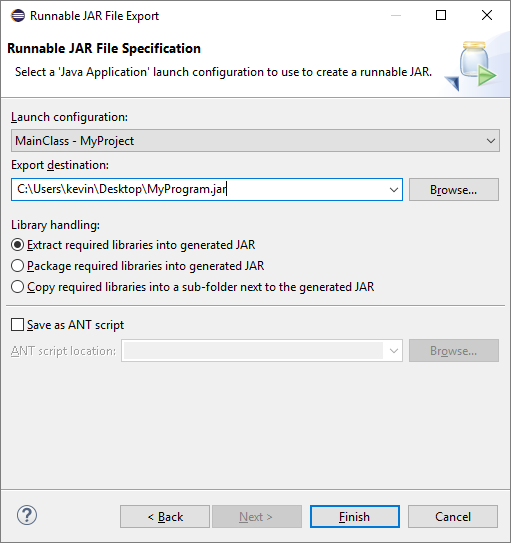
The Launch configuration is your main class, and the Export destination is the location and name of the .jar file to generate.
The Library handling options tell Eclipse how to handle any library .jar files that have been added to your project’s classpath.
- Extracting the libraries copies the files from inside the library
.jarfiles into the generated.jarfile. - Packaging the libraries copies the library
.jarfiles into the generated.jarfile, so your.jarfile will contain other.jarfiles. - Copying the
.jarfiles copies them into a directory next to the generated.jarfile.
In 99% of cases, the first two options both look the same from the user’s perspective: you get a .jar file that you can double-click to run, even if it uses library .jar files. The third option is closer to how it works when using the command line to create a .jar file. If you want to see what all of these options do, don’t be afraid to just try it and see what happens. Try looking inside the generated .jar file using an archive manager or the jar tf command.
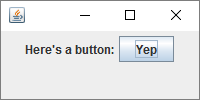
But for now, just leave it as the default and click the Finish button. This creates a .jar file at the location you specified, and you can now send that file to other people!
Platform Specific Executables
Now we know how to create .jar files that other people can run or use as a library. This is a pretty standard way to deploy Java applications, but it has a few downsides: it requires users to have Java installed and their file associations configured correctly. This is okay if your audience is relatively tech-savvy (like the users of sites like Game Jolt or itch.io), but you might want to think about going one step further and bundling your program up into a platform specific executable file, such as a .exe file on Windows or a .app file on OS X.
In any case, you would start with a runnable .jar file and then build an executable that basically just runs the .jar file for you. Here are a few approaches you might consider:
- Using a JNLP file that launches your
.jar. - Creating a script file that runs your
.jarand bundling the script and.jarfile together in a.zipfile. - Using an application like Launch4j or JWrapper or Install4j to create an executable file.