Layouts


Layouts
- Creating Layouts in XML
- Creating Layouts in Code
- Hybrid Approach
- Nesting Layouts
- Orientation
- Design
- Homework
Now that we know the basics of how an Android app is put together, let’s talk a little more about laying out our views.
Like we talked about in the Anatomy of an App tutorial, Android layouts are containers that hold views and determine how components are positioned and sized on screen.
There are a couple different ways to create and use layouts: you can either define them in XML, or you can create them in your code.
Creating Layouts in XML
The recommended approach to creating a layout is to define it in XML. This lets you separate the definition of your view from your code.
To create a layout, use the name of the layout as an XML tag. Then use the name of the views you want to use as tags inside the layout tag.
<?xml version="1.0" encoding="utf-8"?>
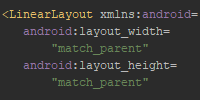
<LinearLayout xmlns:android="http://schemas.android.com/apk/res/android"
android:layout_width="match_parent"
android:layout_height="match_parent"
android:gravity="center"
android:orientation="vertical">
<TextView
android:layout_width="wrap_content"
android:layout_height="wrap_content"
android:text="Happy Coding!"
android:textSize="42sp" />
<Button
android:id="@+id/button_id"
android:layout_width="wrap_content"
android:layout_height="wrap_content"
android:text="Click me!"
android:textSize="24sp" />
</LinearLayout>
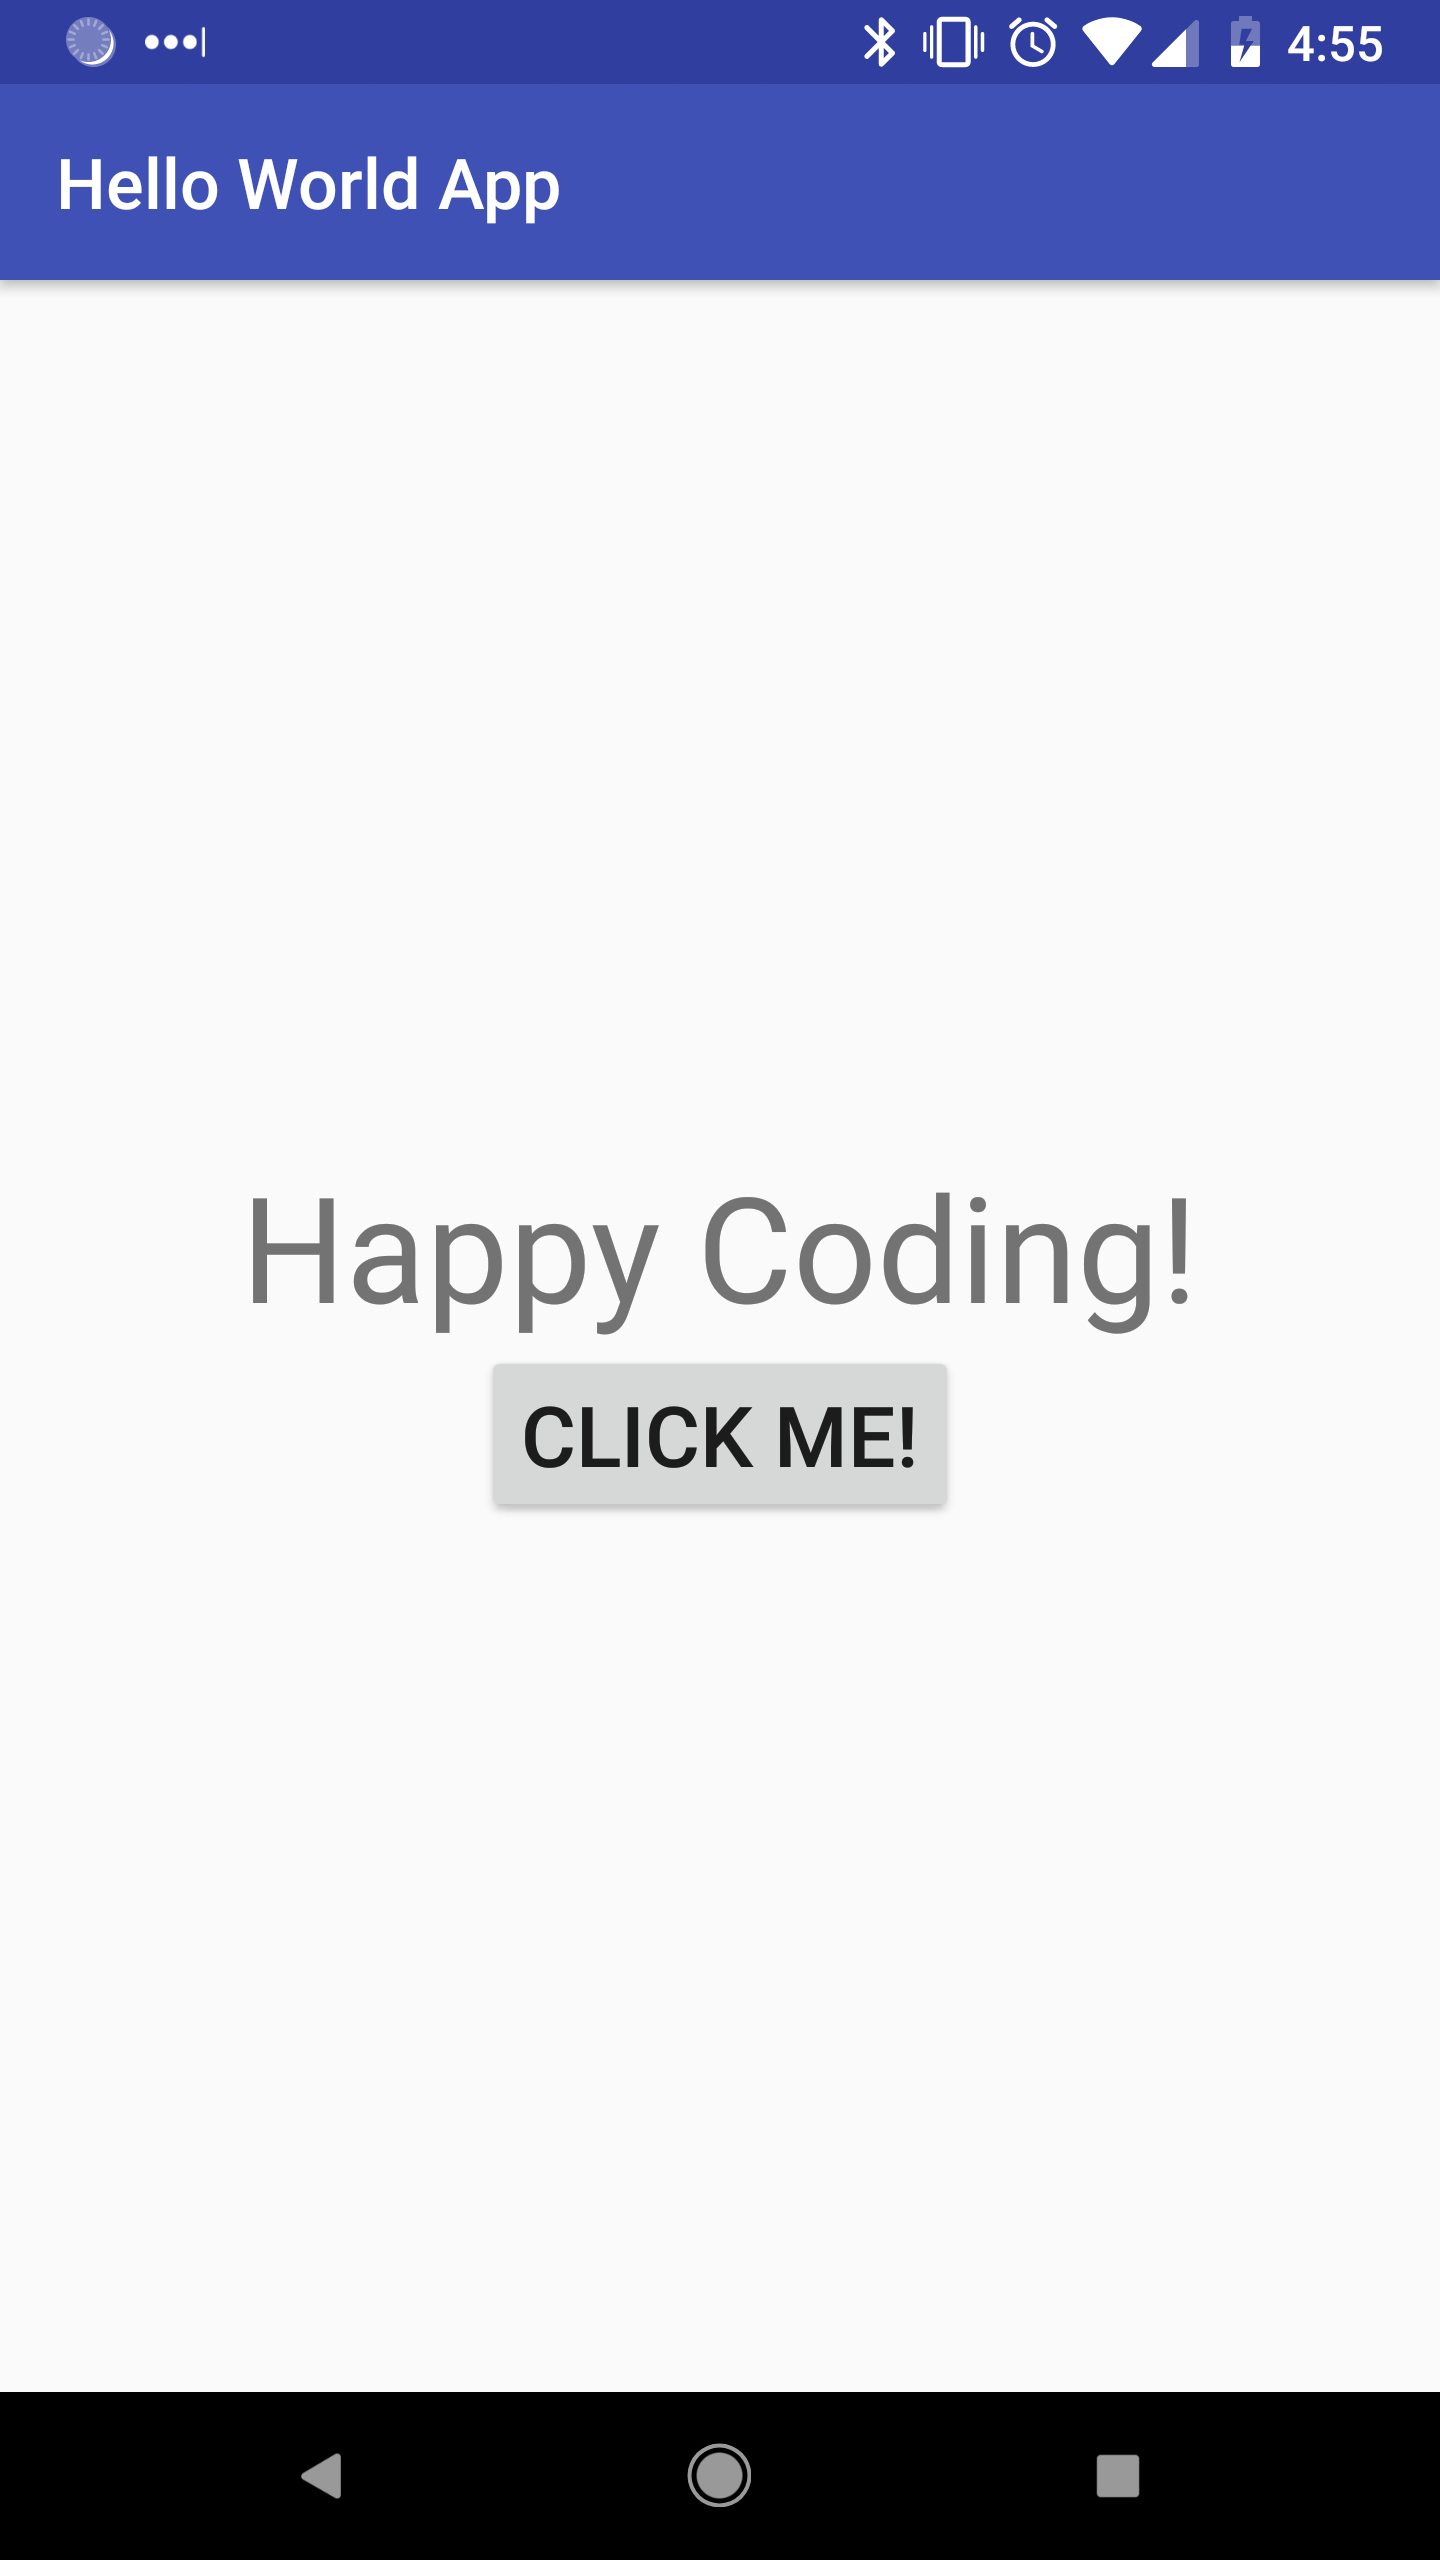
This example creates a LinearLayout that contains a TextView and a Button.
Also notice that the tags contain attributes that define certain properties. For example the android:layout_width attribute defines the width of a layout or view. The value match_parent sets the width to the width of the parent element (in our case, it makes the layout take up the whole screen), and the value wrap_content sets the width of the layout to the width of the views inside the layout.
To know which properties are available for a particular layout, consult the Android reference. For example the LinearLayout guide is the reference for the LinearLayout class.
Loading XML Layouts in Code
Now that we have a layout defined in XML, we can access it in our code.
Android has a special class named R that gives us access to resources like XML and images. To reference a layout, use R.layout.layout_name where layout_name is the name of your layout file.
For example, to use the layout we just created in an activity, we’d do this:
package io.happycoding.helloworldapp;

import android.app.Activity;
import android.os.Bundle;

public class MainActivity extends Activity {

    @Override
    protected void onCreate(Bundle savedInstanceState) {
        super.onCreate(savedInstanceState);
        setContentView(R.layout.activity_main);
    }
}
When this activity runs, Android automatically call the onCreate() function. Inside the onCreate() function, we use R.layout.activity_main to load the layout from our XML file, and we pass it into the setContentView() function to set it as the view to use for this activity.
Creating Layouts in Code
While XML is the recommended approach to creating layouts, you can also create layouts in your code instead. Here’s some code that does the exact same thing as the XML above:
package io.happycoding.helloworldapp;

import android.app.Activity;
import android.os.Bundle;
import android.util.TypedValue;
import android.view.Gravity;
import android.widget.Button;
import android.widget.LinearLayout;
import android.widget.TextView;

public class MainActivity extends Activity {

    @Override
    protected void onCreate(Bundle savedInstanceState) {
        super.onCreate(savedInstanceState);

        LinearLayout linearLayout = new LinearLayout(this);
        linearLayout.setOrientation(LinearLayout.VERTICAL);
        linearLayout.setGravity(Gravity.CENTER);

        LinearLayout.LayoutParams textViewParams = new LinearLayout.LayoutParams(
                LinearLayout.LayoutParams.WRAP_CONTENT, LinearLayout.LayoutParams.WRAP_CONTENT);
        TextView textView = new TextView(this);
        textView.setLayoutParams(textViewParams);
        textView.setText("Happy Coding!");
        textView.setTextSize(TypedValue.COMPLEX_UNIT_SP, 42);
        linearLayout.addView(textView);

        LinearLayout.LayoutParams buttonParams = new LinearLayout.LayoutParams(
                LinearLayout.LayoutParams.WRAP_CONTENT, LinearLayout.LayoutParams.WRAP_CONTENT);
        Button button = new Button(this);
        button.setLayoutParams(buttonParams);
        button.setText("Click me!");
        button.setTextSize(TypedValue.COMPLEX_UNIT_SP, 24);
        linearLayout.addView(button);

        setContentView(linearLayout);
    }
}
Compare this code to the XML and notice that they’re doing the same thing: creating a LinearLayout, setting some properties, and adding a TextView and a Button with their own properties.
Hybrid Approach
Now we know how to create a layout in both XML and in code. It’s better to use XML for the static aspects of your layout: the stuff that’s the same every time the app is run. Code is useful for the dynamic aspects of your app: the stuff that changes based on things like user input. Most apps will use a hybrid of both XML layouts and code that modifies the layout.
To share a layout or view between XML and code, first give it an ID in XML:
<?xml version="1.0" encoding="utf-8"?>
<LinearLayout xmlns:android="http://schemas.android.com/apk/res/android"
    android:layout_width="match_parent"
    android:layout_height="match_parent"
    android:gravity="center"
    android:orientation="vertical">

    <TextView
        android:layout_width="wrap_content"
        android:layout_height="wrap_content"
        android:text="Happy Coding!"
        android:textSize="42sp" />

    <Button
        android:id="@+id/button_id"
        android:layout_width="wrap_content"
        android:layout_height="wrap_content"
        android:text="Click me!"
        android:textSize="24sp" />

</LinearLayout>
Here we’ve given the Button an ID of button_id. Now we can reference the Button in our code using the findViewById() function along with the R class, which gives us access to stuff like ID values.
final Button button = findViewById(R.id.button_id);
Now that we have the Button in our code, we can call functions on it just like if we had created the Button in code in the first place. This is very useful for stuff like adding click listeners:
package io.happycoding.helloworldapp;

import android.app.AlertDialog;
import android.support.v7.app.AppCompatActivity;
import android.os.Bundle;
import android.view.View;
import android.widget.Button;

public class MainActivity extends AppCompatActivity {

    @Override
    protected void onCreate(Bundle savedInstanceState) {
        super.onCreate(savedInstanceState);
        setContentView(R.layout.activity_main);

        final Button button = findViewById(R.id.button_id);
        button.setOnClickListener(new View.OnClickListener() {
            public void onClick(View v) {
                AlertDialog.Builder builder = new AlertDialog.Builder(MainActivity.this);
                builder.setMessage("Hello world!");
                AlertDialog dialog = builder.create();
                dialog.show();
            }
        });
    }
}
This code uses R.layout.activity_main to reference the overall layout, and calls setContentView with that argument to fill the screen with the layout we specified in XML. It then uses the R.id.button_id variable to reference the Button we created, which it stores in a variable and then calls setOnClickListener() to show a dialog when the button is clicked.
Nesting Layouts
Layouts can be treated as views, which lets you add layouts to other layouts, or to nest layouts. This lets you create more complicated user interfaces. Here’s an example:
<?xml version="1.0" encoding="utf-8"?>
<LinearLayout xmlns:android="http://schemas.android.com/apk/res/android"
    android:layout_width="match_parent"
    android:layout_height="match_parent"
    android:gravity="center"
    android:orientation="vertical">

    <TextView
        android:layout_width="wrap_content"
        android:layout_height="wrap_content"
        android:text="Label One"
        android:textSize="42sp" />

    <LinearLayout xmlns:android="http://schemas.android.com/apk/res/android"
        android:layout_width="match_parent"
        android:layout_height="wrap_content"
        android:gravity="center"
        android:orientation="horizontal"
        android:background="@drawable/border">

        <Button
            android:layout_width="wrap_content"
            android:layout_height="wrap_content"
            android:text="One"
            android:textSize="24sp" />

        <Button
            android:layout_width="wrap_content"
            android:layout_height="wrap_content"
            android:text="Two"
            android:textSize="24sp" />

        <Button
            android:layout_width="wrap_content"
            android:layout_height="wrap_content"
            android:text="Three"
            android:textSize="24sp" />

    </LinearLayout>

    <TextView
        android:layout_width="wrap_content"
        android:layout_height="wrap_content"
        android:text="Label Two"
        android:textSize="42sp" />

</LinearLayout>
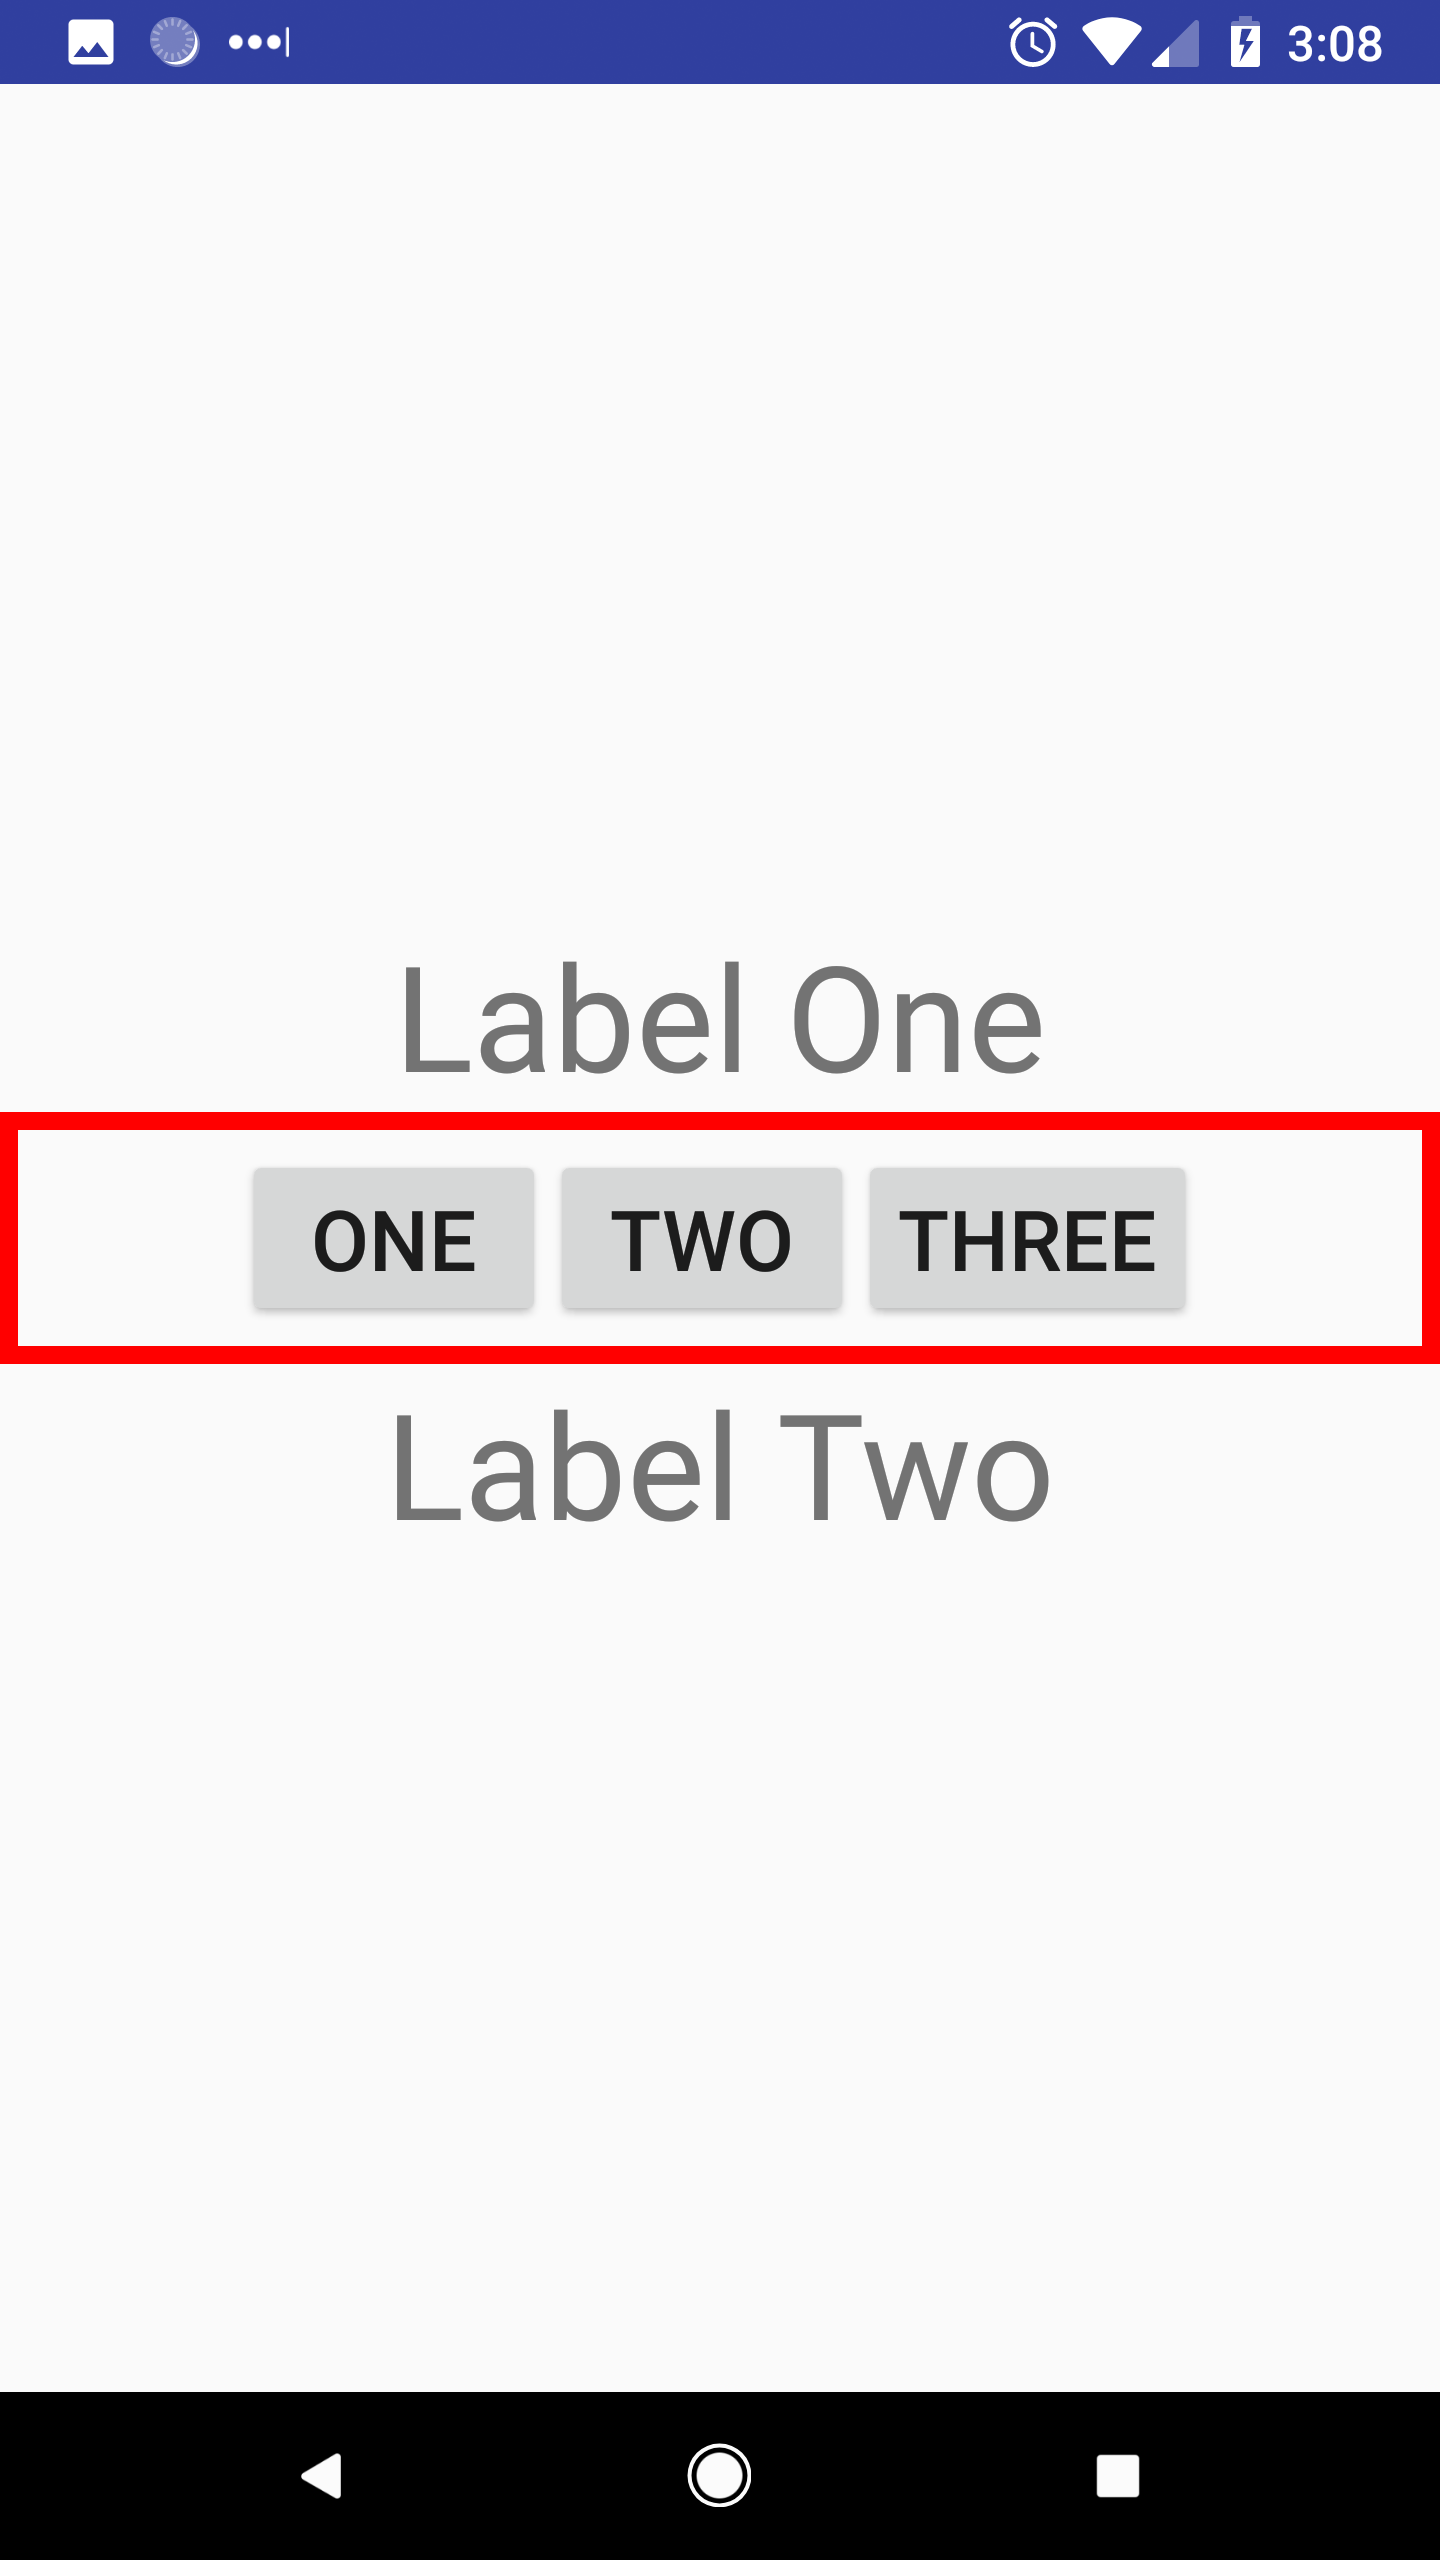
This XML creates a LinearLayout that contains a label, another LinearLayout, and a second label. The inner LinearLayout contains three buttons.
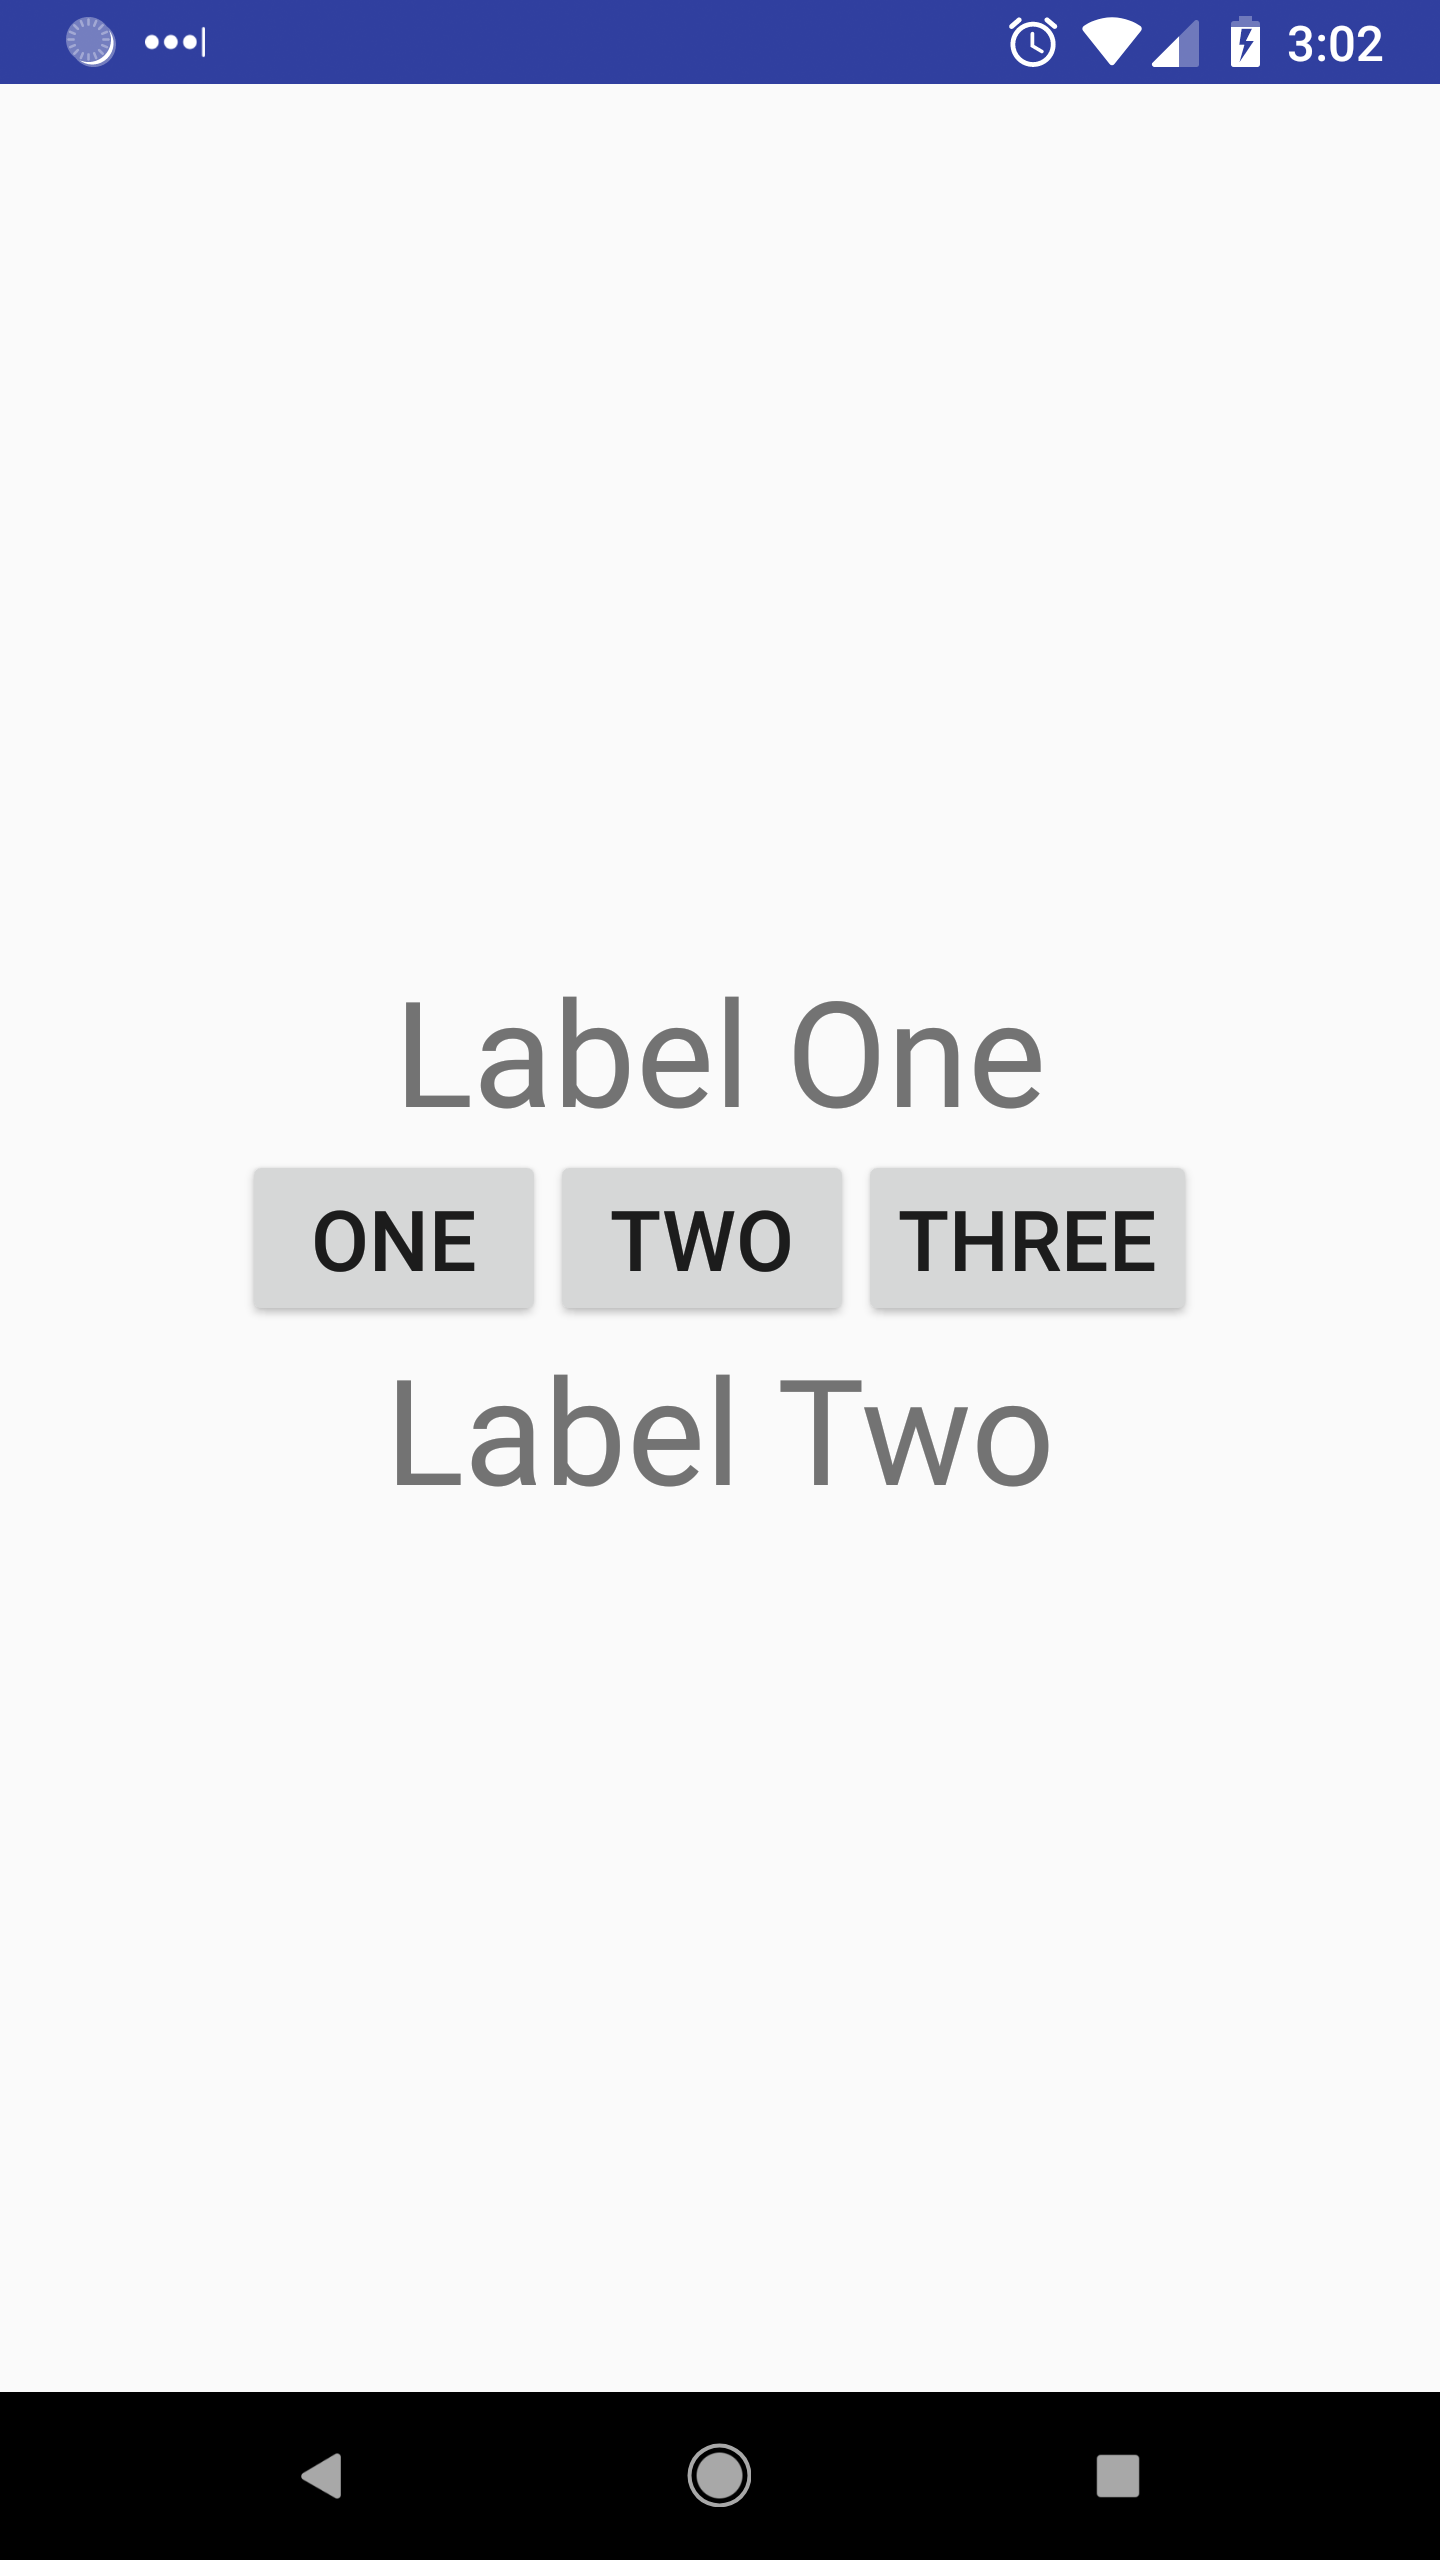
If this seems confusing, try to think about the inner LinearLayout as its own view (that’s exactly what it is), which is placed inside the outer LinearLayout. The outer LinearLayout places its components in a vertical column. Then the inner LinearLayout places its three buttons in a horizontal row.
Orientation
So far, we’ve seen how to create a single layout that’s used for both vertical and horizontal orientations. That means if we rotate our phones, we’ll see this:
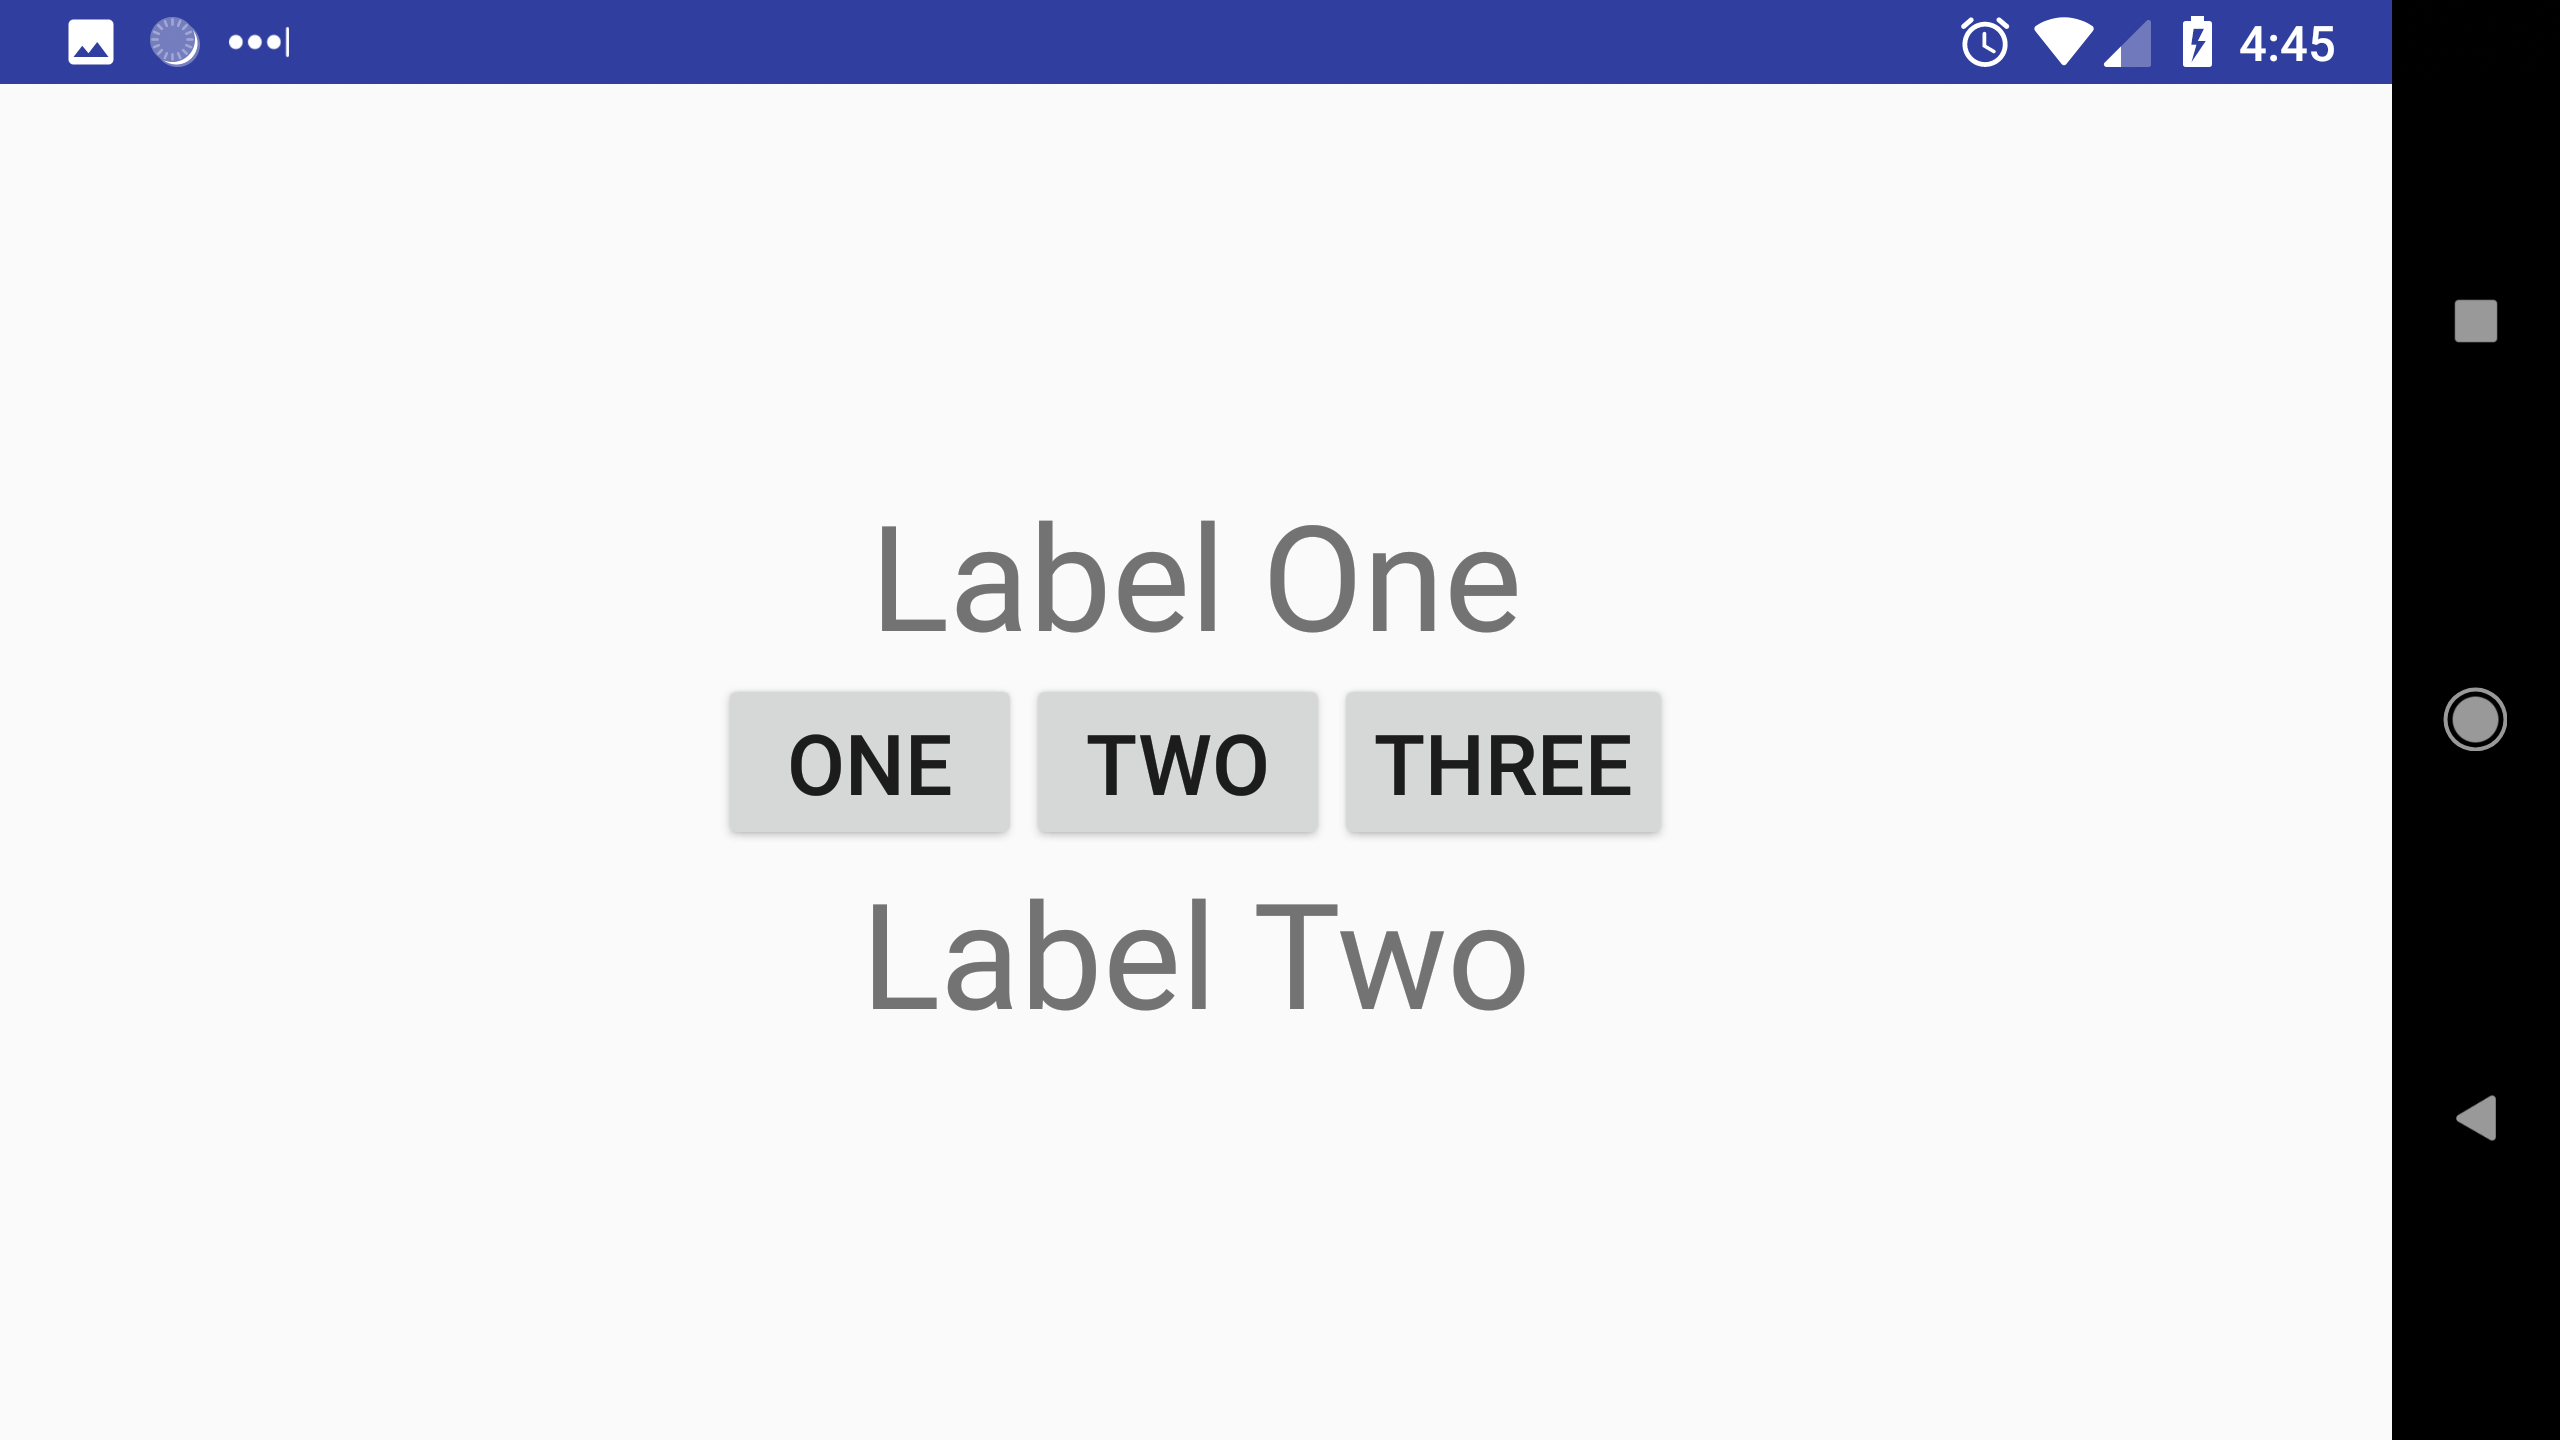
But it’s also possible to specify a different layout for each orientation. This is useful when you want to change the configuration of your views when the user rotates their phone. For example, we might want to lay our views out in a single column in a vertical orientation, but split that view into two columns in a horizontal orientation.
To create an orientation-specific layout, create a layout-port directory for portrait / vertical layouts and a layout-land directory for landscape / horizontal layouts inside the res folder. Then place an XML file in each directory. Make sure the XML files have the same name!
For example, create a landscape-port directory and copy this into a file named activty-main.xml inside that directory:
<?xml version="1.0" encoding="utf-8"?>
<LinearLayout xmlns:android="http://schemas.android.com/apk/res/android"
    android:layout_width="match_parent"
    android:layout_height="match_parent"
    android:gravity="center"
    android:orientation="vertical">

    <TextView
        android:layout_width="wrap_content"
        android:layout_height="wrap_content"
        android:text="Label One"
        android:textSize="42sp" />

    <LinearLayout xmlns:android="http://schemas.android.com/apk/res/android"
        android:layout_width="match_parent"
        android:layout_height="wrap_content"
        android:gravity="center"
        android:orientation="horizontal">

        <Button
            android:layout_width="wrap_content"
            android:layout_height="wrap_content"
            android:text="One"
            android:textSize="24sp" />

        <Button
            android:layout_width="wrap_content"
            android:layout_height="wrap_content"
            android:text="Two"
            android:textSize="24sp" />

        <Button
            android:layout_width="wrap_content"
            android:layout_height="wrap_content"
            android:text="Three"
            android:textSize="24sp" />

    </LinearLayout>

    <TextView
        android:layout_width="wrap_content"
        android:layout_height="wrap_content"
        android:text="Label Two"
        android:textSize="42sp" />

</LinearLayout>
This is just the same XML layout file we’ve already been using. Now create a layout-land directory and create another file named activity_main.xml inside it, and copy this into it:
<?xml version="1.0" encoding="utf-8"?>
<LinearLayout xmlns:android="http://schemas.android.com/apk/res/android"
    android:layout_width="match_parent"
    android:layout_height="match_parent"
    android:gravity="center"
    android:orientation="horizontal">

    <LinearLayout xmlns:android="http://schemas.android.com/apk/res/android"
        android:layout_width="wrap_content"
        android:layout_height="match_parent"
        android:gravity="center"
        android:orientation="vertical">

        <TextView
            android:layout_width="wrap_content"
            android:layout_height="wrap_content"
            android:text="Label One"
            android:textSize="42sp" />

        <TextView
            android:layout_width="wrap_content"
            android:layout_height="wrap_content"
            android:text="Label Two"
            android:textSize="42sp" />
    </LinearLayout>

    <LinearLayout xmlns:android="http://schemas.android.com/apk/res/android"
        android:layout_width="wrap_content"
        android:layout_height="wrap_content"
        android:gravity="center"
        android:orientation="vertical">

        <Button
            android:layout_width="wrap_content"
            android:layout_height="wrap_content"
            android:text="One"
            android:textSize="24sp" />

        <Button
            android:layout_width="wrap_content"
            android:layout_height="wrap_content"
            android:text="Two"
            android:textSize="24sp" />

        <Button
            android:layout_width="wrap_content"
            android:layout_height="wrap_content"
            android:text="Three"
            android:textSize="24sp" />

    </LinearLayout>

</LinearLayout>
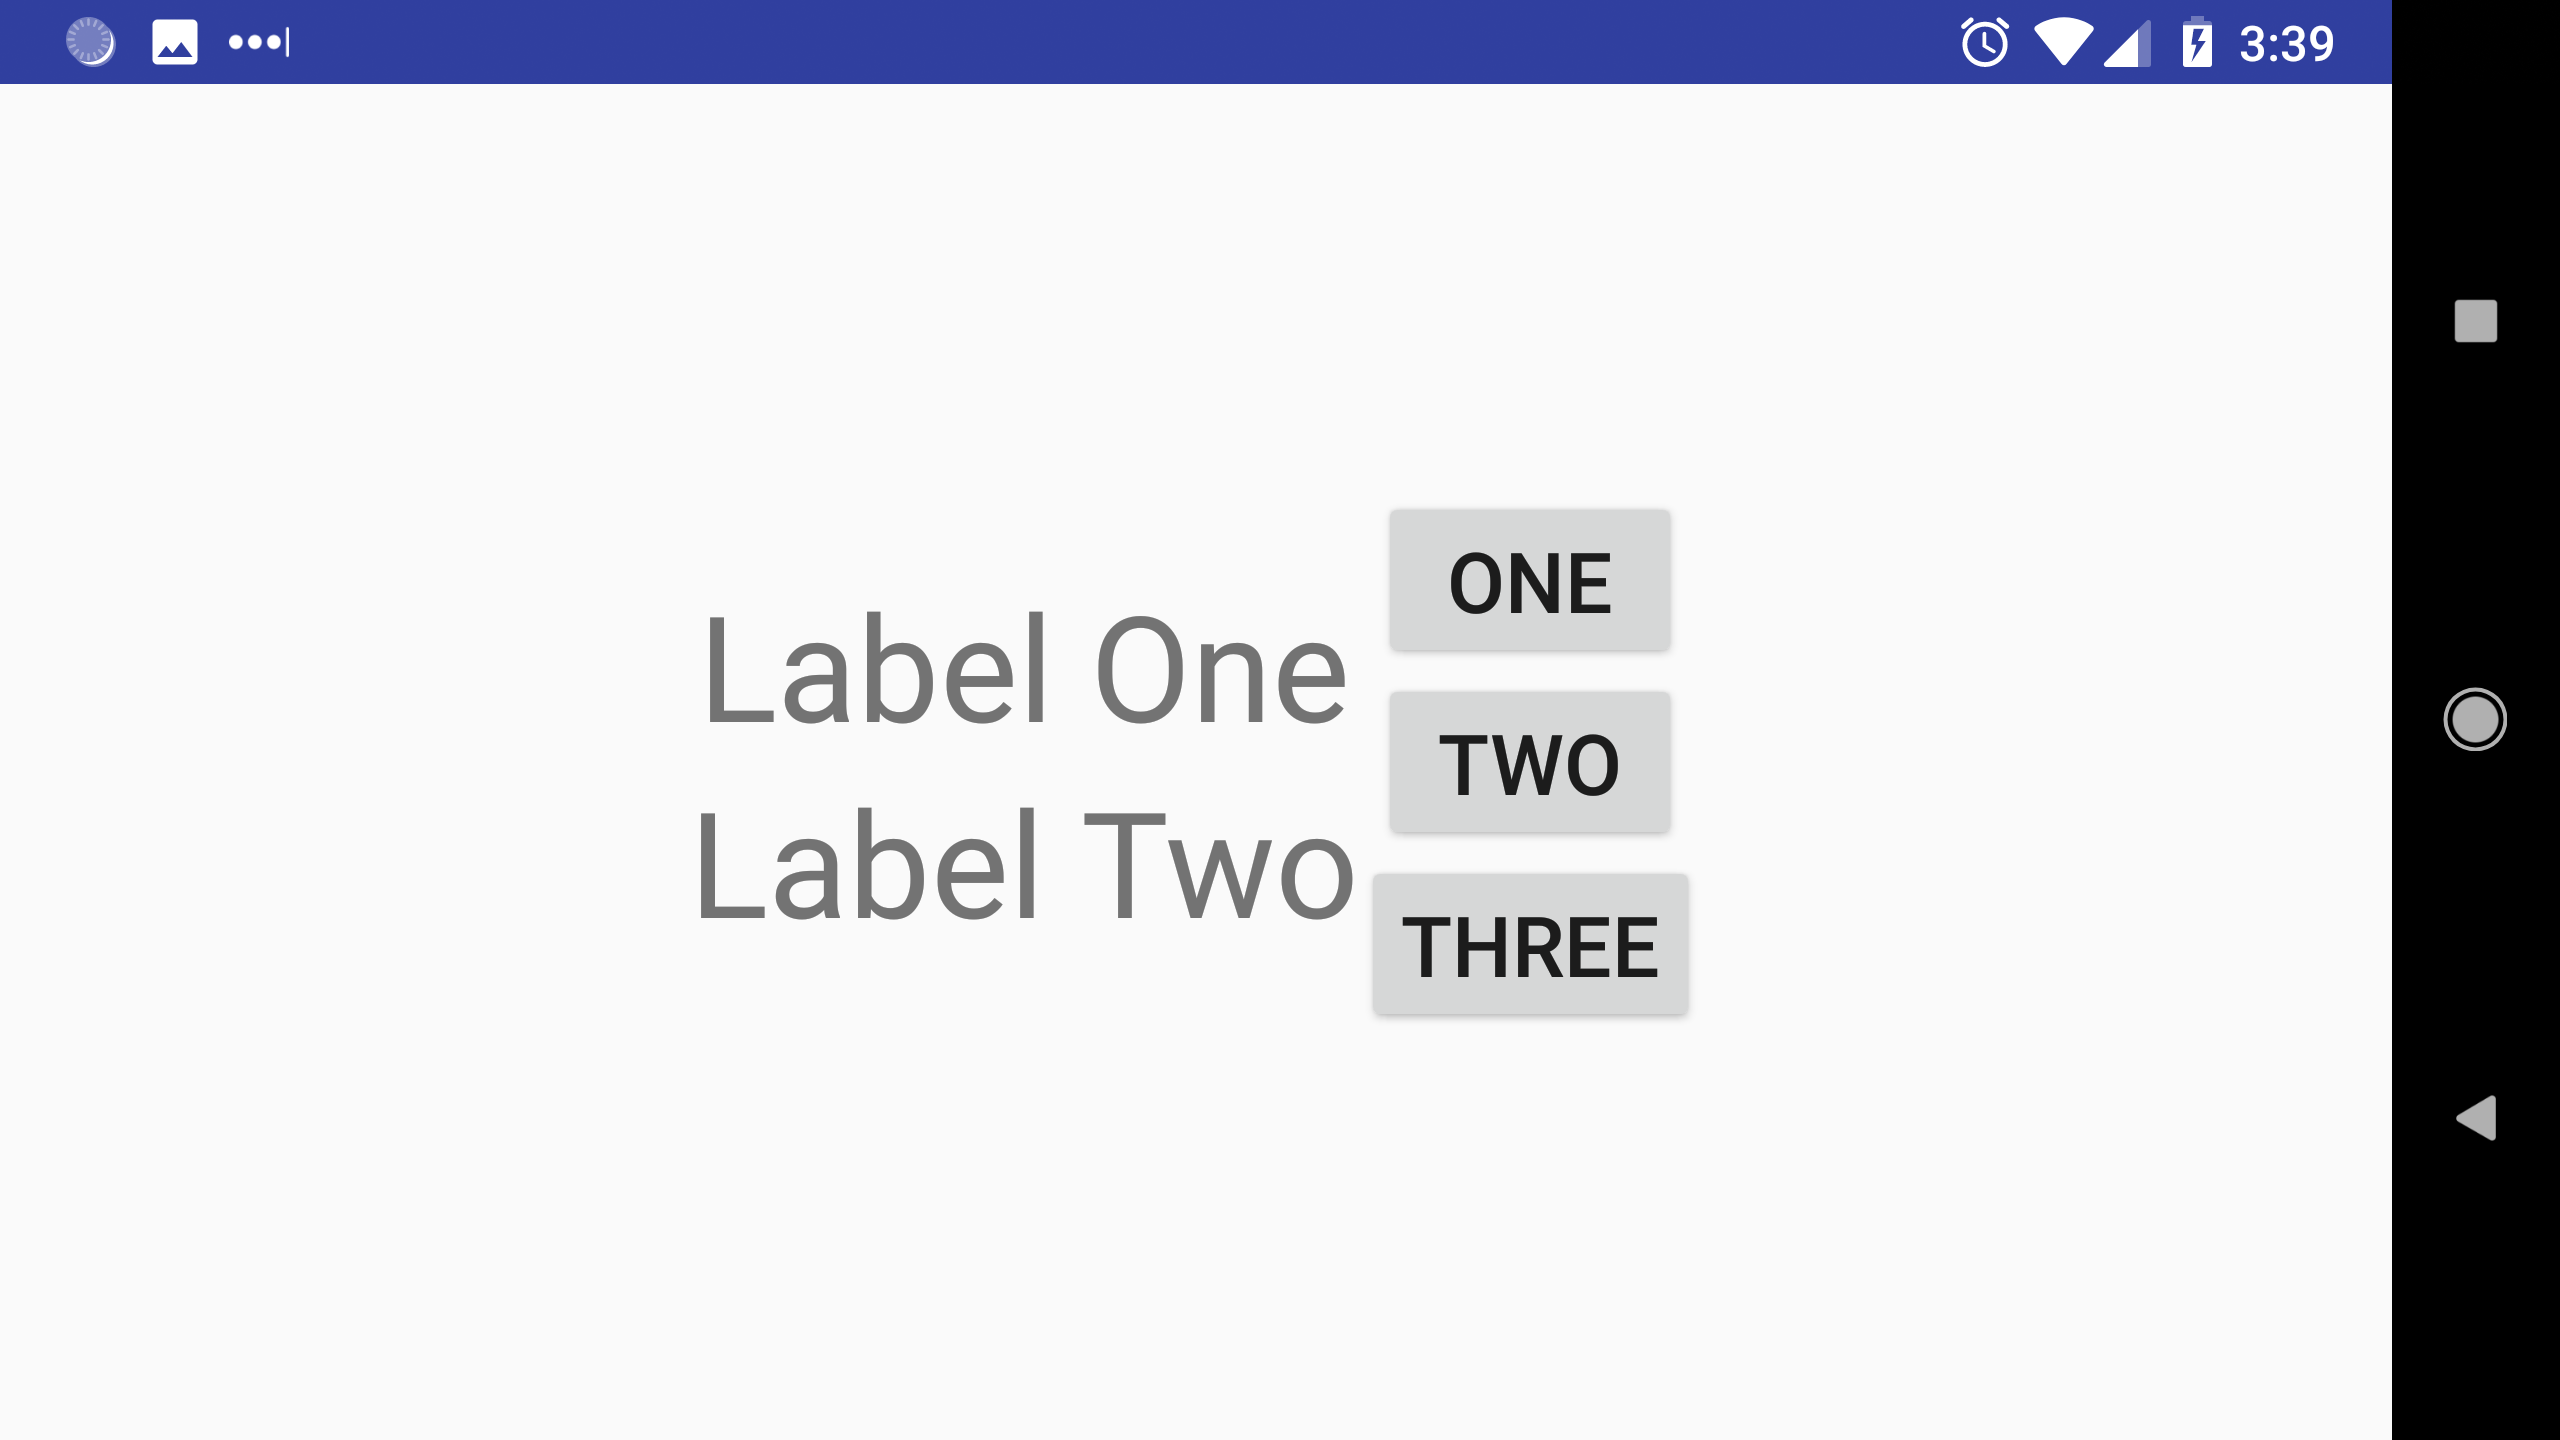
This XML creates a horizontal LinearLayout that then contains two nested vertical LinearLayouts that contain the labels and buttons in our app.
Our directory structure should look like this:
res/layout/- (empty)
layout-land/activity_main.xml
layout-port/activity_main.xml
Now that we have these files, we can just reference the layouts the same way we have been:
package io.happycoding.helloworldapp;

import android.app.Activity;
import android.os.Bundle;

public class MainActivity extends Activity {

    @Override
    protected void onCreate(Bundle savedInstanceState) {
        super.onCreate(savedInstanceState);
        setContentView(R.layout.activity_main);
    }
}
The R.layout.activity_main variable refers to whichever activity_main.xml file matches the current orientation of the phone. When the phone is rotated, Android automatically shows the correct layout.
There are a bunch of other ways to specialize your layouts. Check out the App resource overview docs if you’re curious.
Design
If you’re not familiar with Android-style layouts, it can be hard to know where to start when creating your UI. There isn’t a single correct approach to this (there never is), but here’s how I approach designing a layout:
Use Paper
The first thing you need to do is to draw your app out. A piece of paper and a pencil are your best friend here.
Start at the Outside
When laying out your views, remember that you’re going to use nested layouts to position everything. So start with the outer-most layout, which usually splits the screen into the main sections of your app. Think about stuff like: Do you want to have a menu bar at the top or bottom of your sketch? What’s the main content? What’s around it?
Don’t worry about exactly specifying all of the details of the inner layouts. At this point I’d use a lot of placeholders for inner layouts. I use a lot of colored rectangles and borders so I know exactly where things are positioned.
Work in Sections
After you have the outer-most layout figured out, focus on each inner section one at a time. If you want a menu, what’s in it? What do you want to be in the main content area? What should scroll? What should always be on the screen? Keep in mind that you can keep nesting layouts and break your layout down further.
Test Different Resolutions
If you’re planning on releasing your app to the public, remember that different phones have different resolutions. Some screens are larger or smaller, or have different ratios of width and height. It’s a good idea to test your layout on a bunch of different resolutions. Android Studio has a preview feature that shows different resolutions, or you can use the Android emulator.
Homework
- Look at some of the apps you use. What layouts and views are they built from? How do they use nested layouts?
- We’ve mostly talked about
LinearLayout, but there are other layouts. Put together a few examples that use them. - Create a calculator app. Make it interesting and useful or fun: how about a student loan calculator, or a dog years calculator?
- Create a rock-paper-scissors game. Keep it simple, and just show three buttons that allow the user to make their choise. Then have the computer make a random choice and display the winner.
- Create a higher-lower guessing game. Have the player choose a number and have the computer guess it. Or go the other way and have the computer choose a number and allow the player to guess.