Hello World


Hello World
Android development requires a little bit of setup before diving into the code, so let’s do that now.
Android Studio
Android Studio is the official IDE for Android development, recommended and supported by the Android team. It’s possible to write Android code with other editors, but Android Studio will be the easiest to setup, so let’s go with that for now.
Go to developer.android.com to download Android Studio and then go to the install page for installation instructions. Open Android Studio after the installation completes. If a “welcome wizard” pops up, click through and choose the standard installation and whatever theme you want, and then click the Finish button.
When you see this screen, you’re done!
Phone Setup
Before you can deploy an app from your computer to your phone, you have to adjust a few settings.
First you have to enable developer options on your phone. Follow the dev options: go to Settings, then System, then About phone. Scroll down to Build number and tap it 7 times. That sounds a little goofy, but you should see a message saying that developer options have been enabled.
Next, open up developer options by going to Settings, then System, then Developer options. There are a bunch of interesting options here that you can play with (see dev options for a few), but the one we care about for now is USB Debugging.
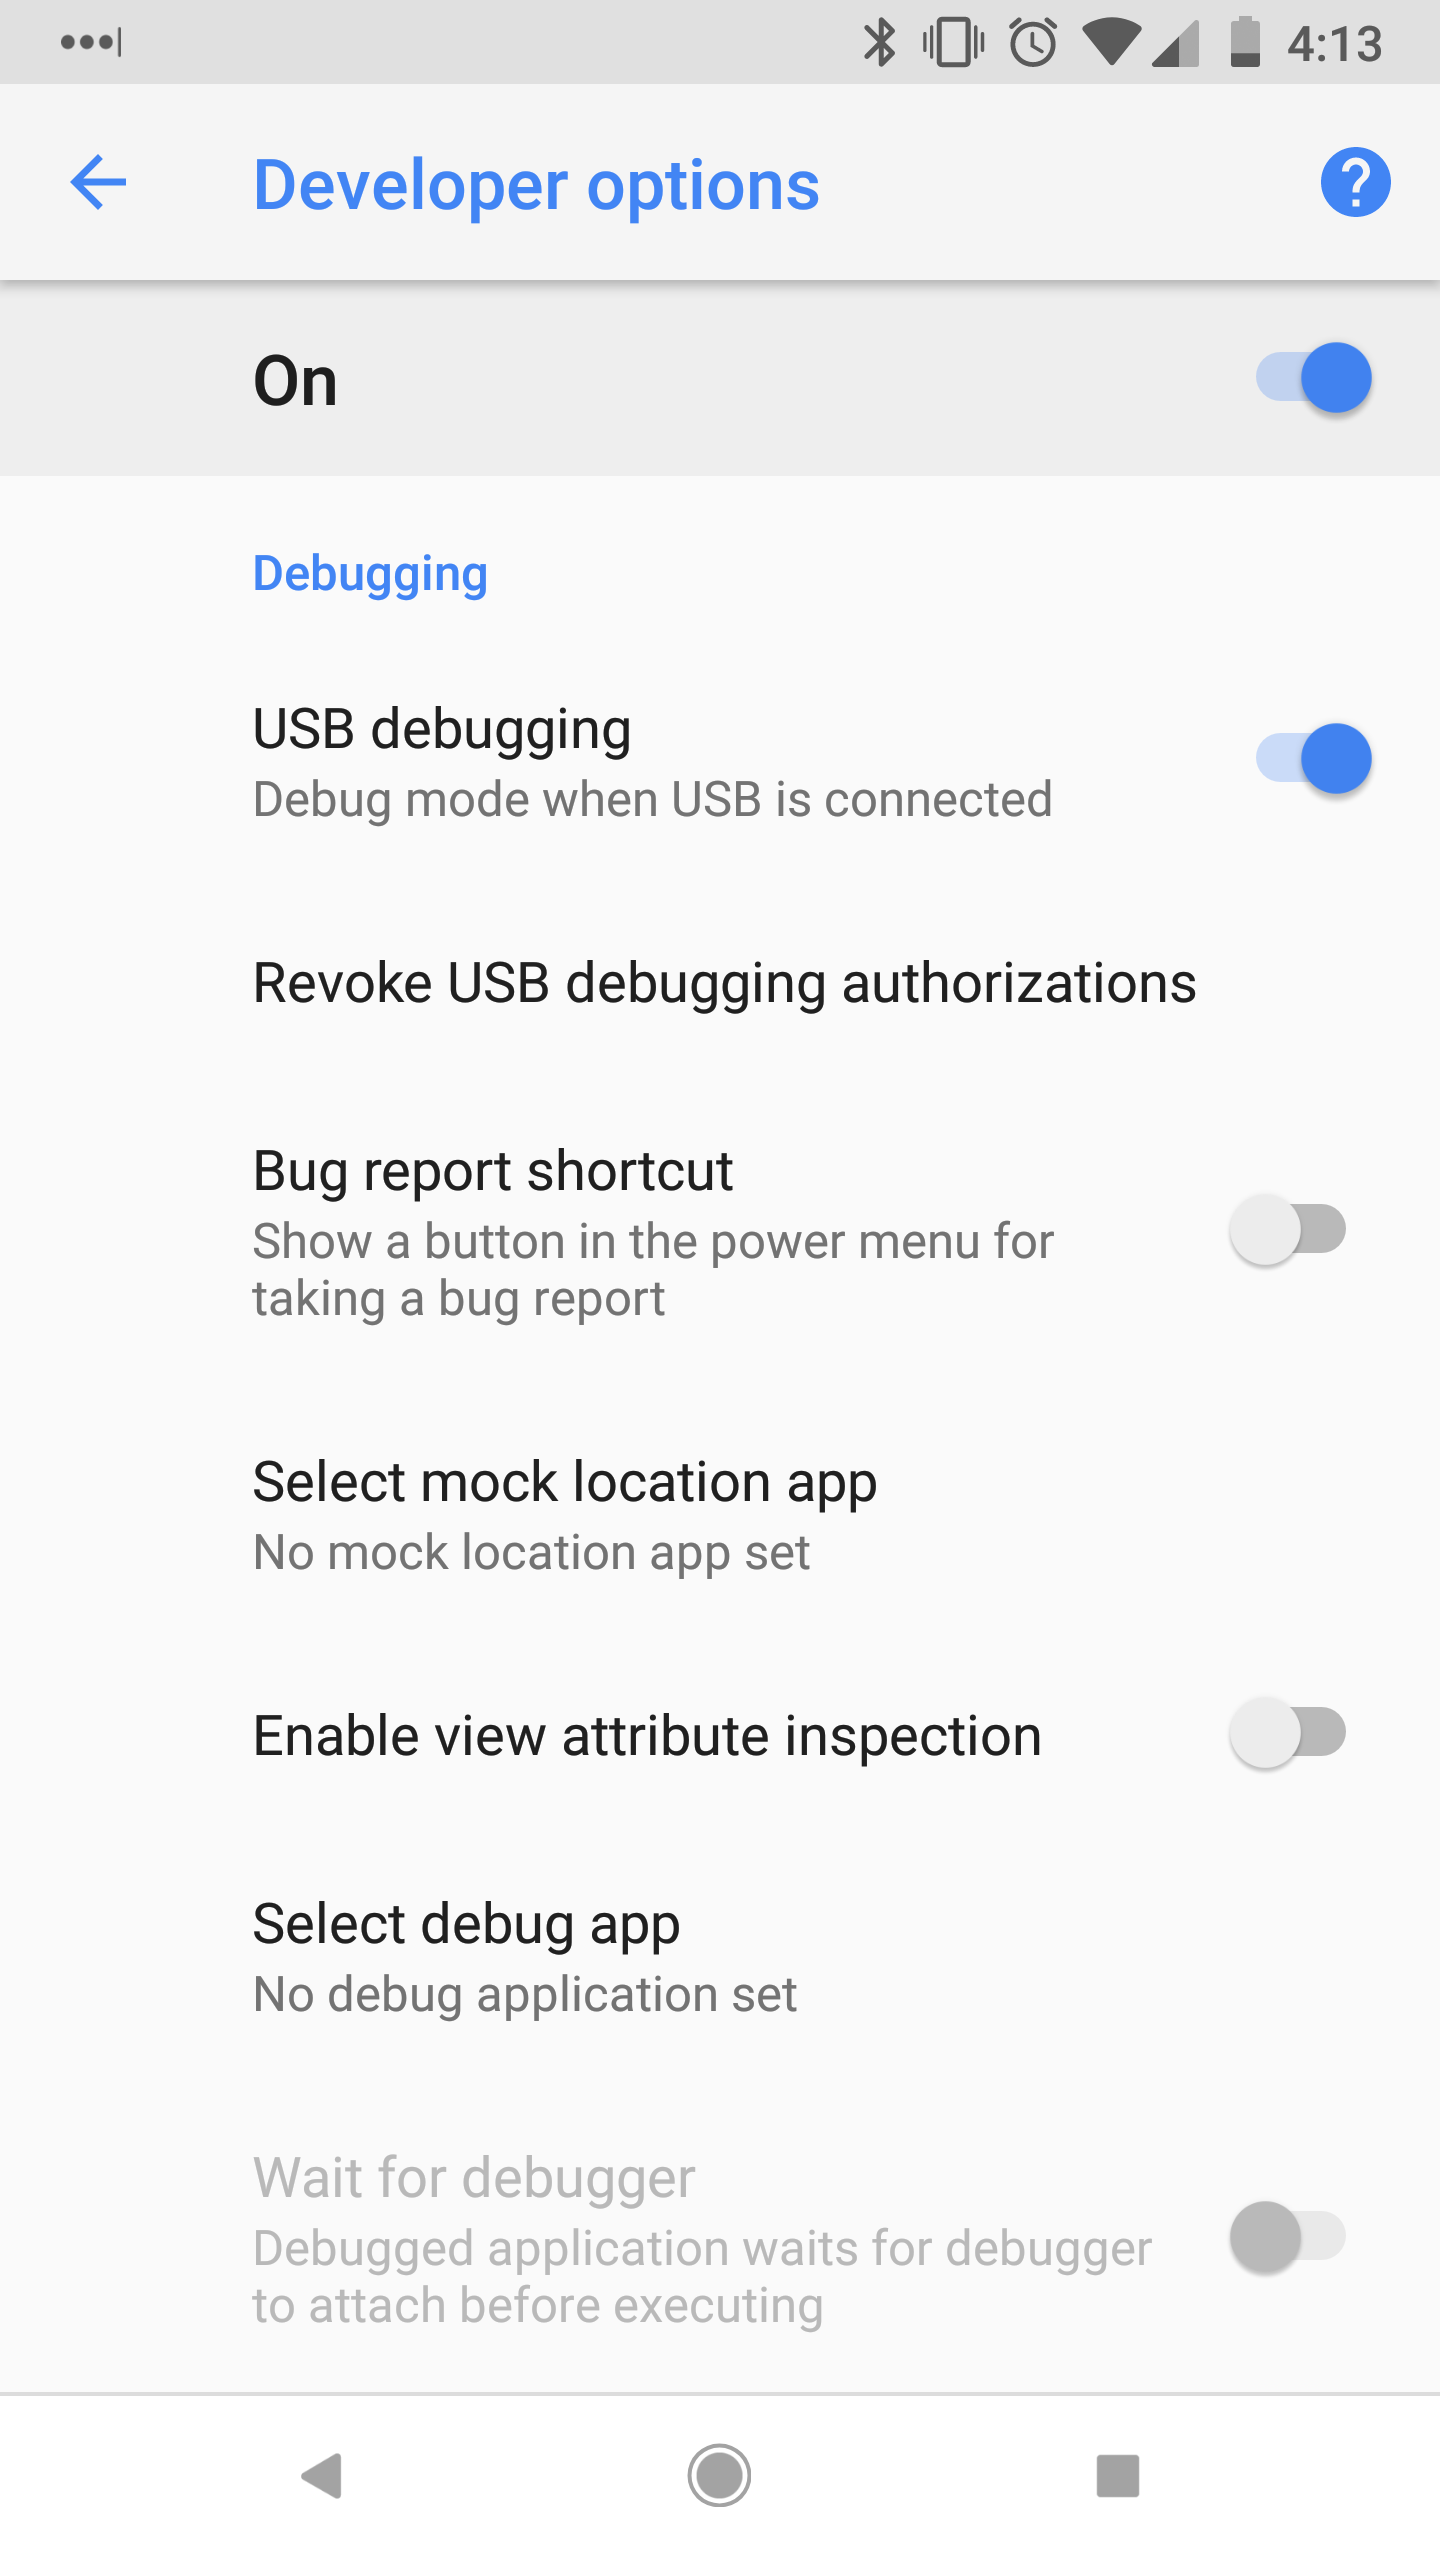
Enable this setting, which will allow you to send apps from your computer to your phone.
Finally, plug your phone into your computer. Your phone will pop up a dialog that asks about allowing USB debugging. If you’re on your own computer, you probably want to click the Always allow from this computer checkbox. Either way click the OK button.
If you have any trouble getting your computer to recognize your phone, read through the run apps on hardware devices guide.
Now we’re ready to start writing code!
Creating a Project
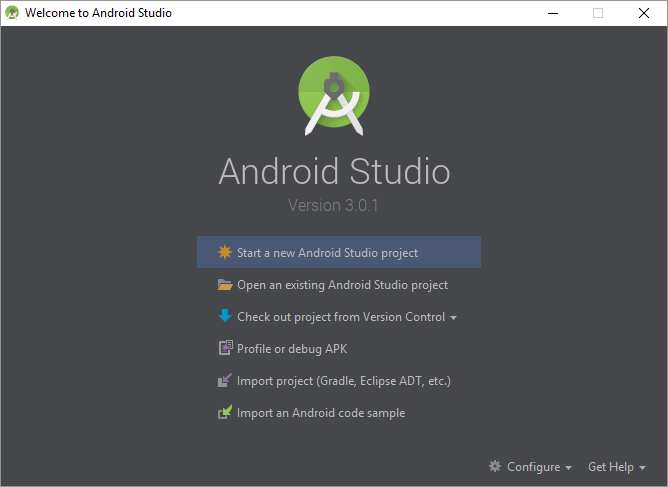
Open Android Studio. If it’s your first time, you should see the welcome screen:
Click Start a new Android Studio project and give it a name (I’m using Hello World App), a domain (I’m using HappyCoding.io) and a location (I’m just using the default). Click Next.
The next screen lets you pick which devices you want your app to run on. Choosing older versions of Android will make your app available to more devices, but you won’t be able to use newer Android features. When you develop a real app you’ll have to think harder about this, but for now just stick with the default settings (Phone and Tablets only, Android 15). Click Next.
You should now be on this screen:
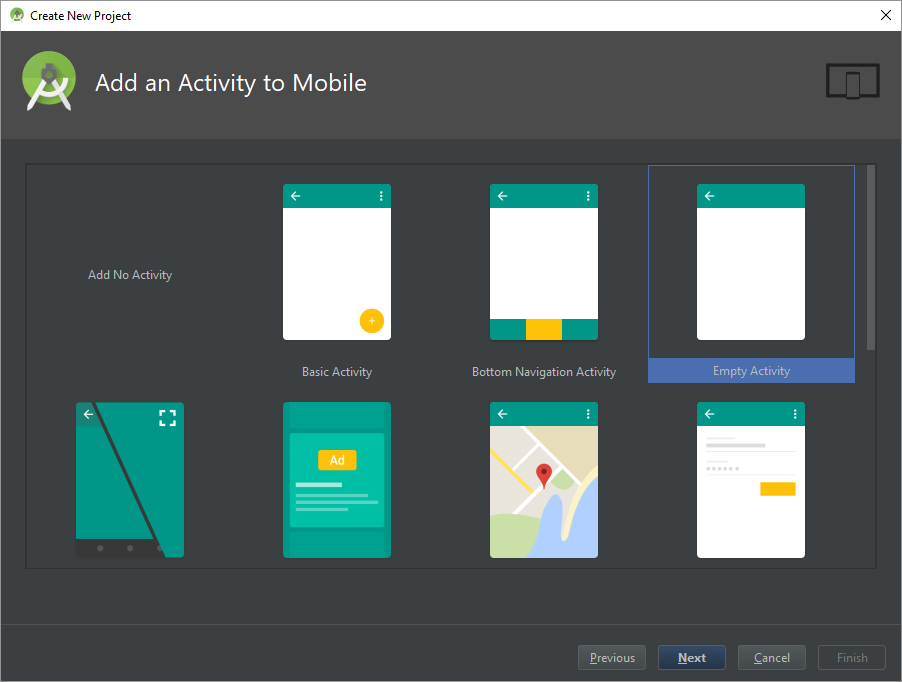
Choose Empty Activity here and click Next. On the next screen, give your activity a name (the default of MainActivity is fine).

Click Next, and then click Finish.
Android Studio will now build your (currently blank) app. If this is your first time working with Android, the build will probably fail. This is normal! It just means you need to install a few more things. Don’t worry, Android Studio will do most of the work: Click the Install missing platforms and sync project link. Click the Install Build Tools link.
Finally, your app should build properly!
Running an App
Make sure your phone is plugged into your computer, and that you’ve enabled Developer Options and USB Debugging on your phone.
Click the play button (it’s a green triangle near the upper-right corner of Android Studio). You should see your phone in the dialog that pops up. If you don’t see your phone, then make sure you’ve enabled USB Debugging. If you see your phone but it says it’s offline, then make sure you’ve clicked OK in the dialog on your phone.
Select your phone and click the OK button. Android Studio will run the app on your phone, and you should see this:
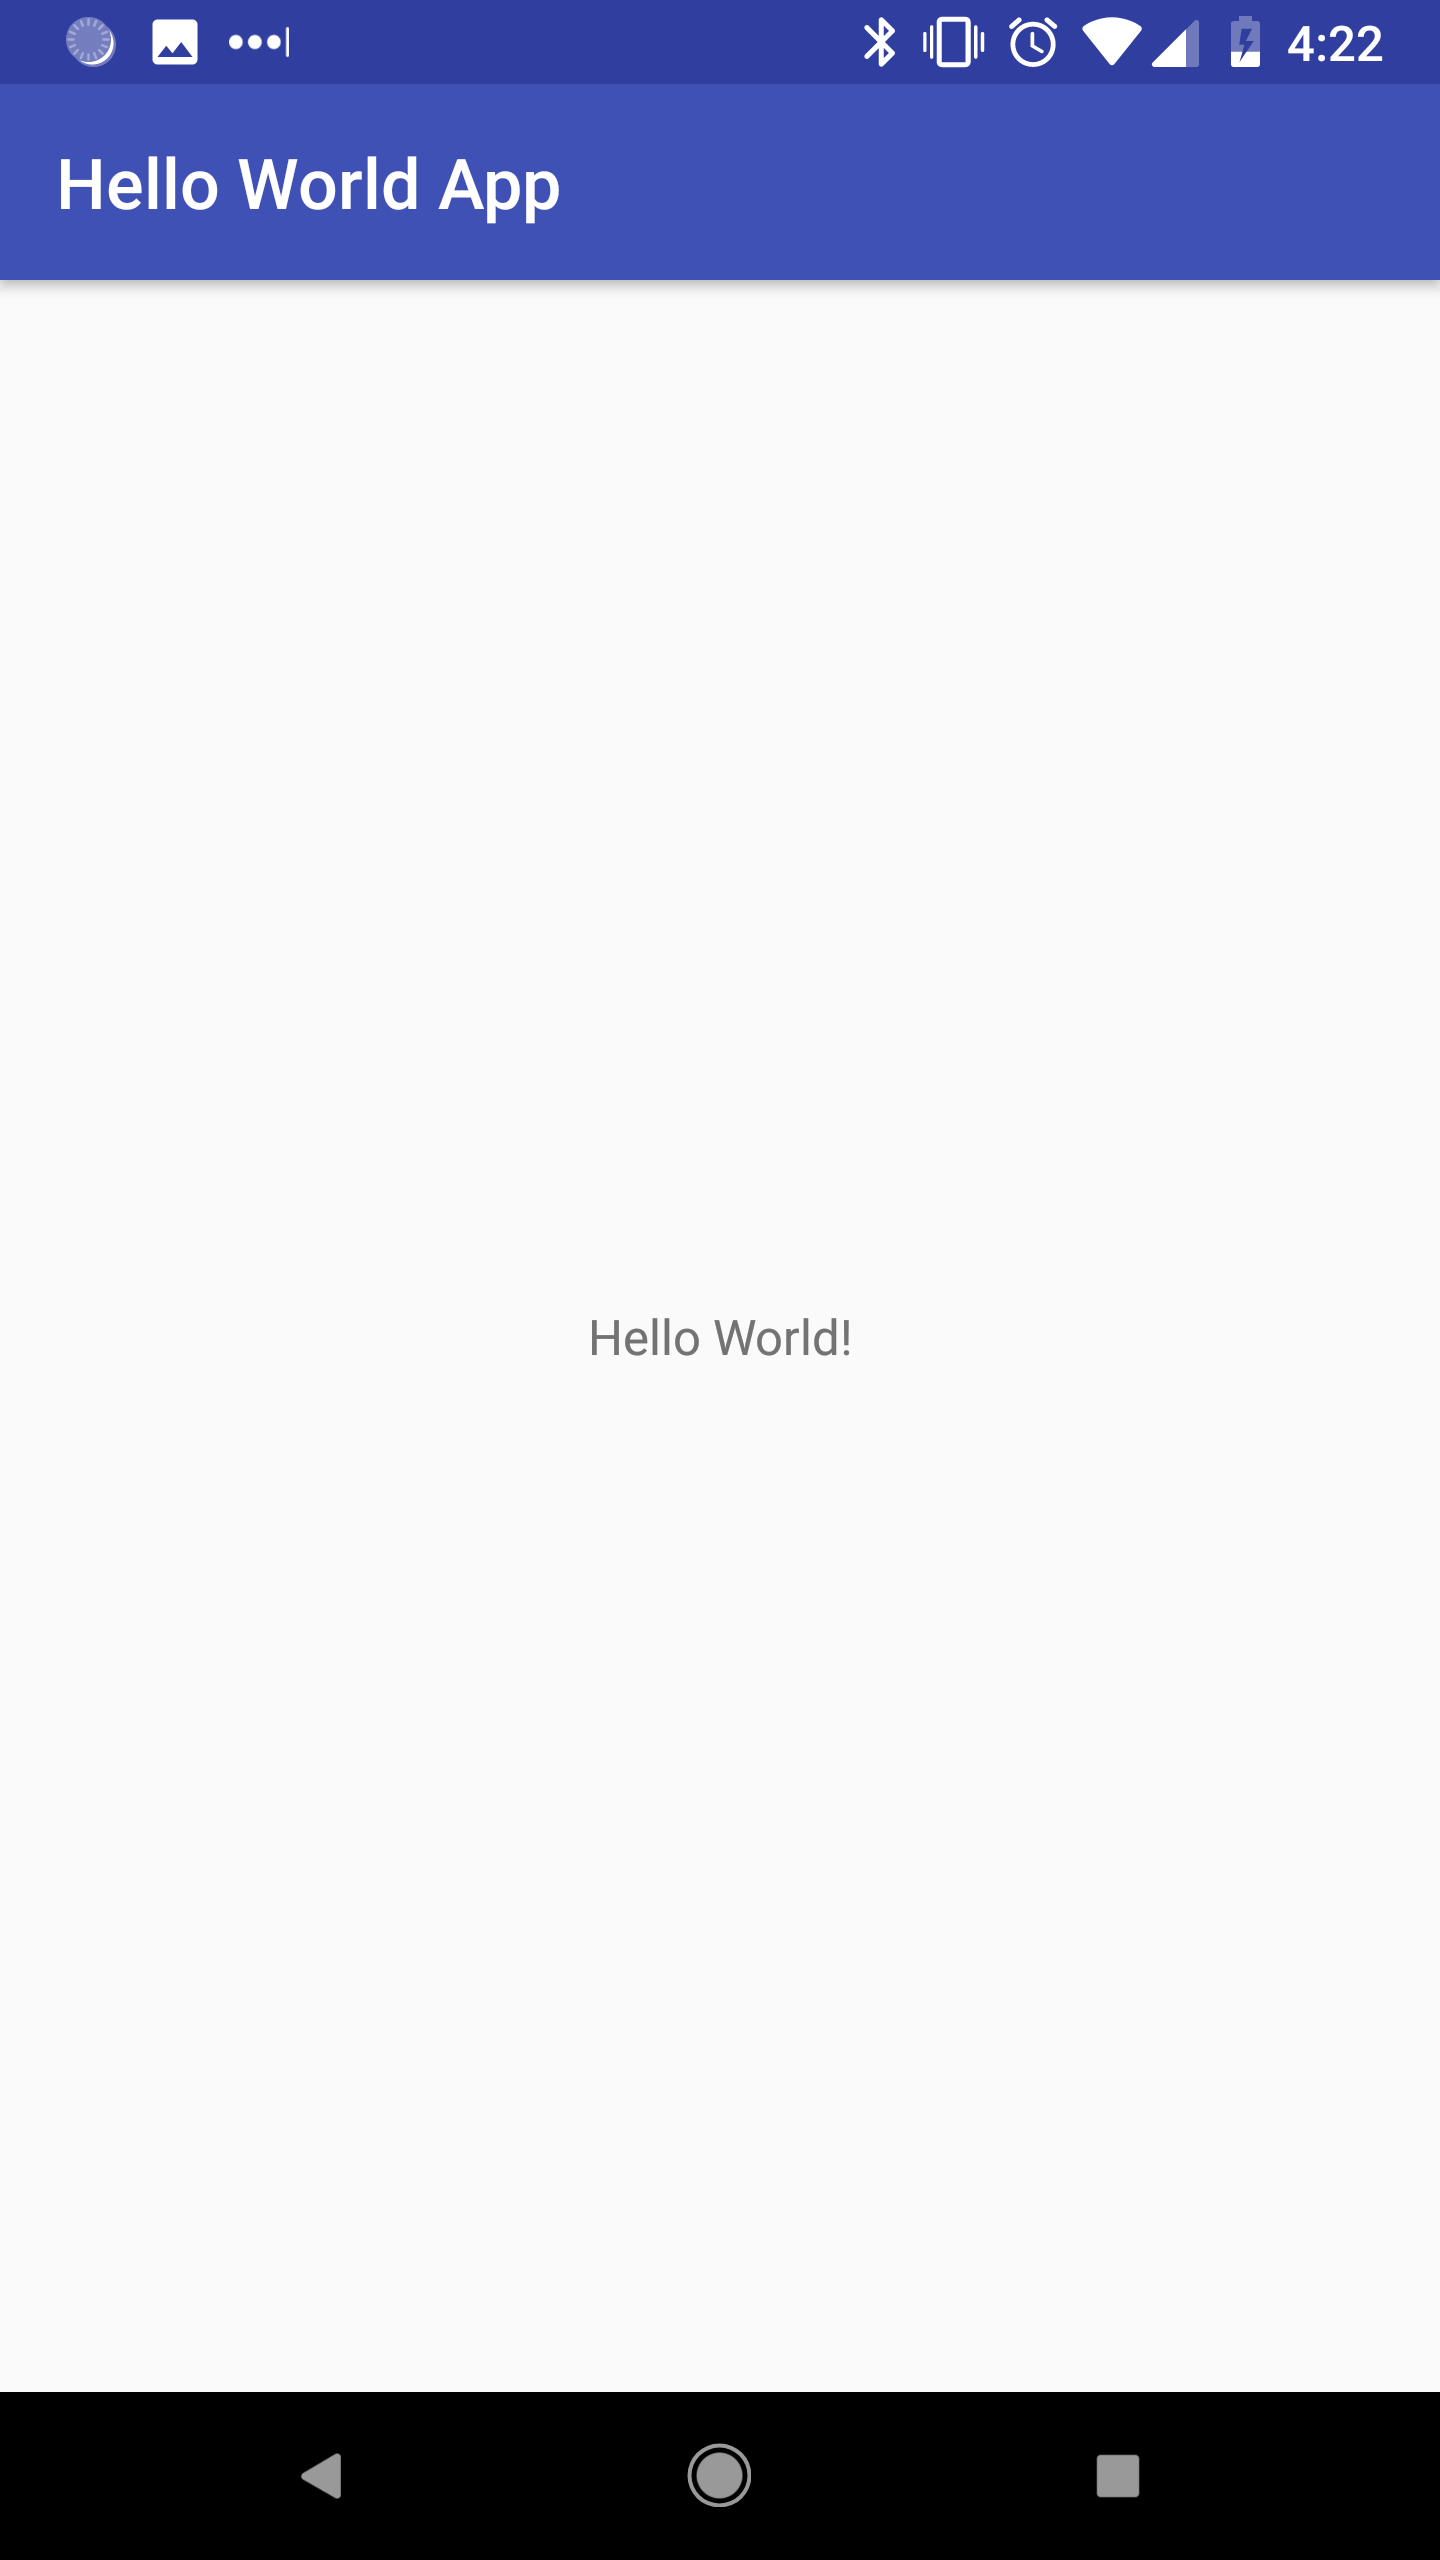
Also note that this installs the app on your phone, so if you close the app you can open it again just like any other app.
Writing Code
Now let’s make a change to our app. Go back to Android Studio and open the activity_main.xml file. Click the Text tab at the bottom of the editor and paste this content in:
<?xml version="1.0" encoding="utf-8"?>
<LinearLayout xmlns:android="http://schemas.android.com/apk/res/android"
    android:layout_width="match_parent"
    android:layout_height="match_parent"
    android:gravity="center"
    android:orientation="vertical">

    <TextView
        android:layout_width="wrap_content"
        android:layout_height="wrap_content"
        android:text="Happy Coding!"
        android:textSize="42sp" />

    <Button
        android:id="@+id/button_id"
        android:layout_width="wrap_content"
        android:layout_height="wrap_content"
        android:text="Click me!"
        android:textSize="24sp" />

</LinearLayout>
We’ll get more into the details of what this is doing later, but for now just know that this is creating a label and a button. Now open up MainActivity.java (the name might be different if you named it something else) and paste this in:
package io.happycoding.helloworldapp;

import android.app.AlertDialog;
import android.support.v7.app.AppCompatActivity;
import android.os.Bundle;
import android.view.View;
import android.widget.Button;

public class MainActivity extends AppCompatActivity {

    @Override
    protected void onCreate(Bundle savedInstanceState) {
        super.onCreate(savedInstanceState);
        setContentView(R.layout.activity_main);

        final Button button = findViewById(R.id.button_id);
        button.setOnClickListener(new View.OnClickListener() {
            public void onClick(View v) {
                AlertDialog.Builder builder = new AlertDialog.Builder(MainActivity.this);
                builder.setMessage("Hello world!");
                AlertDialog dialog = builder.create();
                dialog.show();
            }
        });
    }
}
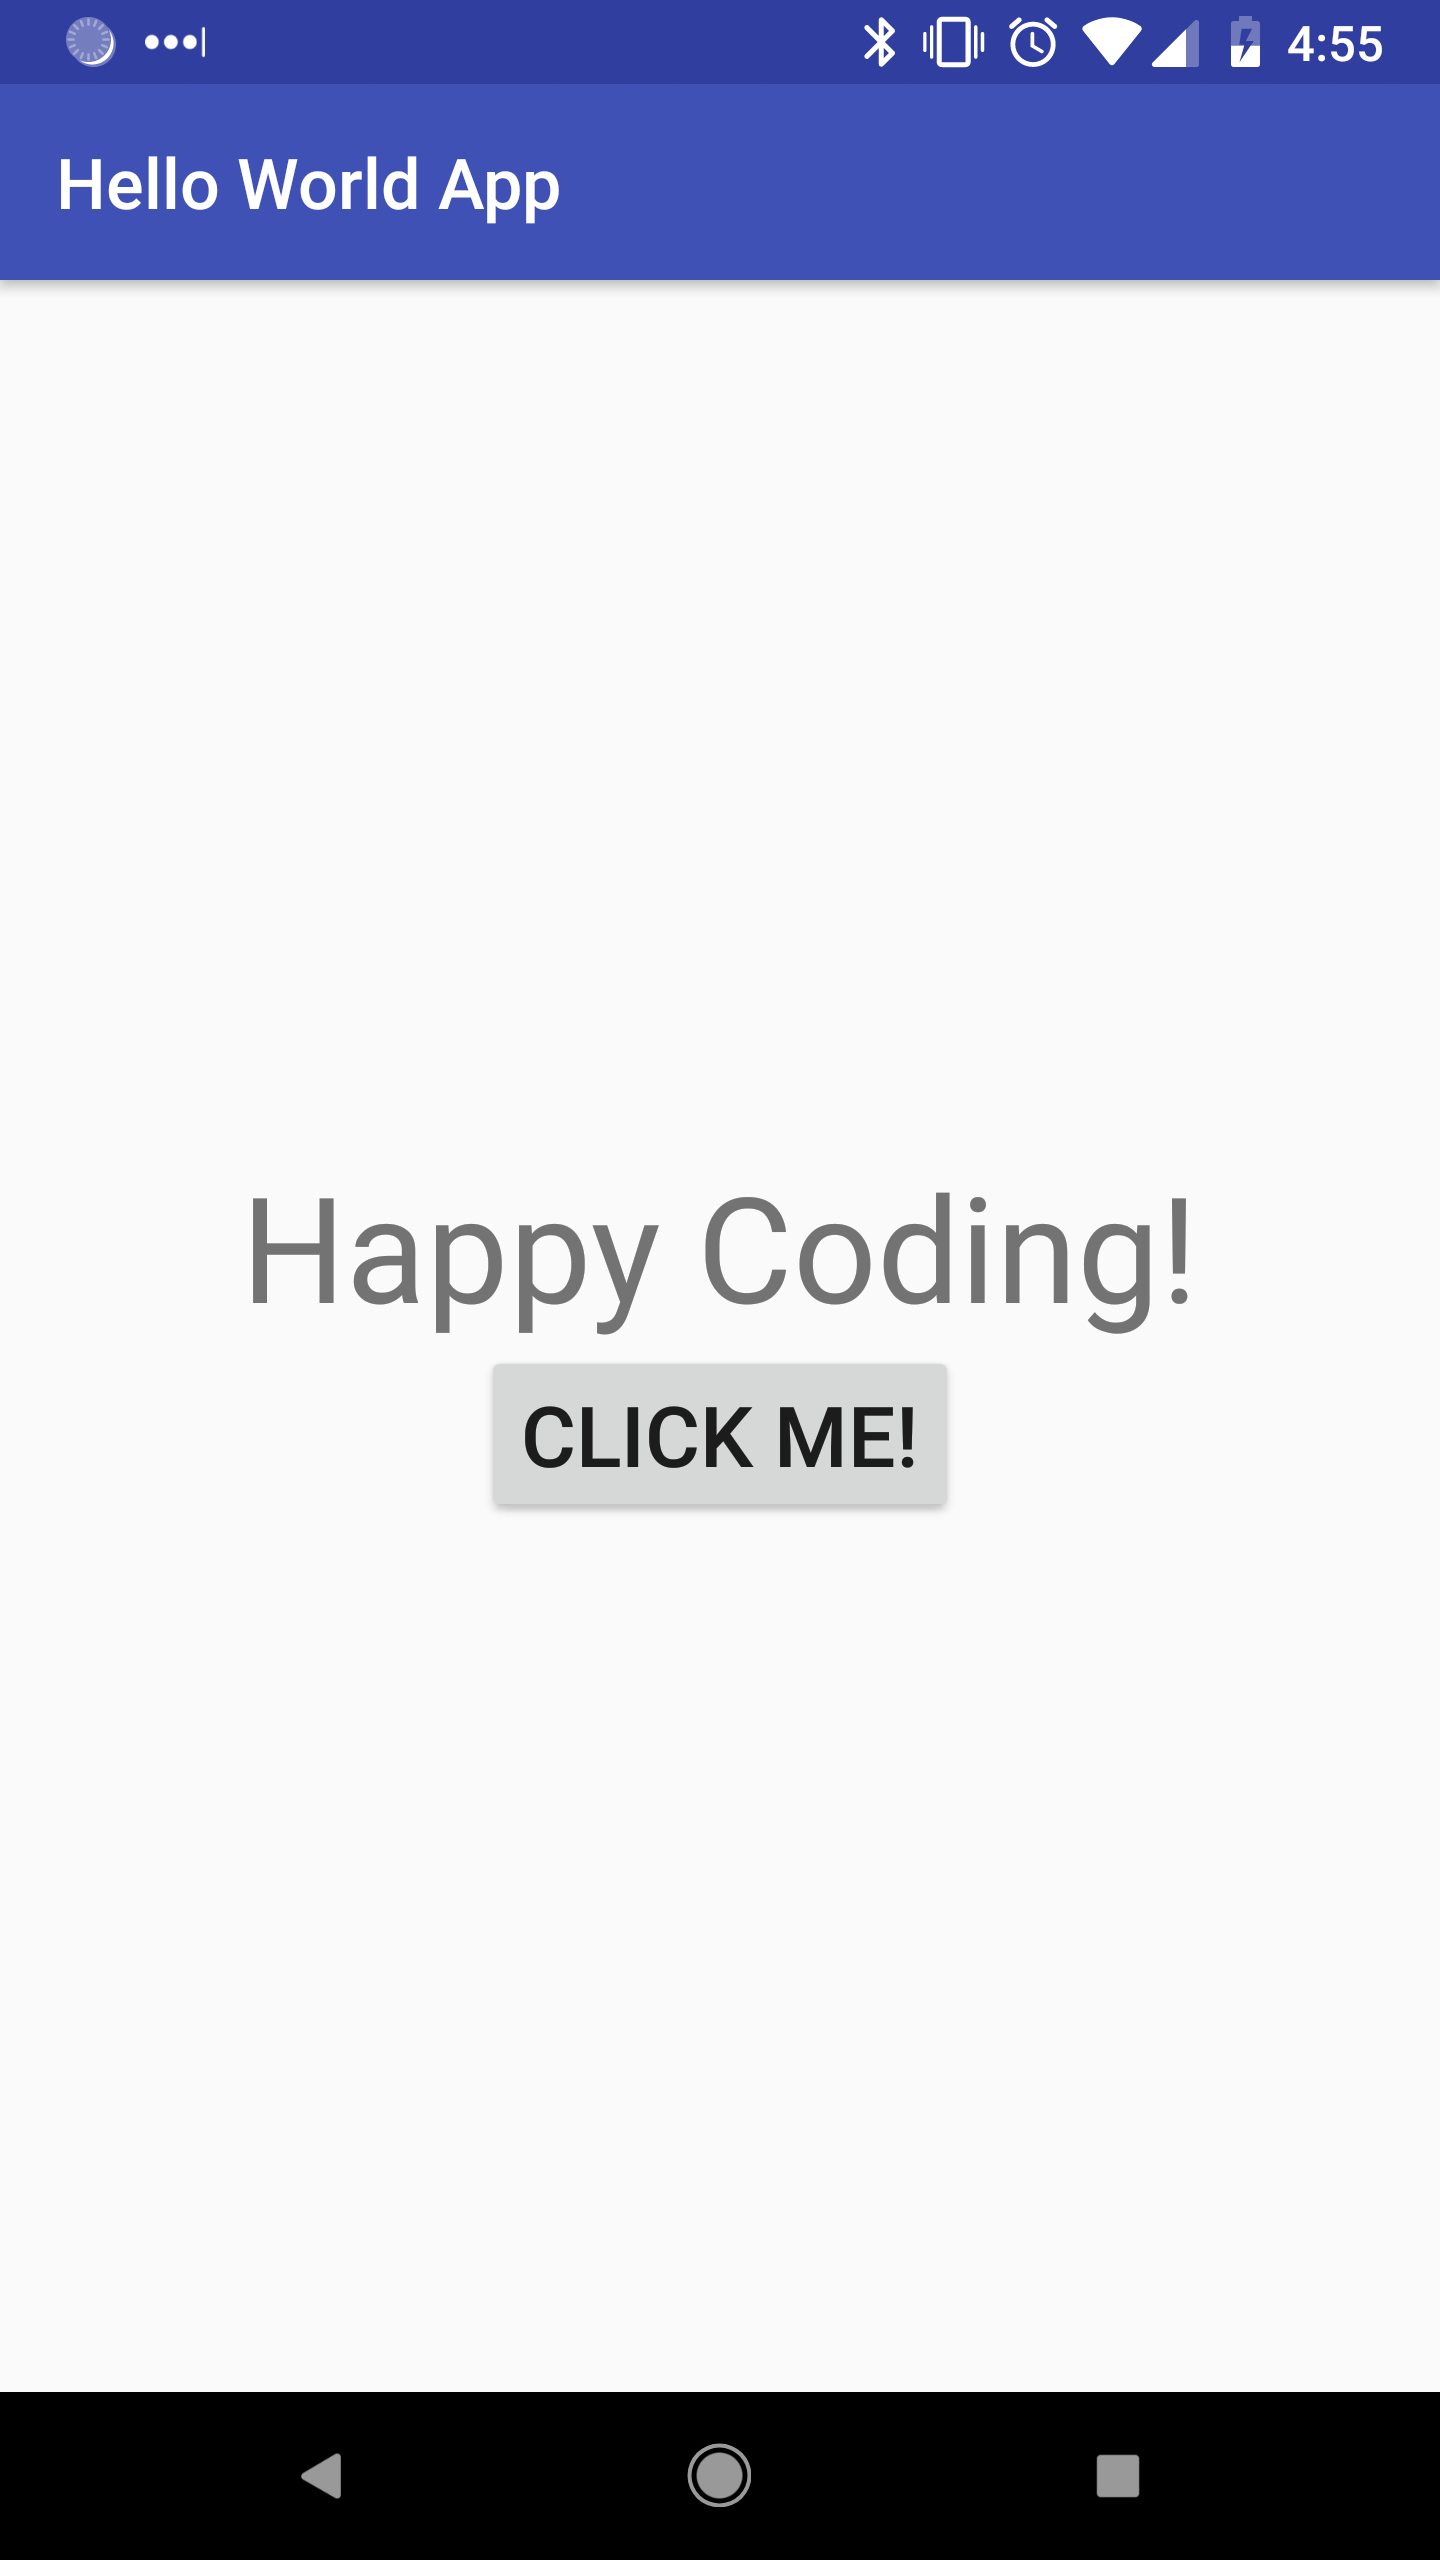
This code takes the button we created in activity_main.xml and adds a listener that shows a dialog when we click the button.
Press the play button again, and you should see our modified app running on your phone:
Click the button to see the dialog:
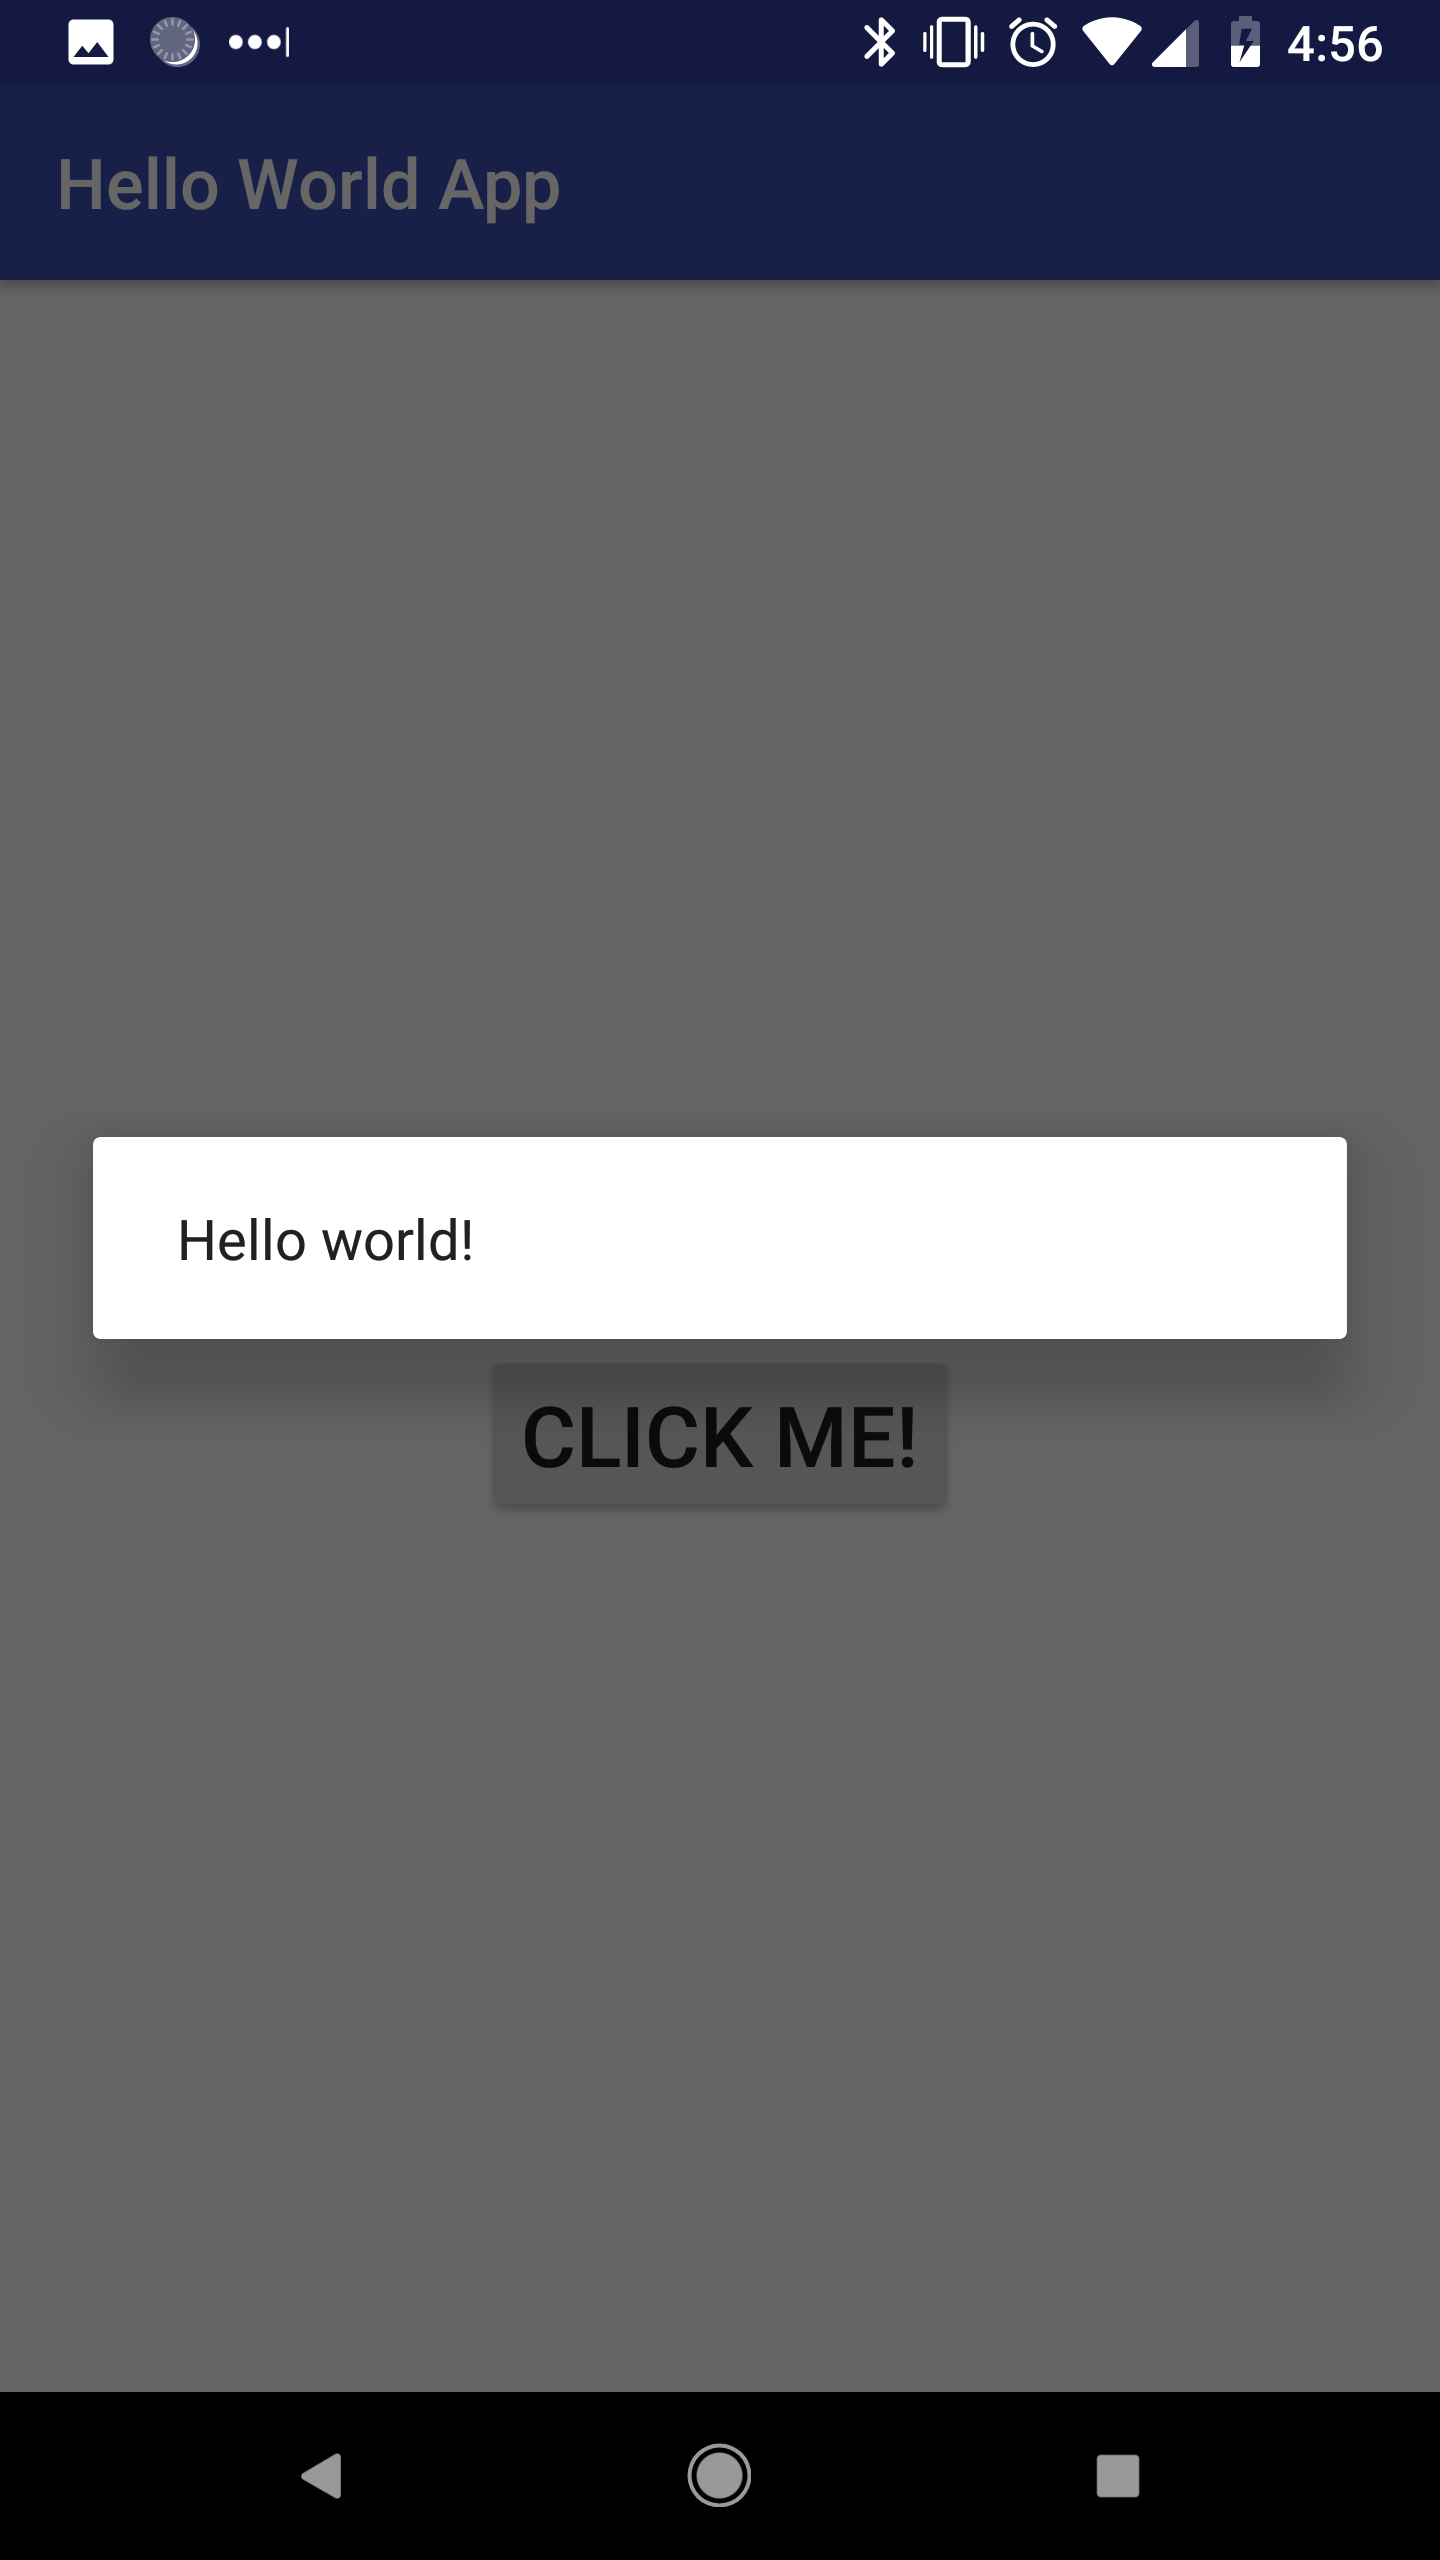
Congratulations, you’re an Android developer!