How to Sell Digital Art Online


How to Sell Digital Art Online
- How to Sell Digital Art Online
- Step 1: Generate an Image File
- Step 2: Setup a Printful Account
- Step 3: Setup an Etsy Store
- Step 4: Link Printful and Etsy
- Step 5: Edit Your Listing
- Step 6: Create a New Listing
- Next Steps
How to Sell Digital Art Online
Are you thinking about selling your art in an online store like my etsy store? (Shameless self-promotion) This guide walks you through the process of creating and selling physical prints based on your digital art.
This guide uses Printful and Etsy, but most of the basic ideas apply to any printing service or online marketplace. If you’re new to selling your art, I’d recommend working through the steps below and then branching out into other services if you’re interested in them.
Step 1: Generate an Image File
Before we can sell physical copies of our art, we have to create the digital art in the first place. That means creating an image file.
DPI
On your computer, an image is measured in pixels: individual tiny squares of color that combine to create an image. If you’ve been making digital art, you’ve probably created images that fit on your screen: probably around 1000x1000 pixels or so.
When you print an image, its quality is measured in dots per inch, or DPI. DPI measures how many “pixels” are in each inch. (They aren’t really pixels because they’re printed, but they’re basically the same thing.) To achieve good print quality, try to create image files that are at least 300 DPI.
That means you need to think about how large your physical print will be, and then multiply those dimensions by 300 to calculate how large your digital file needs to be. For example, an 8x10 inch print needs a digital file that’s 2400x3000 pixels. A 24x36 inch print needs a 7200x10800 pixels digital file!
Exactly how many DPI you need depends on the kind of art you’re creating. If you’re going for a pixelated aesthetic, then fewer DPI is probably okay. If you’re doing something like data visualization or image manipulation, then you probably need higher DPI.
Note: Don’t just resize whatever image you already have! Resizing a small image file so it’s larger will stretch it out and not really increase the DPI. We’ll see an example of creating an image with the right size below.
PNG
When you create your image, avoid lossy formats like JPG. These files use tricks that decrease their file size, but also decrease the overall quality of the image. This is fine for sharing cat pictures on your phone where you won’t really notice a loss in quality, but isn’t great for high-quality prints.
Instead, use a lossless format like PNG. These files preserve the quality of the image.
Example
There are many ways to generate an image. You might use Photoshop, or Gimp, or Microsoft Paint. I personally love a language called Processing, so I’ll use that.
int dpi = 300;
int totalWidthInches = 8;
int totalHeightInches = 10;

PGraphics pg;

void setup() {
  size(400, 500);

  pg = createGraphics(totalWidthInches * dpi, totalHeightInches * dpi);
  pg.beginDraw();
  pg.background(32);
  pg.endDraw();
}

void draw() {

  float circleX = random(pg.width);
  float circleY = random(pg.height);
  float circleSize = random(10, 100);

  pg.beginDraw();
  pg.fill(random(256), random(256), random(256));
  pg.ellipse(circleX, circleY, circleSize, circleSize);
  pg.endDraw();

  image(pg, 0, 0, width, height);
}

void mousePressed() {
  pg.save("output-" + totalWidthInches + "x" + totalHeightInches + "-" + frameCount + ".png");
  println("Saved.");
}
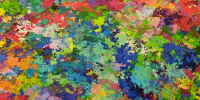
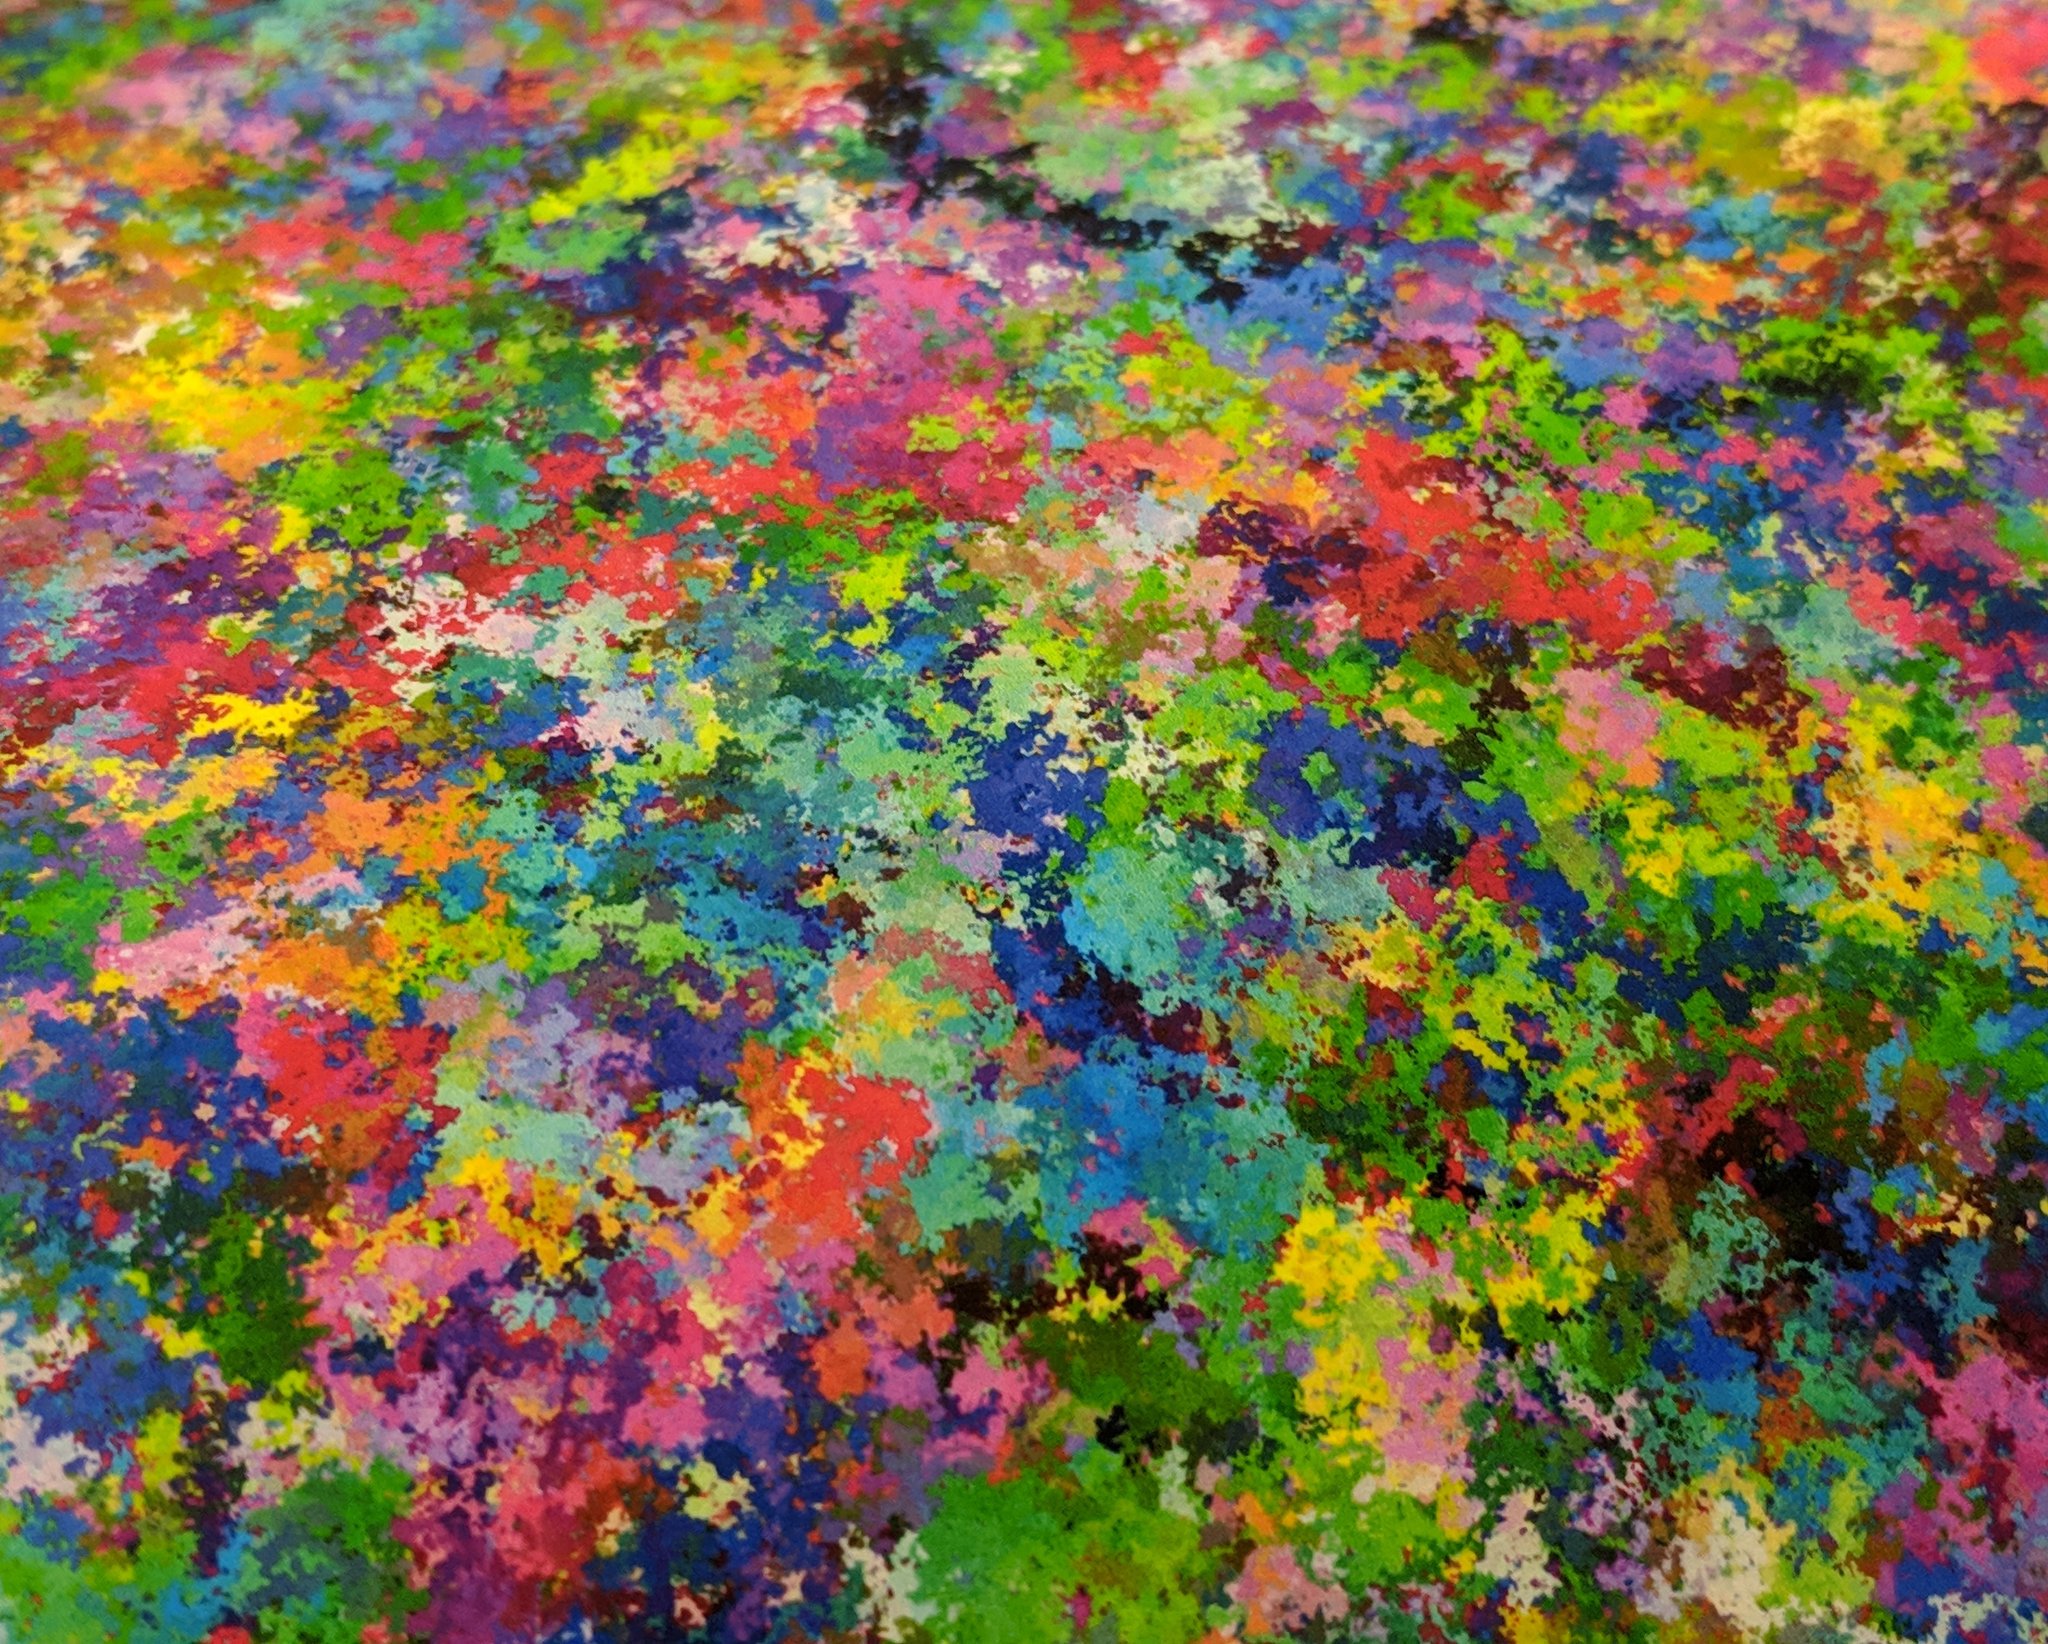
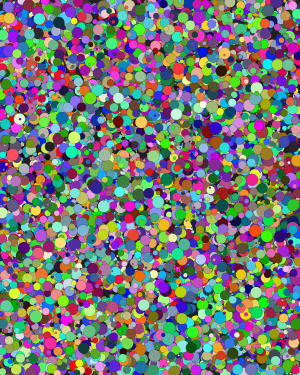
This code creates a PGraphics with the correct size, and draws random circles to it. When the user clicks the mouse, the code saves the PGraphics to a PNG file.
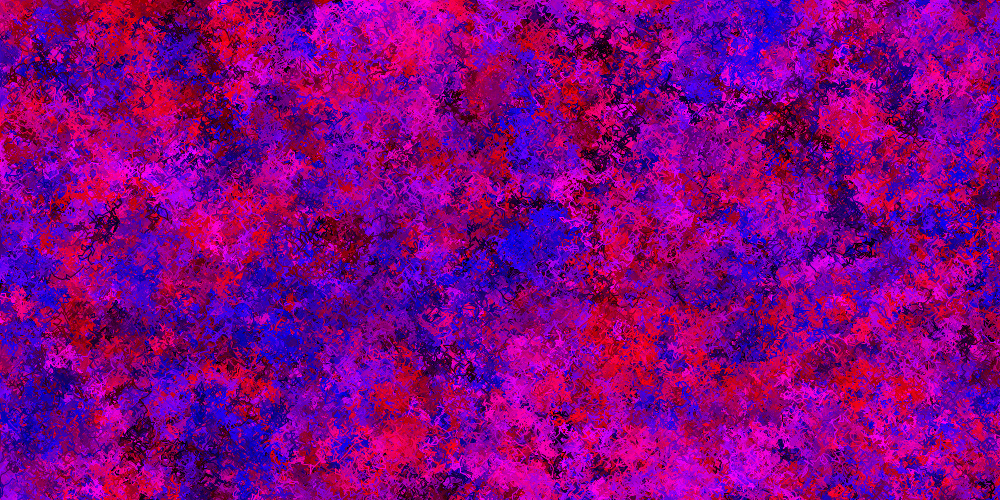
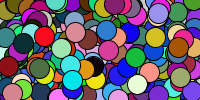
This is just an example that generates files like this:
Note: If you try to run this code, prepare for it to be very slow, especially when generating larger files.
Step 2: Setup a Printful Account
Now that we have an image file fit for printing, we’re going to use a service called Printful to print and ship our physical products.
Register for a Printful account here.
Order a Sample
In the next steps we’re going to create an online store that will allow us to sell our art to customers, but before we get there, I’d recommend ordering a couple things from Printful yourself.
Create a printful order. The Printful workflow generally works like this:
- Select a product. Do you want an 8x10 photo? A 24x36 poster? A shirt?
- Select an image. Upload the image file you created above.
- Printful prints out your order and ships it to you.
This is handy for trying out different approaches and seeing what they look like in the physical world. Try generating images with different DPIs, or with different color schemes, and then ordering a few prints for yourself to see what they look like.
If you’re planning on creating a poster, you might consider ordering a few 8x10 samples to test out different approaches. Keep in mind the DPI: don’t just shrink your full image down!
Step 3: Setup an Etsy Store
Now that you have the ability to print and ship your art through Printful, you need an online store that connects you to customers. Etsy is a website that allows creators to sell their arts and crafts to customers.
Register for an Etsy account. This lets you act as a customer on Etsy, and if you haven’t used it before I recommend searching around to get a feel for it.
To sell your art, create an Esty store.
Your First Listing
As part of creating a store, Etsy forces you to create at least one listing, which is a page for a product that you’re selling. This is a little annoying because we’re going to use Printful to create our listings in a second, so for now it doesn’t really matter what you enter for your first listing. Feel free to upload the image you created and give it a title and a description, but don’t worry too much about the other settings- you can edit them anytime, and we’re going to overwrite them in a second anyway.
Step 4: Link Printful and Etsy
Now that you have both a Printful account and an Etsy store, you need to connect them so they can talk to each other.
Go to your Printful dashboard to connect your Printful and Etsy accounts.
Step 5: Edit Your Listing
You probably already have a listing that you created when you created your Etsy store. You should see that in your Printful account.
Go to your Printful dashboard and make sure that your first listing is connected to Printful. Make sure it has the correct printfile (the image you created in step one) and title and description.
Step 6: Create a New Listing
Now that everything is connected, you’ll generally use this workflow:
- Create products in Printful. This works exactly the same as it did when you ordered stuff for yourself. Select a product and upload an image.
- Printful will ask you for things like prices, title, and descriptions.
- Printful automatically creates an Etsy listing from your product.
- After the listing is created, you edit and publish it in Etsy.
- When customers buy your art from Etsy, Printful prints and ships the order for you.
Create a product by going to the Printful store dashboard. Select a product, upload an image, set prices, and give it a title and a description. (You can edit these anytime, so don’t worry too much about getting it exactly right.)
After you create your product, Printful automatically creates an unpublished Etsy listing. You should see an Edit in Etsy link somewhere- click that to open the listing in Etsy.
Make any changes you want in Esty, and then click the Publish button at the bottom. Etsy will charge you 20 cents, and your listing will be available to customers!
Mocks
Etsy lets you upload photos that show your product in action. You might upload a picture of your print hanging on a wall, or a picture of a person wearing your shirt.
Printful will create these for you automatically, but take a second before (or after) you publish your listing to make sure the generated mocks show what you want. I personally usually delete the generated mocks and then create my own using the Printful mock generator. There are other mock generators out there as well.
Variants
Etsy and Printful also support variants for listings, which are generally different versions or sizes of a product. A customer can order a small, medium, or large shirt; or a 8x10, 12x12, or 24x36 poster print, for example.
To create a variant, go to your Printful dashboard, select a listing, and click the Add Variants button. Select a product, then select an image. Printful will automatically add this variant to your Etsy listing.
Note: Don’t just use the same image for all of your variants without inspecting the result! Printful will either crop your image or leave whitespace, which can potentially look very ugly. Depending on what type of art you’re creating, you might want to generate a separate image for each variant.
Next Steps
This guide outlined one approach for selling digital art online using Printful and Etsy, but there are a ton of other approaches out there, and we’ve only scratched the surface of online marketplaces.
You could try out other printing services, or you could decide to handle all of the shipping yourself. You could try printing your art in bulk or getting yourself a fancy printer. You could branch out into stoes other than Etsy: Amazon, Threadless, etc.
One thing I haven’t mentioned is how you actually get customers to visit your listings. That’s an entire industry full of books and so-called SEO experts. For now drop a link in the Happy Coding forum and you’ll have at least one new fan.
Good luck, and happy selling!