


Desktop Setup
This guide walks you through the process of using GitHub Desktop to clone your copy of the class’s project repo.
This guide is designed for computers that let you install programs and download files. Your computer can be a desktop or a laptop, and it can be any operating system that you’re comofortable with.
If you have a computer that doesn’t let you install programs and download files (like a Chromebook), or if you’re using a shared computer, work through the Replit setup guide instead.
GitHub Desktop
GitHub Desktop is an application that lets you store your files in GitHub, without needing to know anything about Git or the command line.
Clone Your Repo
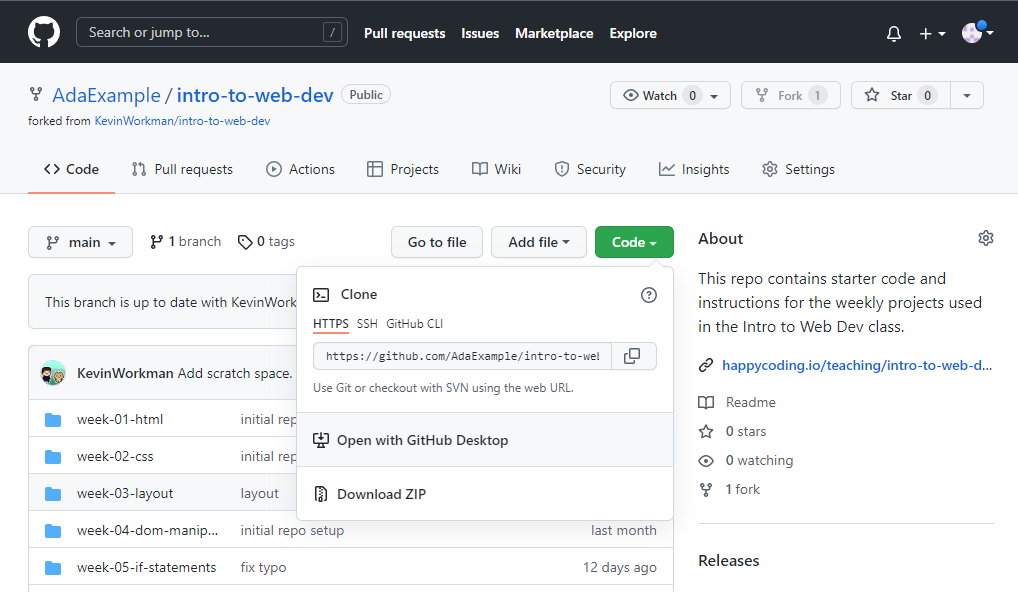
Go to your repo’s homepage. That page should contain your GitHub username, not KevinWorkman/intro-to-web-dev. If you can’t find your repo’s homepage, please ask!
From your repo’s homepage, click the Code dropdown and then select Open with GitHub Desktop.
That should open GitHub Desktop. From there, click the Clone button. That will download your copy of the repo onto your computer. Finally, select For my
own purposes and then click Continue.
You now have a copy of your repo on your computer.
Make a Change
Now that you have a copy of your repo on your computer, you’re going to do the following:
- Make a change to your local files.
- Test it locally.
- Push your change to your repo to make it public.
First, locate the intro-to-web-dev directory on your computer. If you can’t find it, from GitHub Desktop you can click the Repository menu and then Show in Explorer.
Locate the index.html file in your intro-to-web-dev directory, and open it with your favorite text editor. I use Atom, but you can use whatever text editor came with your computer. Make sure you’re using a text editor though, and not a word processor like Microsoft Word!
In your text editor, find this line:
<p>This site contains homework projects for Into to Web Development.</p>
And change it to this:
<p>This site contains YOUR_NAME's homework projects for Into to Web Development.</p>
Test Locally
You’ve just changed the content of the index.html file. You’ll learn more about HTML as you continue through this week’s content, but for now you can test that your change works by opening up the index.html file on your computer. There are a couple ways to do this:
- Double-clicking the file often opens it up in your browser.
- If not, you can right-click and then open the file in your browser.
- Alternatively, you can open it from your browser by pressing
ctrl + Oand then navigating to the file.
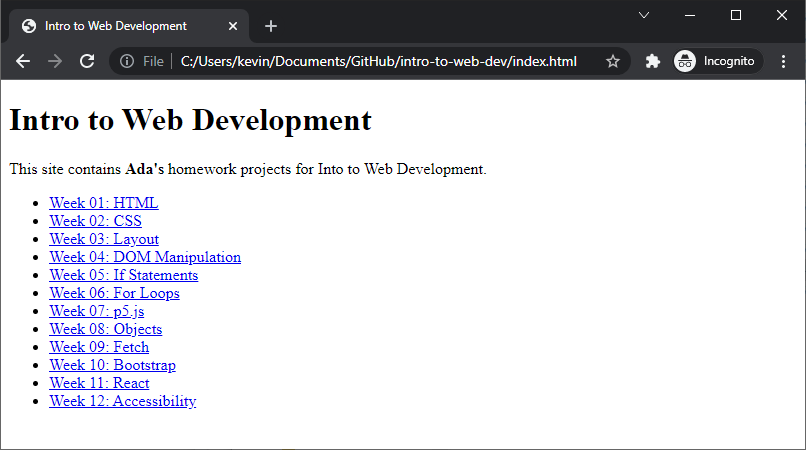
If everything worked, you should see your change in your browser.
Upload Changes
You now have a change that works locally, but nobody else can see it because it only lives on your computer. To make your change public, you need to upload it back to your GitHub repo. (Also called pushing a change.)
To upload your changes, you need to do three things in GitHub Desktop:
- Add your change by selecting the checkbox next to the
index.htmlfile. - Commit your change by typing a message in the text box and then clicking the
Commit to mainbutton. This message will be shown in GitHub, and it’s usually a short sentence explaining the change.Add my name to index.htmlis fine for this change. - Push your change by clicking the
Push originbutton in the upper-right corner.
Test Live
Now that you’ve pushed your change to GitHub, you should see your change in your repo.
And because you’re using GitHub Pages, your change will automatically deploy as a webpage that anybody can access.
Navigate to your GitHub Pages URL- it should be something like YOUR_USERNAME.github.io/intro-to-web-dev. You should see your change!
Note: GitHub Pages can take a minute or two to update.**
When you can see your change on your GitHub Pages site, congratulations! You’ve successfully set up your GitHub repo and your coding environment.
When you’re finished, continue working through week 1: