Hosting on Google App Engine


Hosting on Google App Engine
- Example Web App
- Google Cloud Platform
- Create a Project
- Create an App
- Get your Project ID
- Download the SDK
- Updating
- Custom Domains
- Summary
So far, we’ve been developing locally by turning our own computers into a server that we access using the localhost:8080 URL. Running locally is a good habit to get into, because you want to test your changes before you unveil them to the entire world. But if you want other people to be able to visit your web app, you have to host your server somewhere.
It’s possible to use your computer as a “real” server that other people can access. You can google something like “turn my computer into a server” if you want to do that, but this tutorial uses Google App Engine to host our server in the Google cloud.
Note that this is more involved than the basic file hosting we talked about in the HTML tutorials. Simple file hosting will work for static files, but you need server-side hosting if you want to actually run code on a server. You might want to check whether the host you’re already using offers server-side hosting, but usually they’re two separate things.
Example Web App
Let’s create an example web app using the command line. Let’s start with a simple servlet:
import java.io.IOException;
import javax.servlet.ServletException;
import javax.servlet.http.HttpServlet;
import javax.servlet.http.HttpServletRequest;
import javax.servlet.http.HttpServletResponse;
public class SimpleServlet extends HttpServlet {
@Override
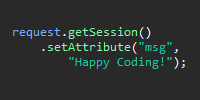
public void doGet(HttpServletRequest request, HttpServletResponse response) throws IOException, ServletException {
request.setAttribute("message", "Happy coding!");
request.getRequestDispatcher("/WEB-INF/jsp/index.jsp").forward(request,response);
}
}
This basic servlet just adds an attribute to the request and then forwards that request to a JSP file. Remember that you have to add the servlet API library to your classpath when compiling a servlet class, like this:
javac -cp C:/Users/kevin/Desktop/jetty/lib/servlet-api-3.1.jar -source 1.8 -target 1.8 SimpleServlet.java
Note: Remember to compile with Java 8! Notice that we’re using the -source and -target arguments to compile our code using Java 8 compatibility. This is because App Engine only supports Java 8. (Learn more here.) You can ignore the warning about the bootstrap classpath not being set.
That gives us the .class file that we actually want. Then here’s the JSP file:
<!DOCTYPE html>
<html>
	<head>
		<title>App Engine Example</title>
	</head>
	<body>
		<h1>${message}</h1>
		<img src="images/cat.jpg" />
	</body>
</html>
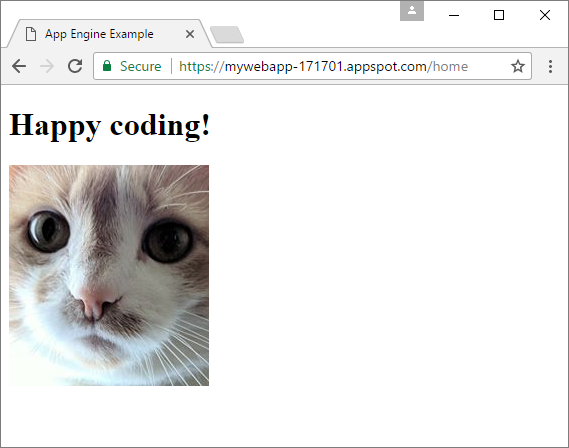
This JSP just shows the message along with a picture of a cat. Meow! ![]()
Now we just need a web.xml file to map a URL to the servlet:
<web-app
	xmlns="http://xmlns.jcp.org/xml/ns/javaee"
	xmlns xsi="http://www.w3.org/2001/XMLSchema-instance"
	xsi:schemaLocation="http://xmlns.jcp.org/xml/ns/javaee
		http://xmlns.jcp.org/xml/ns/javaee/web-app_2_5.xsd"
	version="2.5">

	<servlet>
		<servlet-name>SimpleServlet</servlet-name>
		<servlet-class>SimpleServlet</servlet-class>
	</servlet>

	<servlet-mapping>
		<servlet-name>SimpleServlet</servlet-name>
		<url-pattern>/home</url-pattern>
	</servlet-mapping>

</web-app>
Putting it all together, our web app directory should look like this:
-
MyWebApp/-
images/cat.jpg
-
WEB-INF/web.xml-
jsp/index.jsp
-
classes/SimpleServlet.class
-
Hopefully by now that all seems pretty straightforward to you. This is just a simple example, but it contains a servlet, a JSP file, and a static file, so it should be a reasonable stand-in for more complicated stuff.
At this point you could copy this directory into the webapps folder of your local Jetty server. (And it’s a good idea to do that before trying to deploy to a live site!) But we’re going to deploy this to Google App Engine instead.
Google Cloud Platform
Like its name suggests, Google Cloud Platform is a set of tools and services that allow you to deploy your web app in the Google cloud… the same computers that run Google!
Create a Project
Before we can deploy our web app, we need to follow these instructions and create a Cloud Platform and App Engine project. Go to your App Engine Dashboard and create a web app project. Give it any name you want, and select a region. You’ll end up on your web app project page, which will be empty to start with.
Create an App
Now that we’ve created a project, we need to create an app in that project. Open the Google Cloud Shell using by clicking the >_ icon in the upper-right corner. That opens up a console in your web browser. In the console, type this and hit enter:
gcloud app create
Then just choose a region for your app.
Get your Project ID
Go to the Google Cloud Platform dashboard and select your project from the dropdown, if it’s not already selected. You should see something like this:
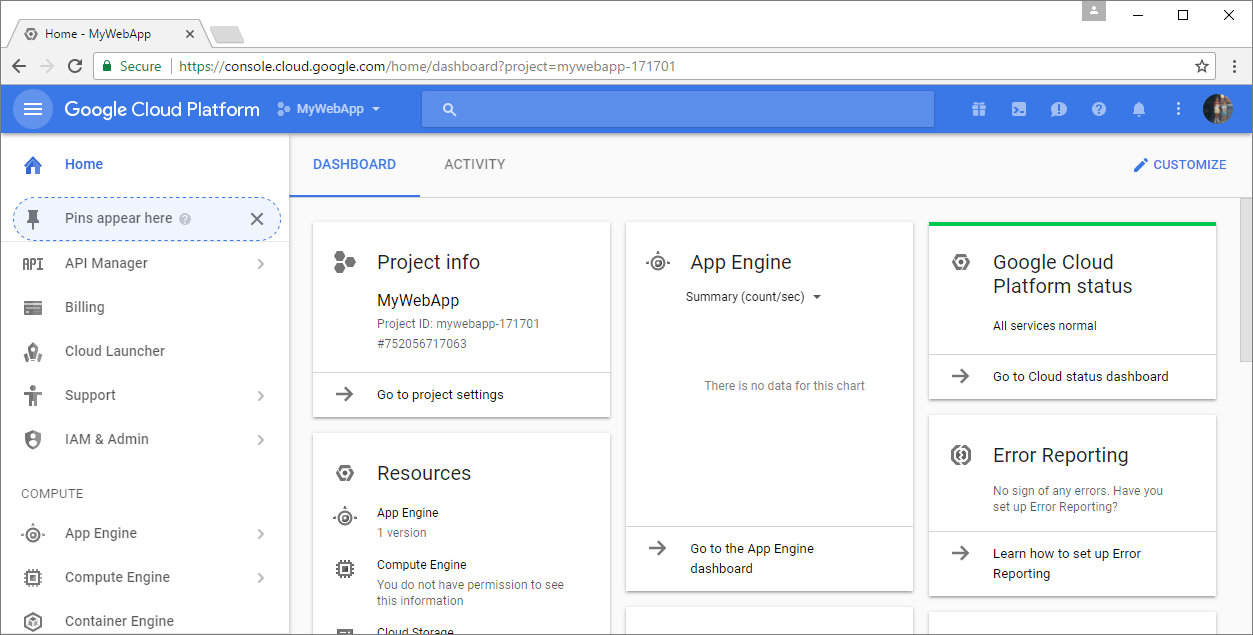
Notice the Project ID in the Project info cell in the upper-left corner. You’ll need this ID in a minute!
Download the SDK
Next, we need to download the App Engine SDK, which is a set of tools that allow you to deploy your web app on App Engine. There should be a link on your web app project page, or you can click here. Choose the standard Java environment (or just go here) and download the .zip file. Unzip it wherever you want (I’m just going to put it on my desktop for now).
Add the SDK to your PATH
Next, you need to add the directory that you just unzipped to your PATH variable. (If you don’t remember the PATH variable from the Java tutorials, read about it here.)
You want to add the bin directory inside the SDK folder to your PATH variable. Mine looks like this:
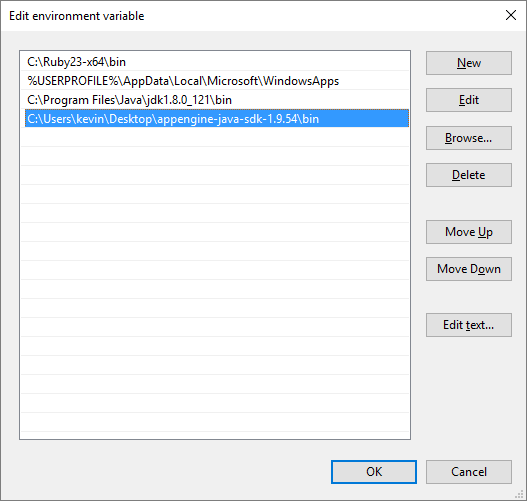
This lets you use the SDK tools from the console!
The appengine-web.xml File
Before we can deploy our web app on Google App Engine, we need to add one more file to our project. Create a file named appengine-web.xml and put it in the WEB-INF directory right next to the web.xml file. This file tells App Engine about the project, what settings you want to use, stuff like that. You can read more about it here, but for now just save this XML to the file:
<?xml version="1.0" encoding="utf-8"?>
<appengine-web-app xmlns="http://appengine.google.com/ns/1.0">
	<application>YOUR_PROJECT_ID_HERE</application>
	<version>version-1</version>
	<threadsafe>true</threadsafe>
	<static-files>
		<include path="/images/*" ></include>
	</static-files>
</appengine-web-app>
This file configures a few settings:
-
applicationneeds to be the Project ID listed in the Google Cloud Platform dashboard. -
versioncan be whatever you want. -
threadsafedetermines whether to use threads to handle multiple requests at the same time. (Remember that we learned about thread safety here.) If this is false, the server will only use one thread so only one request happens at a time. -
static-filesis a list of paths that list static files that aren’t affected by server code. Right now we only have oneimagesdirectory, but if you have more static files you need to add them here.
Run appcfg
Now it’s finally time to deploy our web app to App Engine. Open a console to your MyWebApp directory. Type this and hit enter:
appcfg.cmd update .
This runs the appcfg tool (which is part of the App Engine SDK) and tells it to update the project in the current directory. It reads the appengine-web.xml file to determine the project ID, and it uses the rest of the files in the directory to create a web app.
This will launch a browser and ask you to login to your Google account. You’ll then be given a code of random characters: copy that code and go back to the console! The console should be asking for the code: paste it and hit enter. You should see some information print to the console, and then you should see this:
Update for module default completed successfully.
Success.
This means your web app was deployed on App Engine! Go to your App Engine Dashboard, and you should see something like this:
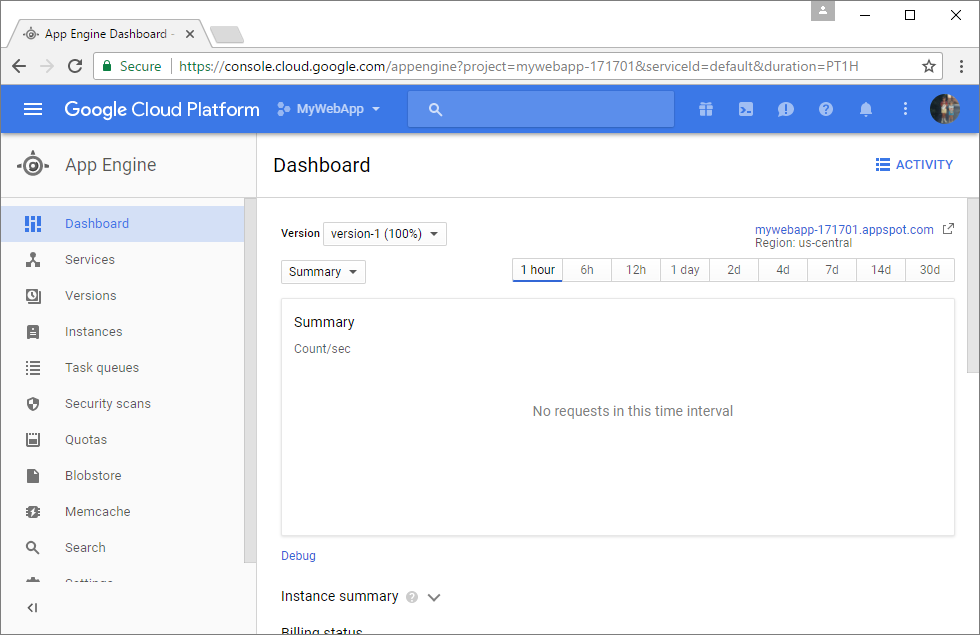
Mostly what we care about is the URL in the upper-right corner. Mine is mywebapp-171701.appspot.com, and remember that our servlet is mapped to the /home URL, so my full URL is mywebapp-171701.appspot.com/home. If I visit that in a web browser, I see my web app!
You can send your URL to other people to let them visit your web app!
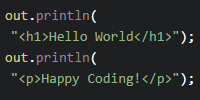
Updating
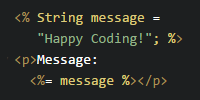
Try adding a <p> tag to the index.jsp file. Then run the appcfg.cmd update . command in the console again, and refresh the page. You should see your changes!
Generally you should make changes, test them on a local server, and then deploy them to your live site after you’ve confirmed everything works.
Custom Domains
The URL that App Engine gives us isn’t very pretty, so you probably want to create your own custom URL that points to your web app.
To do that, first you need to purchase your domain using a domain registrar like Google Domains or Namecheap.
After you’ve purchased a domain, go to your domain settings page and click the Add a custom domain button. That brings you to a page where you have to verify your domain by adding a TXT record to your DNS settings (don’t worry, it gives you instructions). Note that verification can take several hours! But when it finishes, it will give you a list of records to set in your domain registrar. Mine looks like this:

Go to your domain registrar and copy these settings into your domain’s DNS settings. I used Namecheap, so mine looks like this:

Now I can visit my custom domain (plus the /home part of the URL that’s mapped to our servlet) to view our web app:
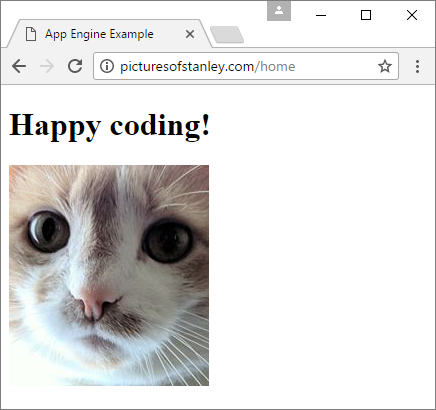
Of course, this URL will also work for other people!
Summary
We’ve covered the basic functionality of using App Engine to deploy our web app, but that just scratches the surface of what we can do. Here are a couple things you might want to look into:
- You could use Maven to deploy your web app instead of using the
appcfgtool. - You could set up a payment account to pay for automatic scaling if your web app is used by a lot of people.
- You could use other Google Cloud Platform services, like adding a database.
- The standard Java App Engine SDK only supports a subset of Java classes, and it doesn’t support any local storage. If you need more than that, check out the flexible Java App Engine SDK.
You’re now familiar with the basics, so don’t be afraid to use that as a foundation to do more research!