Intro to Coding with p5.js and Processing


Intro to Coding with p5.js and Processing
The p5.js tutorials and the Processing tutorials are designed for folks who have never written code before, so I’m hoping they’re useful for teaching an introduction to coding class.
Disclaimer
I have some experience with online mentorship, writing a curriculum, and presenting workshops through things like Google’s Software Product Sprint and STEP internship, as well as CC Fest. But I’m not a teacher myself.
I absolutely love hearing about teachers using Happy Coding in their classes or to create their own curriculum. I want to be as useful as possible, but I also don’t want to pretend that I’m in a position to tell you what’s best for you and your students.
With that said, I offer everything here with a giant disclaimer that these are my random opinions. I’m hoping they help frame Happy Coding’s content in a useful way, but you know what works in your classroom better than I do.
Also please don’t hesitate to contact me if you have any questions or want to bounce some ideas back and forth.
p5.js or Processing
The first thing you should decide is whether you want to use p5.js or Processing.
I personally recommend p5.js for folks who have never coded before, mostly because the p5.js editor works directly in the browser and doesn’t require installing anything, and it’s easier for students to share their work.
Advanced Placement Computer Science A
The big exception to that recommendation is if you’re planning on following up the intro course with an Advanced Placement Computer Science A course (or equivalent). The AP CS A test is based on Java, so if that’s what you’re working towards, Processing probably makes more sense. That’s because Processing is written in Java, which transitions pretty smoothly into a pure Java course.
Tradeoffs
To be clear, I love both p5.js and Processing, and I think they’re both great choices for intro to coding courses. Like many choices in computer science, each has its own pros and cons.
- For me, p5.js is a little easier to set up and to share. It also transitions to web development more smoothly, since p5.js is built using JavaScript.
- Processing is built with Java, so it transitions to pure Java a little easier. If you’re working towards the AP CS A class, Processing is probably the right choice.
Practice Makes Perfect
If you’re new to coding yourself, it might surprise you to hear that coding is a lot like a craft, and the best way to learn it is by doing it. You won’t learn much about basketball if you never throw the ball yourself, and you won’t learn much about coding if you don’t write code yourself.
The only way to learn how to code is by coding, so rather than focusing on lectures, I’d give students as much lab time as possible. I’d split each week into three sections:
- Lecture: This is where you actually cover the topics, introduce new syntax, etc. You should probably spend the least time in this section!
- Examples: After introducing a new topic, I’d work through an example program together. Take suggestions from the students, and show them that making mistakes is part of the process of programming.
- Lab: After working through an example together, I would give students some assignments to work on themselves. Let them add their own creativity, but the goal is to have them work through the process of programming, which is a lot more than just reciting code. You should spend the most time on this. Any work not finished in the lab becomes homework.
Very roughly speaking, I would spend 25% of each class on lecture, 25% on working through an example together, and the remaining 50% would go to lab time. I’ve also talked to teachers who spend as much as 75% of each class on lab time.
Weekly Schedule
I’m assuming a semester is about 15 weeks long. Here’s how I would break down each week, for both p5.js and Processing.
p5.js
p5.js is a little easier to set up and to share. It also transitions to web development more smoothly, since p5.js is built using JavaScript. Here’s how I’d organize a course using the p5.js tutorials.
Week 1: Welcome to Coding and Calling Functions
Start out by framing the class. Give examples of what students can do with code, and get them writing their own as soon as possible!

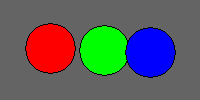
Examples and lab ideas: Draw your favorite animal. Draw a scene from your favorite book or movie. Create a piece of digital art using 2D shapes.
Week 2: Variables
Use variables and the random() function to learn about procedural generation.

Examples and lab ideas: Add randomness to your drawing from the first week. If you drew a cat last week, try drawing a cat with a random size and color this week.
Week 3: Creating Functions
Create your own functions to organize your code.
Examples and lab ideas: Write a function that takes a position and a size and draws an animal or character at those parameters. Combine every student’s function to create a sketch from everybody’s drawings.
Week 4: Debugging and Problem Solving
Encountering errors and debugging is an expected part of coding. Spend some time normalizing that and talking through the tools and concepts that can help with debugging.
IMVHO, the ability to break problems down into smaller steps and then approach those steps one at a time is one of the most important meta-lessons that a student can learn, so consider spending some time talking about that as well.
Examples and lab ideas: Give students some code that contains an error, and ask them to find the error and fix it.
Week 5: If Statements
Use if statements to make decisions in your code.
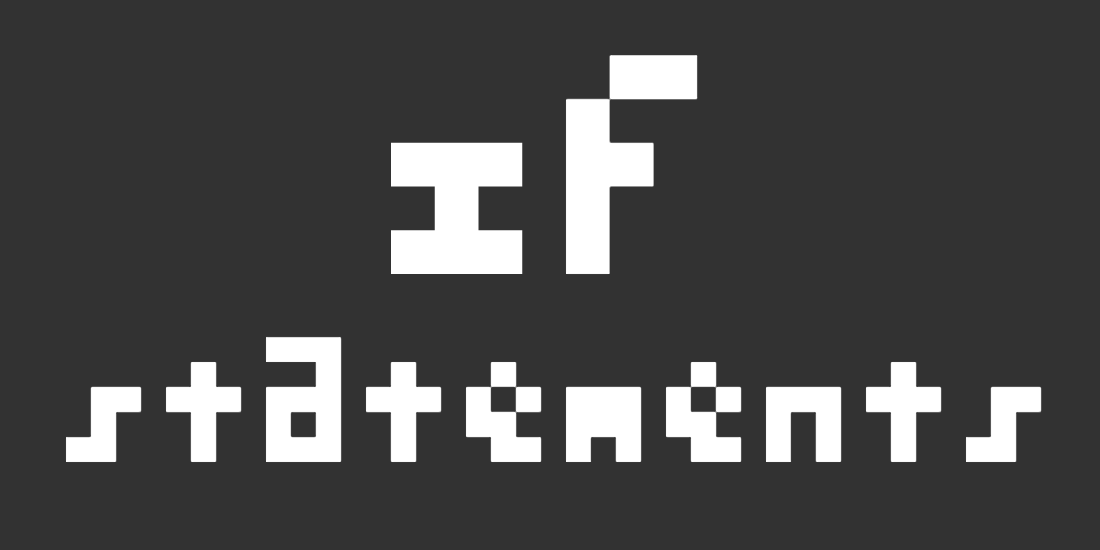
Examples and lab ideas: Write a program that shows a different greeting depending on what time of day it is.
Week 6: Animation
Animation is a good milestone concept because it combines everything students have learned so far in a fun way. At this point they can add movement to their sketches!

Examples and lab ideas: Add movement to your sketch. If you drew a cat before, try drawing a cat that runs and jumps, or bounces around the screen.
Week 7: Input
Similar to animation, input combines everything students have learned so far, so it’s a good way to stop and get some more practice.

Examples and lab ideas: Make a program that draws circles wherever the mouse is. Create an animation that follows the mouse. Create a character that can be controlled using the keyboard. Create a scene that grows based on user input (click to draw flowers, drag to draw grass).
Week 8: For Loops
Recognize patterns and use for loops to repeat code multiple times.

Examples and lab ideas: Create a gradient by filling the screen with lines. Draw a grid where each square shows a different procedural drawing, or a different random color.
Week 9: Arrays
Use arrays to store multiple values in one variable.

Examples and lab ideas: Fill the screen with falling rain or snow.
Week 10: Using Objects
Use built-in classes like p5.Vector to represent the state of your sketch.
Weeks ten and eleven represent a pretty big conceptual leap called object oriented programming. This is an important concept in computer science, but it can also be pretty confusing for folks who are new to coding. That’s why I’d split it into two weeks: one for using objects, and one for creating your own classes.
Examples and lab ideas: Fill the screen with bouncing circles.
Week 11: Creating Classes
Create your own classes to hold any state you can think of.

Every class and every student is different, but in general this is going to be one of the biggest conceptual leaps in this course.
Examples and lab ideas: Have students create a class that represents an animal, with a move() and draw() function. The class should contain variables to represent the state of their animal, and the functions should update those variables to move it each frame, and use those variables to draw it each frame. Combine all of these into one sketch to create a virtual zoo!
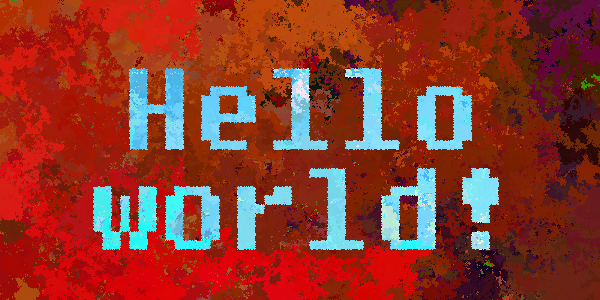
Week 12: Images
Drawing and manipulating an image is another concept that combines a few of the concepts students have learned so far.
Examples and lab ideas: Create a grid of your favorite images. Clicking an image should make it bigger, and clicking again should go back to the grid view. Create your own image filter.
Week 13: Web Development
Because p5.js is built using JavaScript, it leads very naturally to other web development topics.

Examples and lab ideas: Create your own homepage that links to your favorite sketches!
Week 14: Libraries
Libraries let you use code written by other people to expand your own programs.
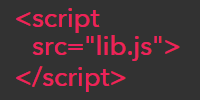
Examples and lab ideas: Pick a library from the p5.js libraries page and write a sketch that uses it.
Week 15: Open Projects
I would try to give students at least one week to work on open projects, where they can create something that’s interesting to them.
You might also consider spending some time talking about next steps they could take in their own learning.
Processing
Processing is built with Java, so it transitions to pure Java a little easier. If you’re working towards the AP CS A class, Processing is probably the right choice. Here’s how I’d organize a course using the Processing tutorials.
Week 1: Welcome to Coding and Calling Functions
Start out by framing the class. Give examples of what students can do with code, and get them writing their own as soon as possible!
Examples and lab ideas: Draw a smiley face, or draw your favorite animal. Draw a scene from your favorite book or movie. Create a piece of digital art using 2D shapes.
Week 2: Variables
Use variables and the random() function to learn about procedural generation.
Examples and lab ideas: Add randomness to your drawing from the first week. If you drew a cat last week, try drawing a cat with a random size and color this week. Make your smiley face scale with the window size. Procedurally generate random smiley faces.. Create a program that shows the current time. Hint: check the reference for useful functions! Get creative: make the clock change color throughout the day, or show the time in dog years.
Week 3: Creating Functions
Create your own functions to organize your code.
Examples and lab ideas: Add random smiley faces to the window. Write a function that takes a position and a size and draws an animal or character at those parameters. Combine every student’s function to create a sketch from everybody’s drawings.
Week 4: Debugging and Problem Solving
Encountering errors and debugging is an expected part of coding. Spend some time normalizing that and talking through the tools and concepts that can help with debugging.
IMVHO, the ability to break problems down into smaller steps and then approach those steps one at a time is one of the most important meta-lessons that a student can learn, so consider spending some time talking about that as well.
Week 5: If Statements
Use if statements to make decisions in your code.

Examples and lab ideas: Write a program that shows a different greeting depending on what time of day it is.
Week 6: Animation
Animation is a good milestone concept because it combines everything students have learned so far in a fun way. At this point they can add movement to their sketches!
If you have room, you might also talk about collision detection this week.
Examples and lab ideas: Add movement to your sketch. If you drew a cat before, try drawing a cat that runs and jumps, or bounces around the screen.
Week 7: User Input
Similar to animation, input combines everything students have learned so far, so it’s a good way to stop and get some more practice.
Examples and lab ideas: Make a program that draws circles wherever the mouse is. Create an animation that follows the mouse. Create a character that can be controlled using the keyboard. Create a scene that grows based on user input (click to draw flowers, drag to draw grass).
Week 8: For Loops
Recognize patterns and use for loops to repeat code multiple times.
Examples and lab ideas: Create a gradient by filling the screen with lines. Draw a grid where each square shows a different procedural drawing, or a different random color.
Week 9: Arrays
Use arrays to store multiple values in one variable.
Examples and lab ideas: Fill the screen with falling rain or snow.
Week 10: Using Objects
Use built-in classes like PVector to represent the state of your sketch.
Weeks ten and eleven represent a pretty big conceptual leap called object oriented programming. This is an important concept in computer science, but it can also be pretty confusing for folks who are new to coding. That’s why I’d split it into two weeks: one for using objects, and one for creating your own classes.
Examples and lab ideas: Fill the screen with bouncing circles.
Week 11: Creating Classes
Create your own classes to hold any state you can think of.
Every class and every student is different, but in general this is going to be one of the biggest conceptual leaps in this course.
Examples and lab ideas: Create a flyers or flocking simulation. Have students create a class that represents an animal, with a move() and draw() function. The class should contain variables to represent the state of their animal, and the functions should update those variables to move it each frame, and use those variables to draw it each frame. Combine all of these into one sketch to create a virtual zoo!
Week 12: Images
Drawing and manipulating an image is another concept that combines a few of the concepts students have learned so far.
Examples and lab ideas: Create a grid of your favorite images. Clicking an image should make it bigger, and clicking again should go back to the grid view. Create your own image filter, like the NES Filter.
Week 13: ArrayLists
ArrayLists are the most commonly used data structure in Java. Now is a good time to introduce them.

Examples and lab ideas: Create a program that shows fireworks exploding when the user clicks, using an ArrayList that holds all of the active particles.
Week 14: Libraries
Libraries let you use code written by other people to expand your own programs.
Examples and lab ideas: Pick a library from the Processing libraries page and write a sketch that uses it. You could create a synthesizer or use the Handy renderer.
Week 15: Open Projects
I would try to give students at least one week to work on open projects, where they can create something that’s interesting to them.
You might also consider spending some time talking about next steps they could take in their own learning, as well as exporting their sketches so other people can see them.
Comments
Happy Coding is a community of folks just like you learning about coding.
Do you have a comment or question? Post it here!
Comments are powered by the Happy Coding forum. This page has a corresponding forum post, and replies to that post show up as comments here. Click the button above to go to the forum to post a comment!