Jekyll


Jekyll
March 11, 2021
tutorial html github-pages jekyll- Jekyll
- Installing Jekyll
- Starting Jekyll
- Layouts
- Front Matter
- Posts
- Customizing Post URLs
- Iterating Over Posts
- Markdown
- GitHub Pages
- Other Jekyll Features
- Behind the Scenes
- Happy Coding
- Learn More
So far, you’ve learned how to use GitHub Pages and HTML to build your own website. If you’re not familiar with those concepts, go read about GitHub Pages and then come back!
This tutorial introduces Jekyll, which takes your GitHub Pages site to the next level.

Jekyll
To understand the power of Jekyll, think about how you might build a website without it. Let’s say you want to start a blog where you write a new post each week. How would you build that?
You would probably start by creating a homepage for your blog using an HTML file. What about for your blog posts? You might use a different HTML file for each one, but then what happens if you want to change the navigation bar at the top of every page? Updating a bunch of files would probably get very tedious, especially as your blog grows to hundreds of posts!
At that point you might look into storing your posts in a database, but that requires a server. You might build your own JavaScript webapp that fetches post content from files, but that would require a lot of reinventing the wheel.
Wouldn’t it be nice if there was a way to avoid having individual HTML files for every post, without requiring a server or hacky JavaScript code?
Spoiler alert: that’s exactly what Jekyll helps you with!
Installing Jekyll
Follow the steps on the Jekyll Installation page to install Jekyll on your computer. This lets you work on your site locally before deploying your changes to your live URL.
To test that Jekyll is installed properly, run this command:
jekyll -version
If you see something like jekyll 4.2.0, that means you’ve successfully installed Jekyll!
Starting Jekyll
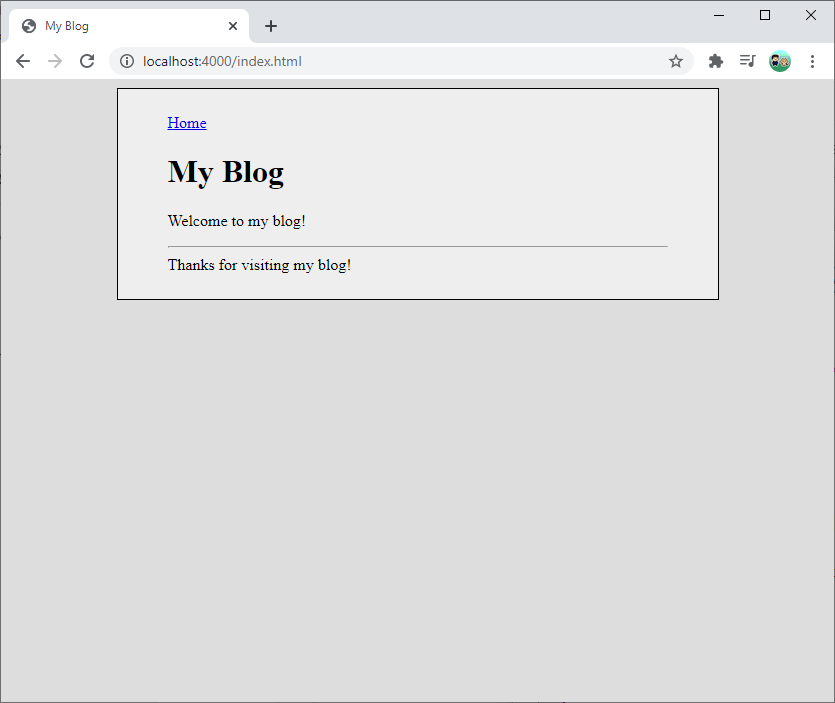
To start things off, create a new directory or repo and add an index.html file to it:
<!DOCTYPE html>
<html>
  <head>
    <title>My Blog</title>
    <link rel="stylesheet" type="text/css" href="/styles.css">
  </head>
  <body>
    <div class="content">
      <nav>
        <a href="/index.html">Home</a>
      </nav>

      <h1>My Blog</h1>
      <p>Welcome to my blog!</p>

      <hr>
      <footer>Thanks for visiting my blog!</footer>
    </div>
  </body>
</html>
This HTML isn’t very interesting yet, but you’ll build it out as you read through this tutorial.
To start Jekyll, which builds your site and runs a local server, cd to your directory and execute this command:
jekyll serve
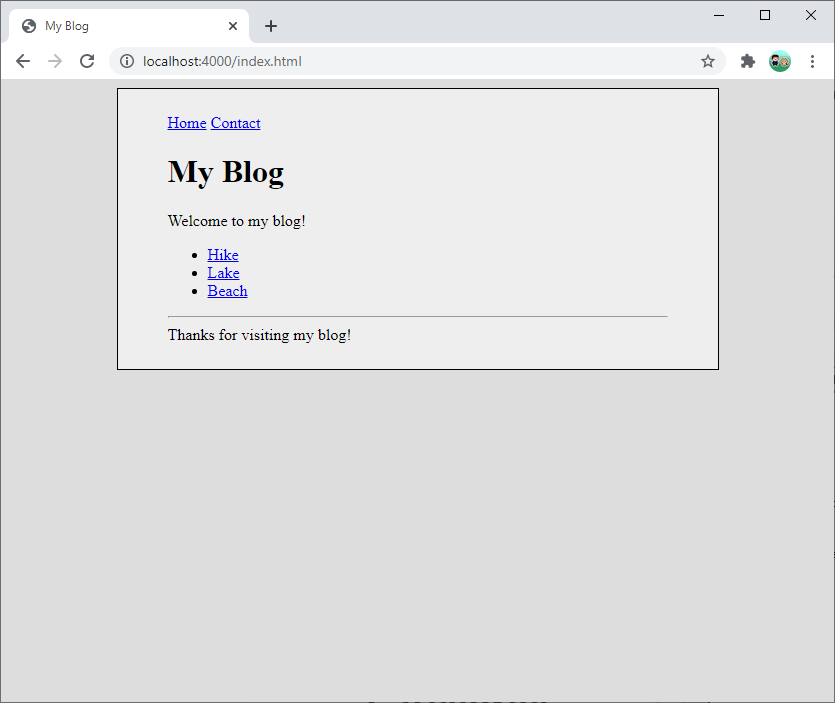
Now point your web browser to http://localhost:4000/index.html to see your site!
Layouts
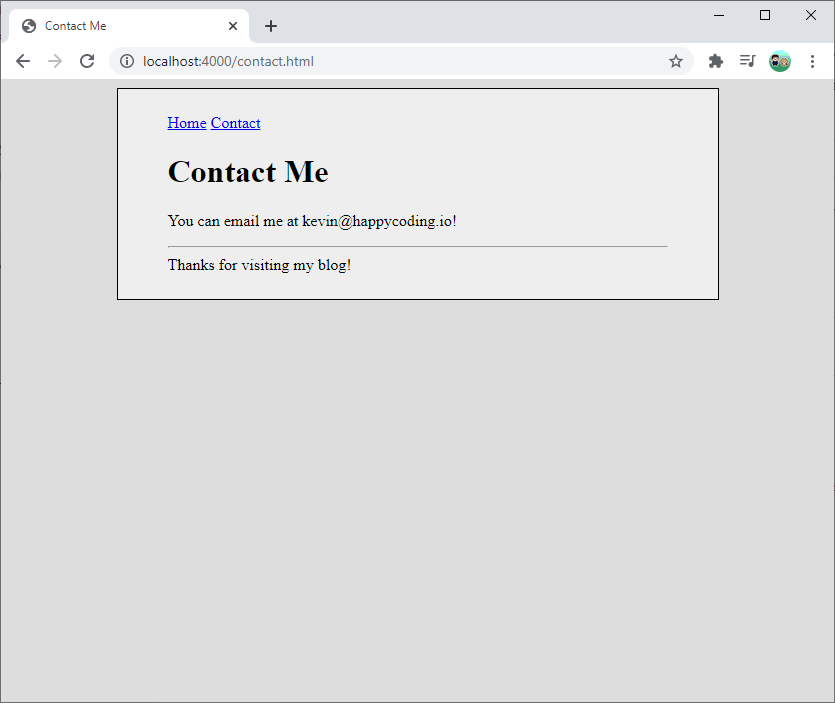
Next, let’s say you wanted to add a contact.html page to your site:
<!DOCTYPE html>
<html>
  <head>
    <title>Contact Me</title>
    <link rel="stylesheet" type="text/css" href="/styles.css">
  </head>
  <body>
    <div class="content">
      <nav>
        <a href="/index.html">Home</a>
        <a href="/contact.html">Contact</a>
      </nav>

      <h1>Contact Me</h1>
      <p>You can email me at kevin@happycoding.io!</p>

      <hr>
      <footer>Thanks for visiting my blog!</footer>
    </div>
  </body>
</html>
That works fine, but notice that the index.html file and the contact.html file both share a lot of the same content: the <head> section is mostly the same, and the <nav> and <footer> are identical. That means you’re copy-pasting a lot of the same content whenever you create a new page!
All that repeated content also makes it harder to update your site. If you want to change the <nav> section, you have to change it on every page!
To save yourself from all that trouble, you can use a layout to move your shared HTML into a single place. To create a layout, follow these steps:
-
Create a new directory named
_layouts -
Create a new file in the
_layoutsdirectory nameddefault.html -
Save this content to the
default.htmlfile:<!DOCTYPE html> <html> <head> <title>My Blog</title> <link rel="stylesheet" type="text/css" href="/styles.css"> </head> <body> <div class="content"> <nav> <a href="/index.html">Home</a> <a href="/contact.html">Contact</a> </nav> {{ content }} <hr> <footer>Thanks for visiting my blog!</footer> </div> </body> </html>Notice the
{{ content }}part of this file. -
Modify your
index.htmlandcontact.htmlfiles so that they contain front matter (a list ofkey: valuepairs between---) at the top pointing to the layout you just created. -
Below the front matter, the only content in each file is what’s not already in your layout. In other words, the content of each file should be the content that you want to insert as
{{ content }}into the layout.
For example, here’s index.html:
---
layout: default
---

<h1>My Blog</h1>
<p>Welcome to my blog!</p>
The front matter at the top tells Jekyll to take the content from the file and insert it into the default.html layout.
Navigate to http://localhost:4000/index.html to see your page! The page should not look any different, as the HTML generated by Jekyll should be the same as the original pure HTML file. But now it’s easier to make changes to your site!
Try changing some of the content inside index.html or inside default.html and then refreshing the page. It’s now much easier to change the <nav> or <footer> on every page, because you only need to change it in one file! It’s also easier to add a new page, because you only need to specify the content, not all of the surrounding HTML.
Front Matter
Front matter is a set of key: value properties at the top of a file, between two sets of --- three dashes. You’ve seen the layout property, but you can specify any property name and value you want, which you can then use in your layout files. This lets you customize parts of the layout, without needing to include all of the surrounding content in every file.
For example, right now the default.html layout sets the <title> of every page to My Blog.
<title>My Blog</title>
To customize this for every page, first define a title property in each file. Here’s the contact.html file:
---
layout: default
title: Contact Me
---

<h1>Contact Me</h1>
<p>You can email me at kevin@happycoding.io!</p>
Next, modify the default.html layout file to use that property:
<title>{{ page.title }}</title>
This tells Jekyll to take the title property from the front matter of the individual page and include it in the HTML that it outputs.
You can set any custom properties you want in a page’s front matter and then use those properties in your layout files.
Posts
Jekyll was designed with blogs in mind, so Jekyll has a lot of features related to dealing with blog posts. It’s okay if your website isn’t a blog, these features are still handy!
-
Create a new directory called
_postswhich will hold all of your blog posts (or tutorial posts, or recipe posts, or whatever kind of post you want). -
Inside the
_postsdirectory, create a post file with this naming pattern:YYYY-MM-DD-your-post-title.html -
Then inside your post file, add your content. You can also specify a layout using front matter, so each post only contains its own content!
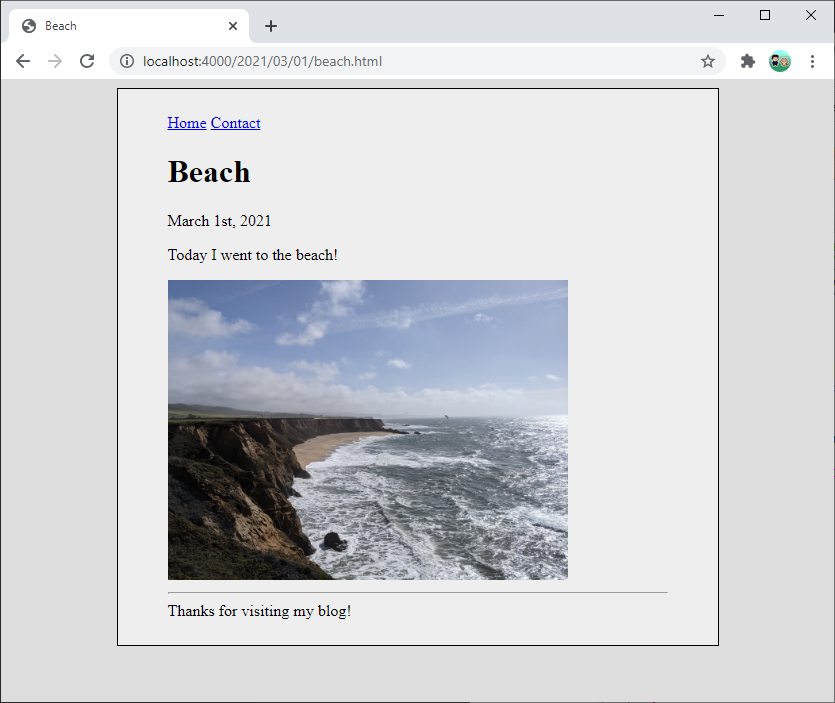
For example, here’s 2021-03-01-beach.html:
---
layout: default
---

<h1>Beach</h1>
<p>March 1st, 2021</p>
<p>Today I went to the beach!</p>
<img src="/images/beach.jpg" />
Now you can access that post at http://localhost:4000/2021/03/01/beach.html!
Customizing Post URLs
By default, a post is available at URL /YYYY/MM/DD/post-title.html.
You can change that using the permalink property in a post’s front matter. See the Permalinks page for different keywords you can use to build a post’s URL format.
For example, if you wanted to use the title without the date, you could add this property to a post’s front matter:
permalink: /:title
Now the URL of the post will be /beach instead of /2021/03/01/beach.html.
You can also set this for all posts by adding a new _config.yml file in your top directory. The _config.yml file defines global properties, and specifying a permalink format there will apply to every post.
Iterating Over Posts
Putting your files inside the _posts directory can help keep your site organized, but there’s another benefit to using posts: you can write code that iterates through them!
This is handy for creating things like lists of posts. For example, modify your index.html file to contain this content:
---
layout: default
title: My Blog
---

<h1>My Blog</h1>
<p>Welcome to my blog!</p>

<ul>
  {% for post in site.posts %}
    <li>
      <a href="{{ post.url }}">{{ post.title }}</a>
    </li>
  {% endfor %}
</ul>
Notice the code in between {% %} characters. This is called Liquid, which is a language used by Jekyll that lets you output HTML using things like if statements, for loops, and variables (which you saw above with post.title).
Refresh your homepage, and you should now see this:
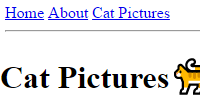
The important thing to notice here is that you aren’t manually outputting these links- Jekyll is! That means that if you add a new post, your homepage will automatically update, without you changing it yourself!
Markdown
So far, all of the above files have contained HTML, but Jekyll also supports Markdown! Remember from the GitHub profile README tutorial that Markdown is a way to format text that is then converted into HTML.
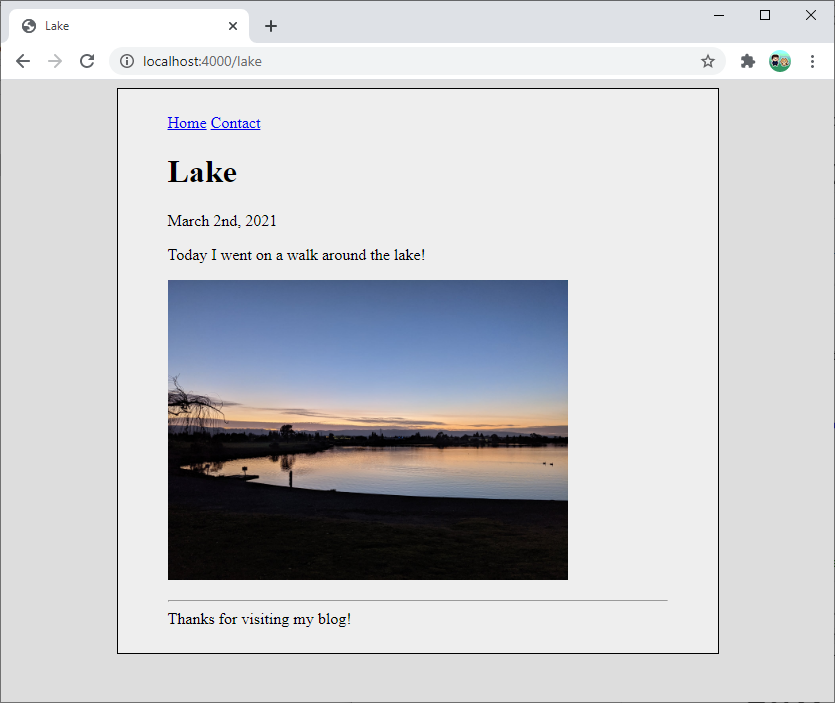
For example, here’s 2021-03-02-lake.md:
---
layout: default
---
# Lake
March 2nd, 2021
Today I went on a walk around the lake!

When you run Jekyll, Jekyll converts this Markdown into HTML, inserts it as the content in the default.html layout, and then serves that HTML at the URL specified by the permalink property in _config.yml.
GitHub Pages
So far, you’ve been running the jekyll serve command to run a server on your local computer. This is handy for testing changes before you show them to the world, but eventually you’ll want to deploy your changes to a live URL.
GitHub Pages uses Jekyll automatically, so the only thing you need to do to deploy your changes is to push them to GitHub! As long as you’re using a GitHub Pages repo, GitHub will run Jekyll and then deploy your site to your GitHub Pages URL.
If you aren’t using GitHub Pages, you can still use Jekyll! But you’d need to upload the files in the _site directory to your web host.
Other Jekyll Features
My goal with this tutorial was to introduce the fundamentals of Jekyll: you now know how to use layouts to avoid repeating the same HTML in every file, you know how to use front matter to set properties for a page, and you know how to use posts and Liquid.
You can do a lot with what you learned so far, but Jekyll has many other features. Rather than try to list everything here, I’d recommend reading through the Jekyll documentation and the Liquid documentation.
Here are some examples of what you can do:
- Organize your posts into categories.
- Use nested layouts for HTML that’s on some pages, but not all of them.
- Use includes for content that’s used in multiple places.
You don’t have to learn everything all at one time. Get your site up and running, and then read more about Jekyll features as you need them!
Behind the Scenes
If you’ve never seen Jekyll before, it can be hard to understand how it all fits together, so I wanted to spend a minute talking about how it works behind the scenes.
Jekyll might seem like a server, because it lets you write code that outputs HTML. But Jekyll is not a server. Jekyll is a tool that takes your files and converts them into plain old static HTML files. It runs all of your Liquid code, puts your content into whatever layouts you specified, and outputs the result into a separate directory.
You can see this directory: it’s the _site directory that Jekyll creates when you run the jekyll serve command. Try opening the files inside the _site directory to see the output that Jekyll creates. When you run jekyll serve, Jekyll converts all of your files into static HTML files, puts them into the _site directory, and then runs a server that points to this directory.
When you push your changes to GitHub, GitHub Pages runs Jekyll on your files and then points your GitHub Pages URL at the generated files.
The output of Jekyll is plain old HTML files. So if you’re wondering how to resize an image in Jekyll, you should actually be researching how to resize an image in HTML! (And the answer is CSS.) If something on your site isn’t working how you expected, check the HTML in the output files, or by using the “inspect element” feature in your browser’s developer tools. When you’re researching and debugging, keep in mind that Jekyll is a tool that outputs HTML, and that the HTML is what you’re really working with.
Happy Coding
If you want an example of a website built using Jekyll, you’re already looking at one! Happy Coding itself is built using Jekyll. You can check out the Happy Coding repo and see the markdown for the post you’re reading right now.
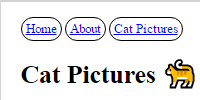
Happy Coding splits its posts up into categories: tutorials, examples, and blog entries. Each post specifies properties like its thumbnail image, which is then used by the url-thumbnail.html include to build a thumbnail link, like this:
Another example of a cool thing you can do with Jekyll: check out the site.json file. This file contains data about every post on Happy Coding, and I use it to build things like the tags and stats pages. And the whole site.json file is built using Jekyll! Check out the code at Happy Coding’s site.json. So you aren’t limited to only creating HTML files with Jekyll- you can also create JavaScript, CSS, and any other text file.
Those are just a couple examples, but check out the Happy Coding repo to see other ways I use Jekyll to create this site.
Learn More
Comments
Happy Coding is a community of folks just like you learning about coding.
Do you have a comment or question? Post it here!
Comments are powered by the Happy Coding forum. This page has a corresponding forum post, and replies to that post show up as comments here. Click the button above to go to the forum to post a comment!