Tricks and Treats and Tags


Tricks and Treats and Tags
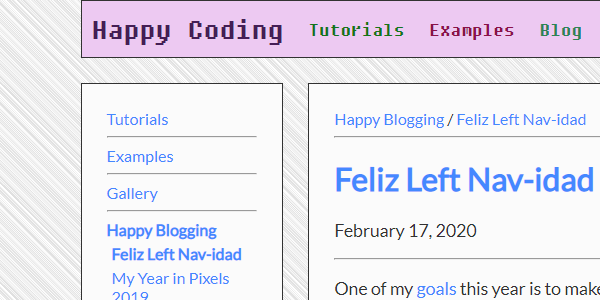
I’ve added a tag system that lets you group similar tutorials and examples together!
For example, check out the procedural-generation tag, or the emergence tag.
Thinking in Jekyll
I use Jekyll to generate the site. Jekyll doesn’t allow me to write any interactive server-side logic, which for the most part is great because it makes my job easier. I don’t need any interactive server-side logic to just serve up the tutorials, examples, and blog posts. Keep it simple, and all that.
However, a tag system would normally be implemented using interactive server-side logic. You would request a tag, the server would go find pages with that tag, then send them back to the client (your web browser) to show a list of posts with that tag.
Jekyll only allows static (non-interactive) content, so to do that in Jekyll I would have had to generate a different page for each possible tag. Even if I figured out some magic Liquid to help, that would still be an annoyingly manual process, especially compared to the “let the server do the work for you” approach!
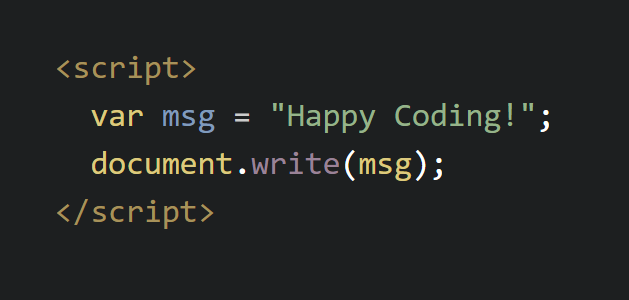
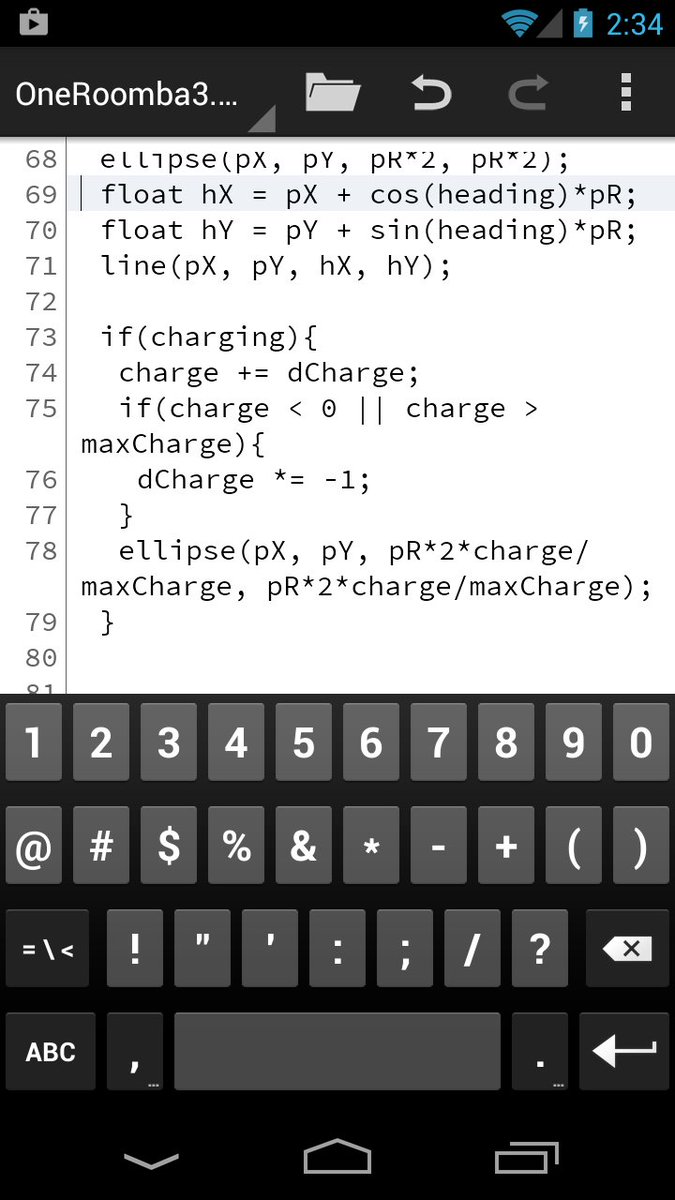
So I decided to do this all on the client-side in JavaScript.
Creating an API
To write JavaScript that found the pages for a particular tag, I first needed a way for JavaScript to know what tags each page had.
To do this, I created a very very simple REST API (it’s so simple that I almost shouldn’t even call it either REST or an API). Basically, if you visit HappyCoding.io/api/site.json, you’ll get JSON that represents every post on the site.
For example, the Processing flower example of drawing a flower is represented by this JSON:
 {
  "title": "Flower",
  "categories": ["examples","processing","using-variables"],
  "url": "/examples/processing/using-variables/flower",
  "thumbnail": "/tutorials/processing/using-variables/images/flower-5.png",
  "tagline": "Scale a flower.",
  "tags": ["example","processing","pretty"]
 }
To create this JSON, I use Jekyll to do all the work for me. I just use Liquid to loop over all of the posts on the site, then output the info I need in the JSON file. It looks like this:
[
{% for post in site.posts %}
 {
  "title": "{{ post.title }}",
  "categories": {{ post.categories | jsonify }},
  "url": "{{ post.url }}",
  "thumbnail": "{{post.thumbnail}}",
  "tagline": "{{post.tagline}}",
  "tags": {{post.tags | jsonify}}
 }{% unless forloop.last %},{% endunless %}
{% endfor %}
]
Back to JavaScript
Cool, so now I had an “api” that could tell my JavaScript about the tags for every page. When you visit the tag page, the page runs JavaScript that fetches the JSON, then loops through every page in it. If you’ve specified a tag in the url, then the JavaScript creates a list of all the pages that contain that tag. If you haven’t specified a tag in the url, then the JavaScript builds a tag cloud based on the frequency of each tag.
You can view the source of the tags page to see the whole shebang, but here is the meat and potatoes of building the list of pages for a particular tag:
$.each( data, function(index, post ) {
	if($.inArray(tag, post.tags) > -1){

		var replacedHtml = thumbnailHtml.replace("{{ include.url }}", post.url).replace("{{ include.url }}", post.url).replace("{{ include.thumbnail }}", post.thumbnail).replace("{{ include.title }}", post.title).replace("{{ include.tagline }}", post.tagline);

		if($.inArray("tutorials", post.categories) > -1){
			tutorialsDiv.append(replacedHtml);
			containsTutorials = true;
		}
		else if($.inArray("examples", post.categories) > -1){
			examplesDiv.append(replacedHtml);
			containsExamples = true;
		}
		else{
			othersDiv.append(replacedHtml);
			containsOther = true;
		}
	}
});
And here’s how the tag cloud is built:
var tagMap = [];

$.each( data, function(index, post ) {

	$.each( post.tags, function(tagIndex, oneTag) {

		if(tagMap[oneTag]){
			tagMap[oneTag].count++;
		}
		else{
			tagMap[oneTag] = {tag:oneTag, count:1};
		}
	});
});

var tagArray = [];

for (var oneTag in tagMap) {
	tagArray.push(tagMap[oneTag]);
}

function shuffleArray(array) {
	for (var i = array.length - 1; i > 0; i--) {
		var j = Math.floor(Math.random() * (i + 1));
		var temp = array[i];
		array[i] = array[j];
		array[j] = temp;
	}
	return array;
}

shuffleArray(tagArray);

for (var tagIndex in tagArray) {
	$("#posts").append('<a href="/tags/?tag=' + tagArray[tagIndex].tag + '" style="font-size: ' + Math.max(12, Math.min(72, (8*tagArray[tagIndex].count))) + 'pt; margin:25px;">' + tagArray[tagIndex].tag + '</a> ');
}
Was 95% of my motivation just so I could create a 🎃 tag? You be the judge.
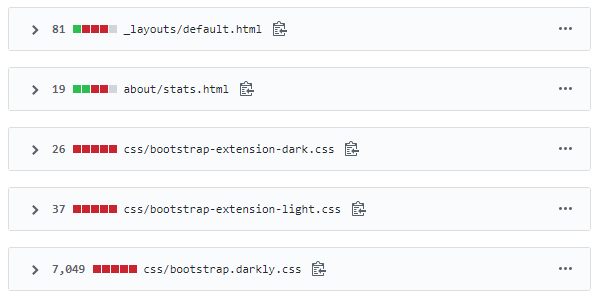
I wanted to add this feature before I got too much further with adding tutorials and examples, just because part of this feature required me to go back and add tags to every post. That’s just going to be more annoying as I continue adding tutorials and examples.
But in the spirit of the Halloween season (which for me lasts from late August through mid November), I’ve been working on adding (hopefully fun) Halloween-themed examples. View them at the 🎃 tag!
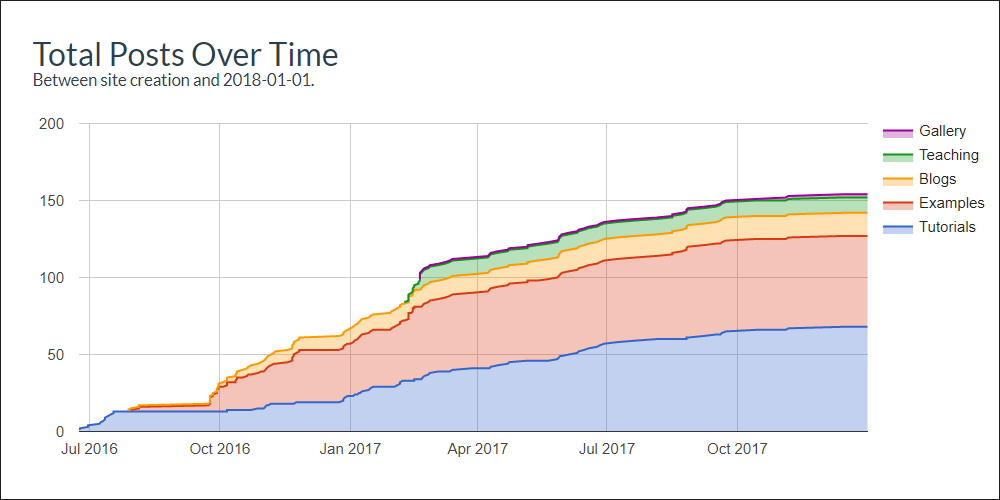
From here I’m going to keep adding tutorials and examples. I’ve also got a huge and exciting announcement to make about my actual real life, but I’ll save that for another blog post.
Comments
Happy Coding is a community of folks just like you learning about coding.
Do you have a comment or question? Post it here!
Comments are powered by the Happy Coding forum. This page has a corresponding forum post, and replies to that post show up as comments here. Click the button above to go to the forum to post a comment!